Operation Panel
4-82
RAM Disk Mode (Setting the RAM disk)
Selecting On in this setting enables the RAM disk.
1 In the RAM Disk Setting menu, press or to select RAM Disk
Mode.
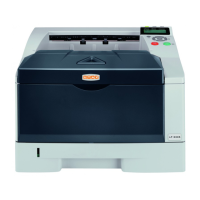
2 Press [OK]. The RAM Disk Mode screen appears.
3 Press or to select whether the RAM disk is enabled.
4 Press [OK]. The RAM disk setting is set and the RAM Disk
Setting menu reappears.
RAM Disk Size (RAM disk size setting)
Use this procedure to set the amount of memory used for the RAM disk.
1 In the RAM Disk Setting menu, press or to select RAM Disk
Size.
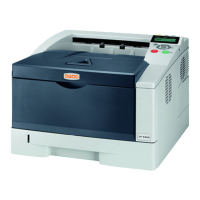
2 Press [OK]. The RAM Disk Size screen appears.
3 Use the numeric keys or press or to set the amount of memory
to be used as a RAM disk.
The maximum amount of memory that can be set varies depending
on the total amount of memory in the printer.
4 Press [OK]. The amount of memory used as a RAM disk is stored and
the RAM Disk Setting menu reappears.
When you have completed the setting, exit the menu and restart the
printer. The selected setting is valid after the printer starts up again.
Format SSD (Formatting the SSD)
When an optional SSD (HD-6) is inserted into the printer for the first time, it must be formatted before use.
This menu is displayed only when the HD-6 is installed on the printer.
Use the procedure below to format the HD-6.
When a new HD-6 is inserted in the printer's slot, Format SSD will appear on the message display.
1 In the Device Common menu, press or to select Format SSD.
Note If the HD-6 is installed in the printer, the Document Box will be available. Formatting will destroy any existing
data on a storage device including a used HD-6. Formatting of the HD-6 must be executed from the printer. When
the HD-6 has not yet been formatted, the Attention indicator flashes and Format SSD is displayed.
 Loading...