ENGLISH
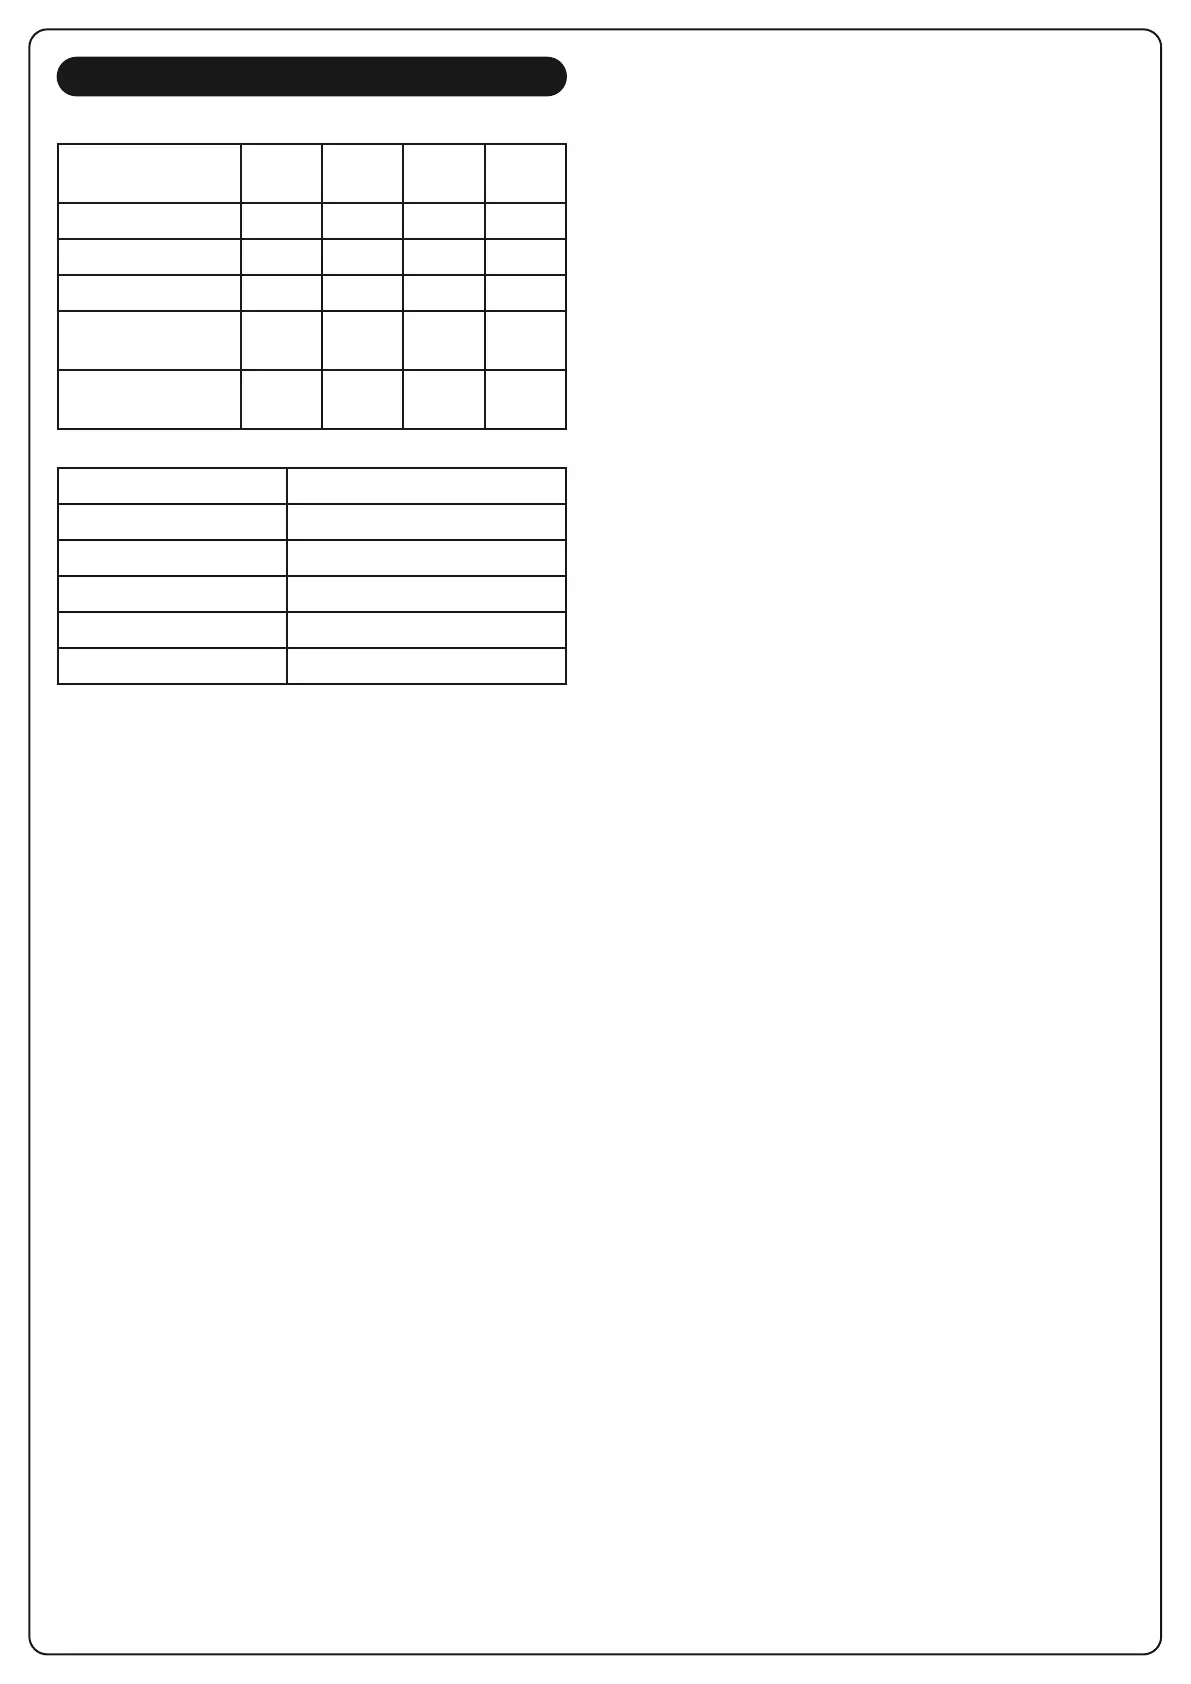
Power supply 1 x Lithium 3V (CR2032 230mAh)
Frequency 434,15 MHz
Range in open field 300 m
Max.absorption < 15 mA
Dimensions 160x45x14 mm
Weight 75 g
FUNCTIONS
PROTEO
1
PROTEO
4
PROTEO
6
PROTEO
12
N°. channels 1 4 6 12
C
hannel selection
• • •
Groups
• •
Courtesy light
command
• •
S
un sensor activation
• • • •
FUNCTIONING OF THE BUTTONS UP, DOWN
AND STOP
UP Activates the automation GOING UP
DOWN Activates the automation GOING DOWN
STOP it stops the automation
FUNCTIONING OF THE BUTTON PROG AND
DIP-SWITCHES
The button PROG and the DIPSWITCHES program the functions of
the control units controlled by the transmitters DUO. Read
carefully the section “PROGRAMMING OF THE FUNCTIONS BY
MEANS OF TRANSMITTERS OF THE RANGE DUO” in the
handbook of the control unit or in the one of the tubular motor
with integrated electronic card.
CHANNEL SELECTION
(BUTTON SELC)
By this button it is possible to select the channel to be used for
the radio transmission.
1. Press button SELC until selected the desired channel: the
corresponding led is on for some seconds
2. Press one of the buttons UP, DOWN or STOP to transmit the
control
To select all the channels at the same time press several times the
button SELC until all the leds are on.
To display the channel set, press once the button SELC.
SUN SENSOR ACTIVATION
(BUTTON SUN)
This function is used to enable or disable the sun sensor.
D
epending on the PROTEO model used, proceed as follows:
PROTEO1
T
o enable the sun sensor, press the SUN key briefly:
LED1 and the ON LED flash for several seconds indicating
transmission of the command has been successful.
T
o disable the sun sensor, press and hold the SUN key until the
ON LED is turned off and the OFF LED is lit, then release the key:
LED1 and the OFF LED flash for several seconds indicating
transmission of the command has been successful.
PROTEO4
To enable the sun sensor, proceed as follows:
1. Press the SELC key several times until the desired channel is
selected: the corresponding LEDs remain lit for several
seconds.
2. Press and hold the SUN key: after 2 seconds, the ON
LED is lit.
3. Release the key: the LED relating to the channel and the ON
LED flash for several seconds indicating transmission of the
command has been successful.
To disable the sun sensor, proceed as follows:
1. Press the SELC key several times until the desired channel is
selected: the corresponding LEDs remain lit for several
seconds.
2. Press and hold the SUN key: after 2 seconds, the ON
LED is lit, and after a further 2 seconds, the OFF LED is lit.
3. Release the key: the LED relating to the channel and the ON
LED flash for several seconds, indicating transmission of the
command has been successful.
PROTEO6 / PROTEO12
To enable the sun sensor press at the same time for 10
seconds the keys STOP and UP
To disable the sun sensor press at the same time for 10
seconds the keys STOP and DOWN
 Loading...