66550016 - V4.2 - 15/11/20
- 1 -
Audiokit 4K Series
Audiokit 4K Series - Installation instructions
Rev.0.1
GENERAL DIRECTIONS FOR INSTALLATION
In order to achieve the best results from the schematics described it is necessary to install only original VIDEX equipment, strictly
keeping to the items indicated on each schematic and follow these General Directions for Installation:
• The system must be installed according to national rules in force, in any case the running of cables of any intercom unit must be
carried out separately from the mains (see the next paragraph for connection to mains and power supply installation);
• All multipair cables should be compliant to CW1308 specication (0.5mm twisted pair telephone cable);
• Cables for speech line and service should have a max resistance of 10Ω;
• Lock release wires should be doubled up (Lock release wires and power supply wires should have a max resistance of 3Ω);
• The cables sizes above can be used for distances up to 50m. On distances above 50m the cable sizes should be increased to keep
the overall resistance of the cable below the RESISTANCES indicated above;
• Double check the connections before power up; 3 Power up the system then check all functions.
CONNECTION TO MAINS AND POWER SUPPLY MOUNTING INSTRUCTIONS
The system must be installed according to national rules in force, in particular we recommend to:
• Connect the system to the mains through an all-pole circuit breaker which shall have contact separation of at least 3mm in each
pole and shall disconnect all poles simultaneously;
• The all-pole circuit breaker shall be placed for easy access and the switch shall remain readily operable.
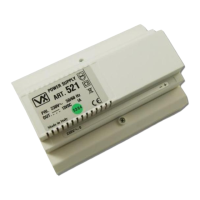
POWER SUPPLY INSTALLATION
• Remove the terminal side covers by unscrewing the retaining screws;
• Fix the power supply to a DIN bar or directly to the wall using two expansion type screws;
• Switch o the mains using the circuit breaker mentioned above and then make the connections as shown on the installation diagrams;
• Check the connections and secure the wires into the terminals;
• Replace the terminal covers and x them using the relevant screws;
• When all connections are made, restore the mains.
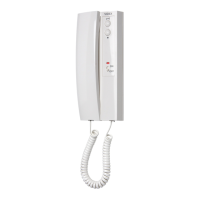
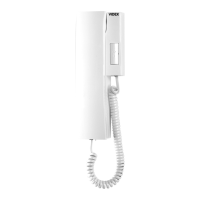
Art.4K/3011-3012-3111-3102G
Audiokit