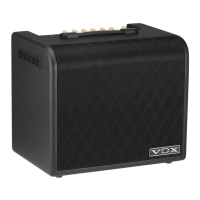
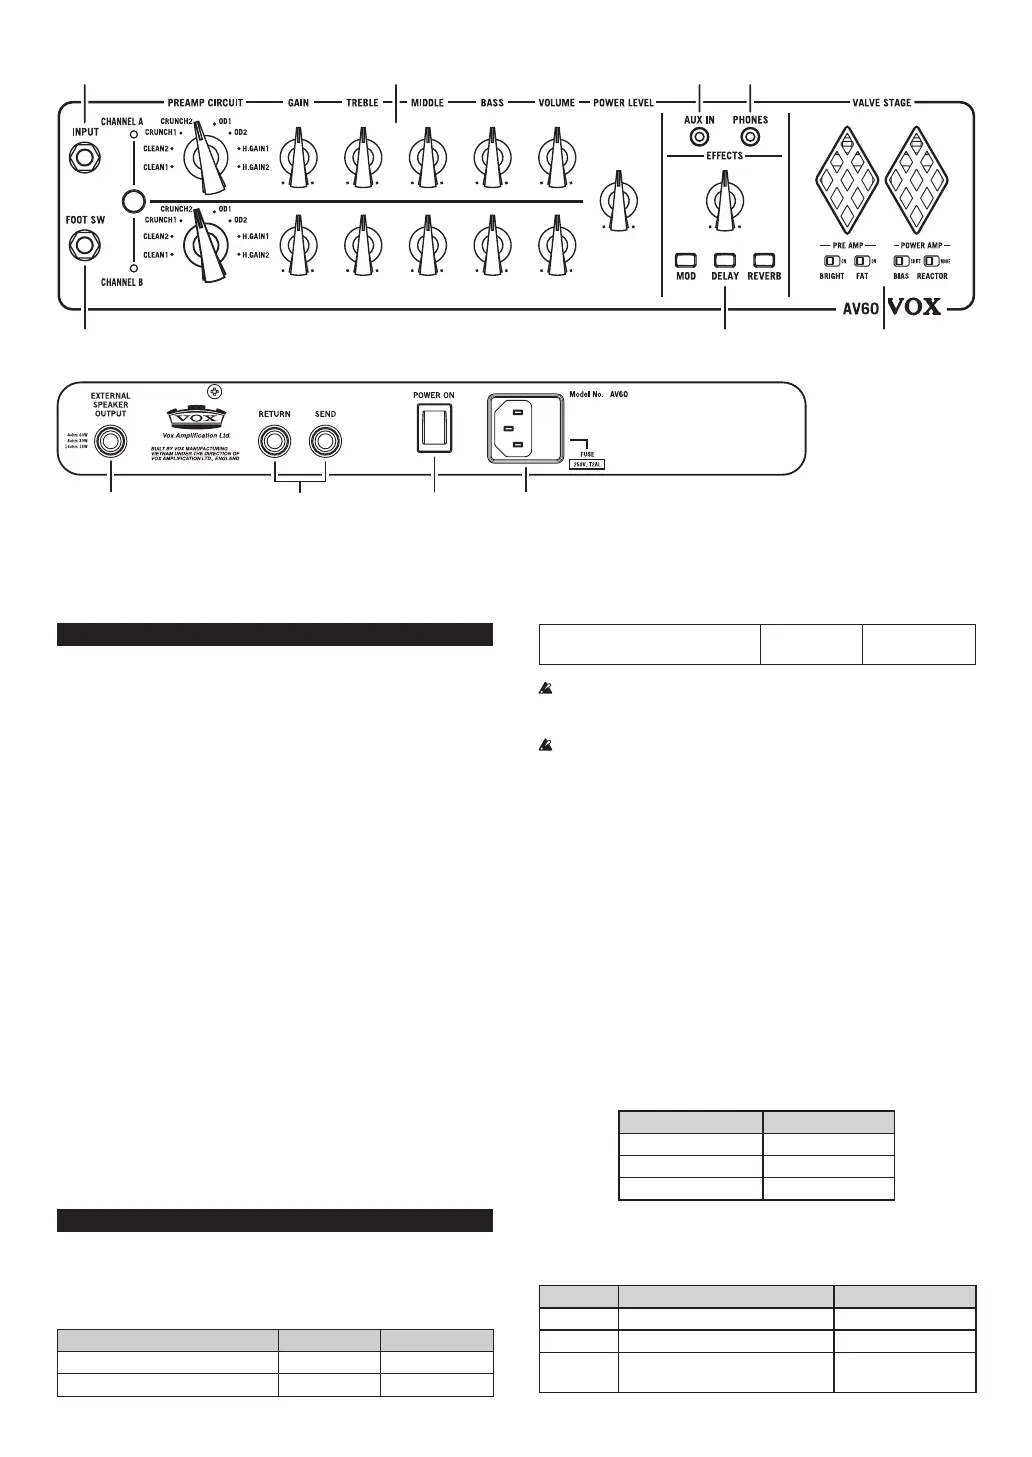
This illustration shows the AV60.
2
4 5
11 10 8 9
Introduction
Thank you for purchasing the VOX AV30/AV60 analog valve ampli-
er. To help you get the most out of your new instrument, please read
this manual carefully.
Main Features
- Our constant R&D of analog designs has enabled us to create a
whole new category of analog modeling guitar ampliers. This
research allows us to create the sound of legendary tube guitar
ampliers.
- The Pre-amp is powered by a 12AX7 (ECC83) tube. This delivers a
more dynamic and harmonically rich sound. For greater ex-
ibility, you can change some tube parameters to really customize
your tone. AV30 and AV60 have 2 independent channels.
- The Power-amp also includes a 12AX7 (ECC83) tube, allowing for
real tube power amp distortion, even at lower waage levels. Like
the pre-amp, you can also change tube parameters in the power-
amp, for greater exibility.
- There are 3 types of analog voiced digital eects included. Each
one can be used independently. Pre-amp channels and the EF-
FECT section can be controlled by an optional foot switch (VFS2,
VFS5).
- The AV30 and AV60 also have an Eects Loop, and an External
Speaker Output.
- The AUX IN allows you to plug in your own portable music
player, so you to jam along with your favourite tracks. Plug your
headphones into the PHONES jack, for silent practice. This output
is powered by an analog cabinet simulator, giving the real feel of
a guitar amplier.
Panel description and functions
1.
INPUT jack
Plug your guitar in here, ensuring you use a shielded guitar cable.
2.
FOOT SW jack
Connect an optional foot switch (VFS2, VFS5).
Operation by foot switch VFS2 VFS5
Switching of CHANNEL A / B switch 1 BANK switch
Eect on/o switch 2 CH1, 2, 4 switch
The delay time set by the tap
operation
― CH3 switch
You must connect or disconnect the foot switch while the power is
o. Malfunctions or damage may occur if you connect or discon-
nect the foot switch while the power is on.
Do not press two or more foot switches simultaneously. Doing so
may cause malfunctions.
3.
AMP section
Choose any of the 8 amp models, using the PREAMP CIRCUIT selec-
tor.
Turning the VOLUME knob up delivers more drive to the power amp.
You can decide the total waage by using the POWER LEVEL knob.
This ensures good power amp distortion without high volumes. There
are 2 independent channels that can be selected by the CHANNEL
buon on the panel, or the optional foots witch.
4.
EFFECTS section
You can use modulation (MOD), delay (DELAY) and reverb (REVERB)
independently.
To turn on each eect, you simply push the corresponding buon. The
indicator will light up showing which eects are on. Simply holding
the buon turns each eect o.
The EFFECTS knob adjusts the output level for each eect.
Holding the buon whilst turning the EFFECTS knob allows you to
adjust these parameters below.
Eect type Eect
MOD Speed
DELAY Time
REVERB Time
5.
VALVE STAGE section
You can change tube parameters for both the pre-amp and power
amp.
Switch Function Position
BRIGHT Adds some brightness. Left=o, Right=on
FAT Adds some low end. Left=o, Right=on
BIAS
Changes the bias seing of the
waveform.
Left=modern
Right=vintage
 Loading...