18
Installation
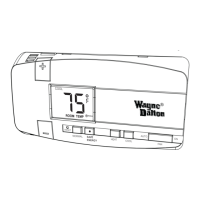
Step 8: Control Unit Preparation
Prepare the Z-Wave
® Enabled
Thermostat Control Unit for
Installation:
1. Install 2 AA batteries as shown in
the diagram to the right. The batteries
are required to maintain your target
temperatures during a power outage.
If battery power is lost, or when
changing batteries, you must reset
your target temperatures.
NOTE: Use Alkaline Batteries only,
do not use rechargeable batteries.
NOTE: Replace the batteries if
the low battery indicator icon is
displayed.
OPERATION NOTE: If the batteries
die during a power outage, when
AC power is restored the thermostat
will power up in the OFF state.
2. Press and release the RESET
button on the front of the control unit
to initialize your jumper settings. If
jumper settings are changed, you must
press the RESET button.
Low Battery Icon
Located on Thermostat
LCD Display
AA
+
-
AA
+
-
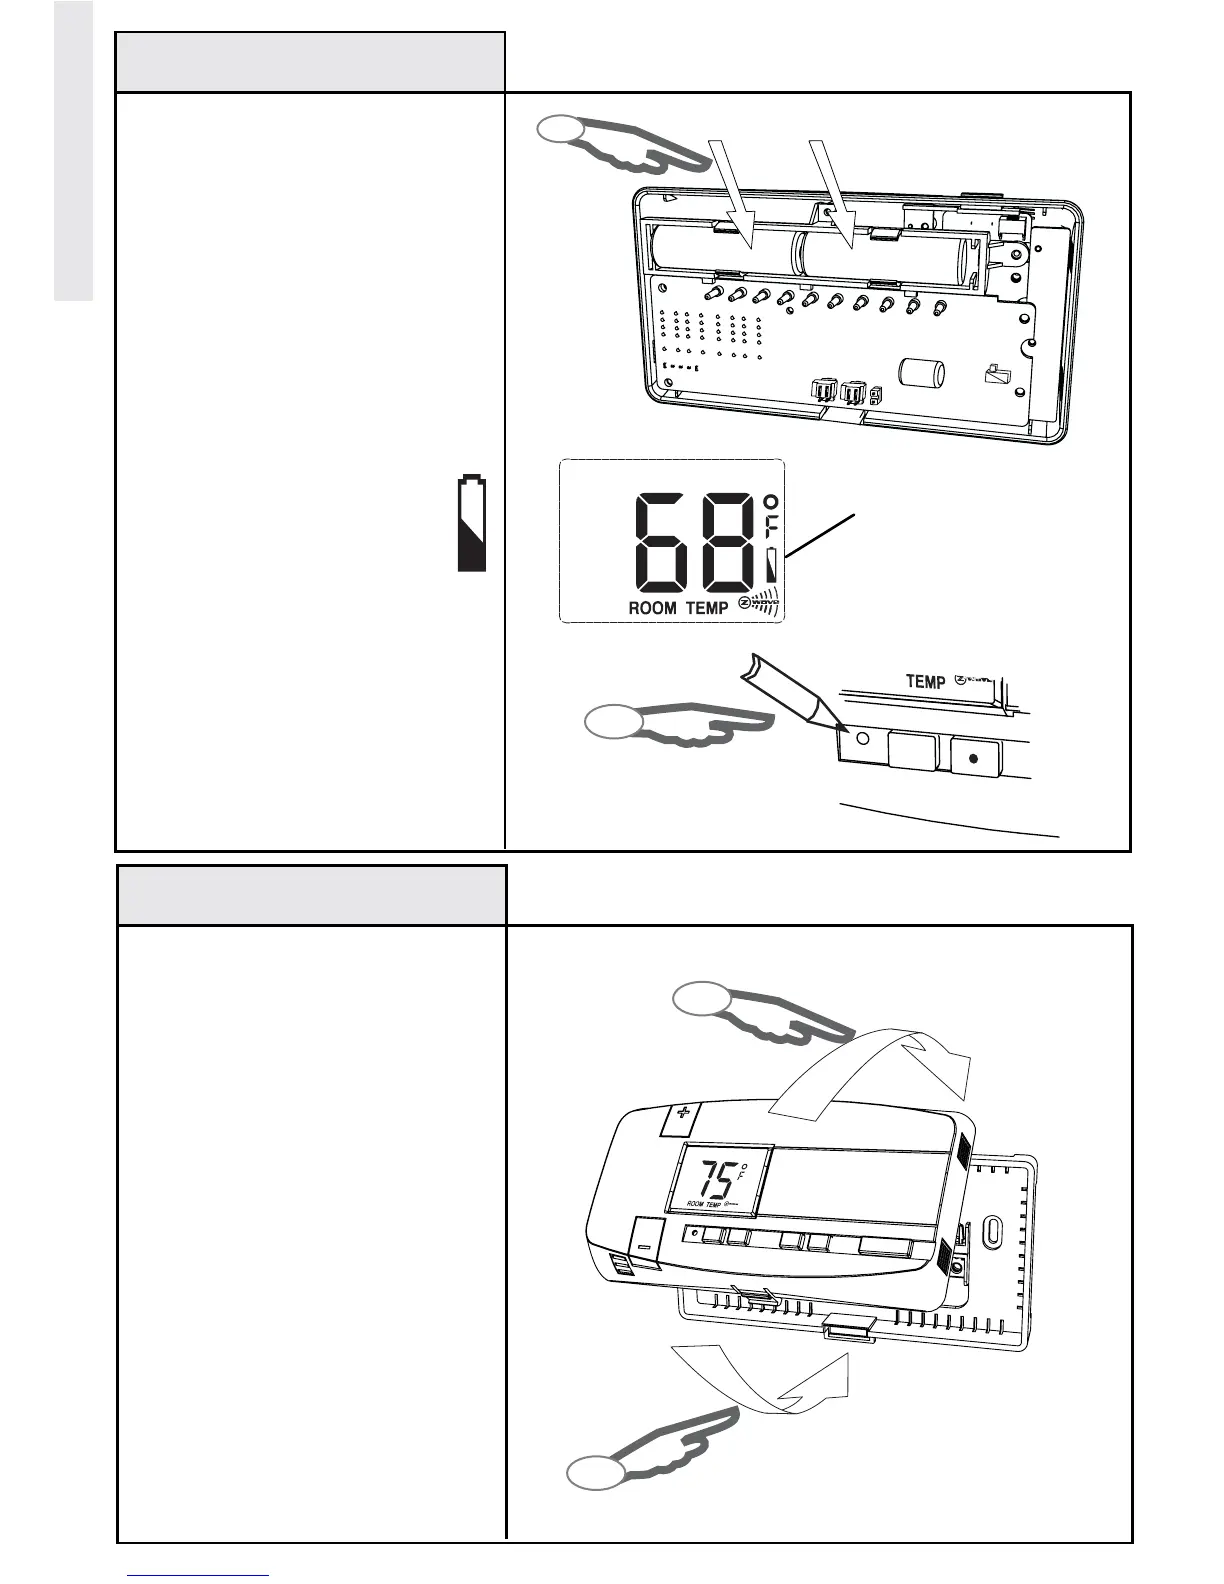
Step 9: Control Unit Installation
Install the Z-Wave
® Enabled
Thermostat Control Unit to the
thermostat base mounted to the
wall in Step 3.
1. Install the Thermostat Control
Unit to the thermostat base in the
following manner:
a) Hook the top of the Control Unit
to the thermostat base.
b) Swing the unit down until it
snaps in position.
c) Push firmly on the center of the
Control Unit to ensure the electrical
contacts are mated properly.
NOTE: After handling, the control
unit may require up to one hour to
stabilize to room temperature.
2
1
2
1
 Loading...