4 | Settings
6 / 9 OI Webasto Pure A4 EN
3.5 Start charging
NOTE
Always take into account the vehicle requirements be-
fore charging a vehicle.
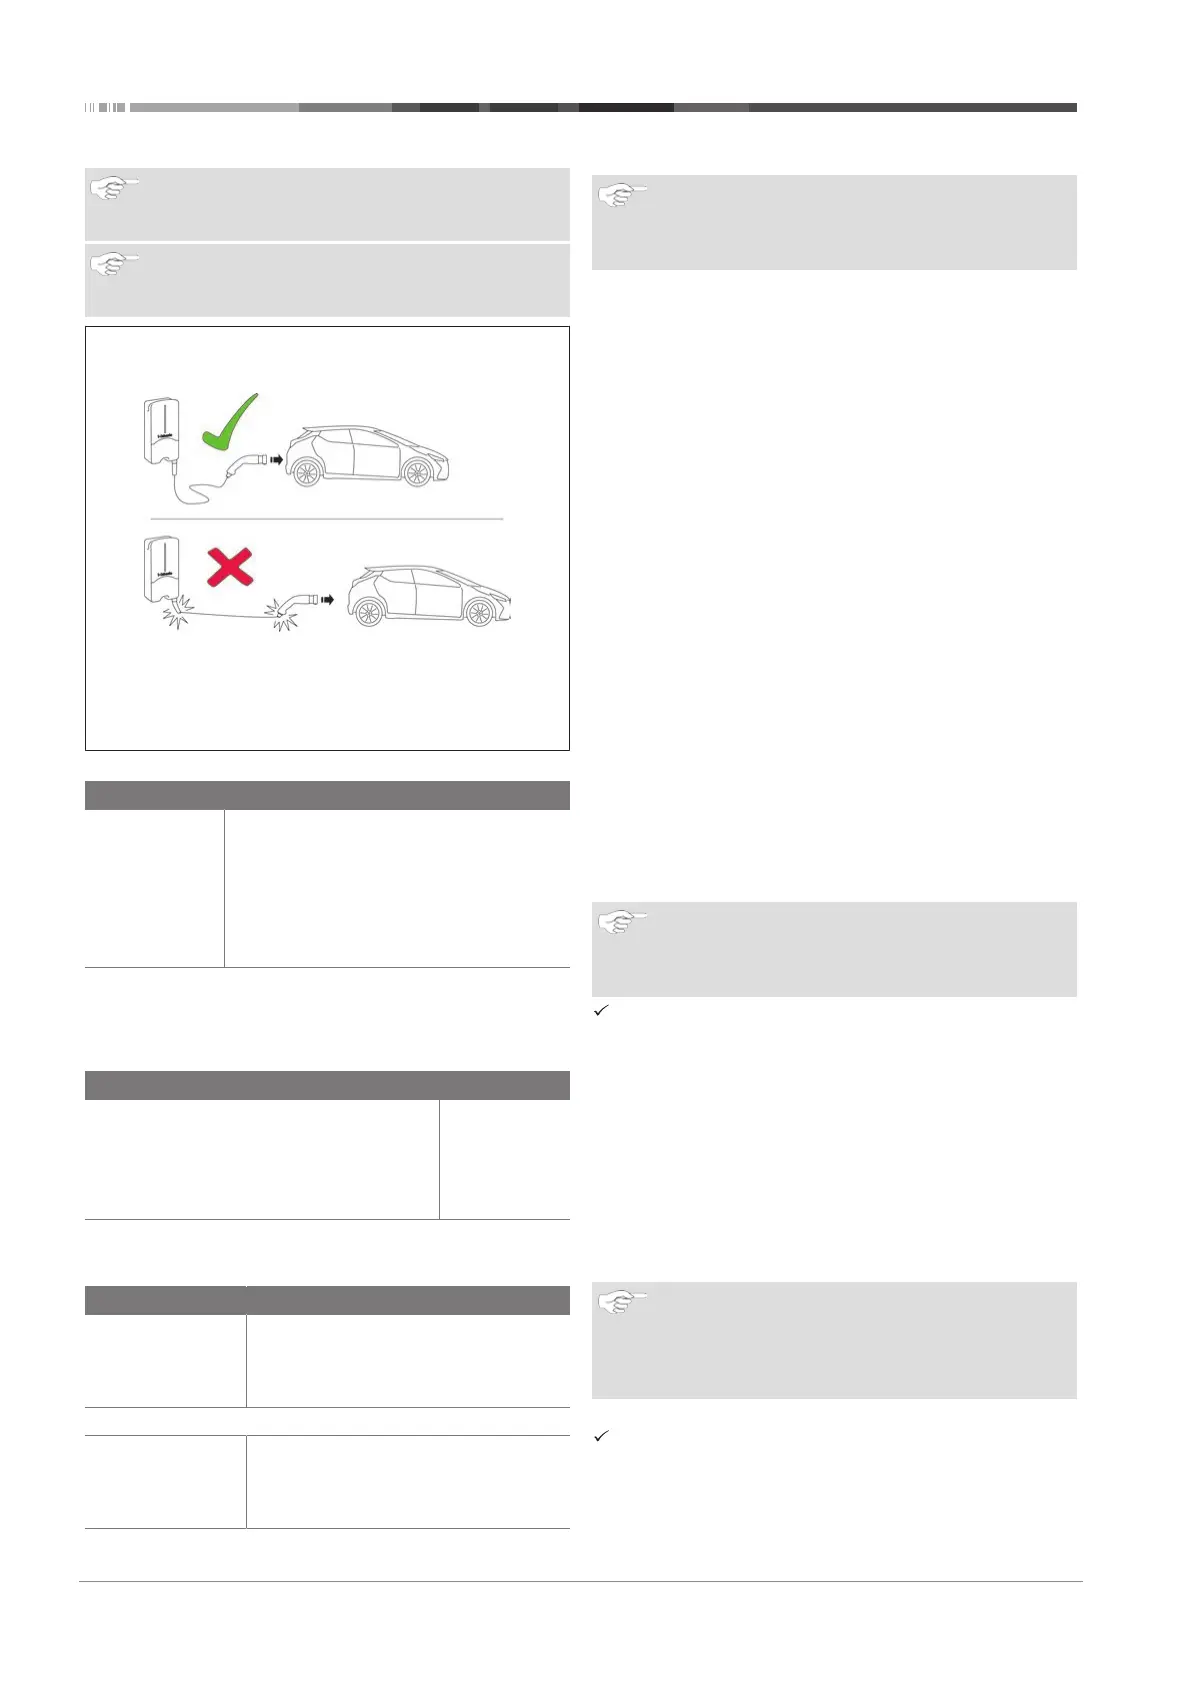
NOTE
Park the vehicle for charging such as to avoid strain in
the charging cable.
Fig.4
Action Description
u
Connect the
charging
coupling to
the vehicle.
Charging station performs system and con-
nection tests.
LED: is blue, turns red for about 2 seconds
after connecting to the vehicle and then
either turns green (vehicle is charging) or
flashes blue (vehicle not yet ready for char-
ging).
3.6 Stop charging
3.6.1 The vehicle has stopped the charging
cycle automatically
Action Description
u
Unlock the car if necessary.
u
Unplug the charging coupling from the
vehicle.
u
Lock charging coupling in the holder of
the charging station.
LED flashes blue
at 1 second in-
tervals. Vehicle
connected, not
charging.
3.6.2 If the vehicle does not automatically stop
the charging cycle
Action Description
u
Set key-oper-
ated switch to
"OFF" position.
Charging cycle is stopped. LED changes
to blue and flashes at 5 second intervals.
See chapter3.2, "LED indicators" on page
4, operating status N5.
Or
u
Stop charging
cycle at vehicle.
Charging cycle is stopped. LED changes
to blue and flashes at 1 second intervals.
See chapter3.2, "LED indicators" on page
4, operating status N4.
4 Settings
NOTE
It is necessary to complete the following procedures
within a certain time, therefore read through all the
steps before starting the procedure.
4.1 To activate programming mode
See also chapter3.4, "Key-operated switch" on page 5.
ü Charging station switched on.
ü LED indicator is blue.
ü Key-operated switch set to ON.
ü No vehicle connected.
u
Set key-operated switch from ON to OFF, wait until LED in-
dicator flashes blue 3 times.
u
Set key-operated switch from OFF to ON (for max. 3
seconds).
u
Set key-operated switch from ON to OFF; wait until LED in-
dicator flashes blue once.
u
Set key-operated switch from OFF to ON (for max. 3
seconds).
u
Set key-operated switch from ON to OFF; wait until LED in-
dicator flashes blue 3 times.
– When the LED indicator flashes for the fourth time it
changes to white and the charging station automatically
assumes programming mode.
Programming mode activated
The charging station runs through two options 10 times. If no
option is selected with the key-operated switch after the char-
ging station has run through them 10 times, programming
mode will be deactivated automatically without any changes.
4.2 Dim LED indicator (option 1)
NOTE
The LED colours blue and green can be dimmed. The
brightness of the red warning colour can not be
changed.
Programming mode activated:
The LED indicator flashes white in the following sequence once:
– 0.5s OFF;
– 0.5s ON;
After a four second pause the LED indicator switches to yellow
for one second:
u
Set key-operated switch from OFF to ON.
– "Dim LED indicator" function activated.
The LED indicator changes to blue and dims in several stages
from maximum to minimum, in 3 second intervals. After reach-
ing the lowest dim level the LED indicator switches back to max-
imum.
NOTE
If the key-operated switch setting is not changed from
ON to OFF within 180 seconds, the original dim level
will remain unchanged and the programming mode will
be deactivated.
u
Set key-operated switch from ON to OFF.
Dim level is selected.
If the key-operated switch setting is not changed further within
60 seconds, the selected dim level will be saved and program-
ming mode deactivated.

 Loading...