Operation 9
MAN1280 (4/05/2019)
OPERATION
The operator is responsible for the safe operation of
this seeder. The operator must be properly trained.
Operators should be familiar with the equipment, the
tractor, and all safety practices before starting opera-
tion. Read the safety rules and safety decals on page 5
through page 8.
Recommended tractor ground speed is from 2 to 5
mph.
Power unit must be equipped with Roll Over
Protection System (ROPS) or ROPS cab and seat
belt. Keep seat belt securely fastened. Falling off
power unit can result in death from being run over
or crushed. Keep foldable ROPS system in “locked
up” position at all times.
Never allow children or untrained persons to
operate equipment.
Keep bystanders away from equipment.
Keep hands, feet, hair, and clothing away from
equipment while engine is running. Stay clear of all
moving parts.
Stop power unit and equipment immediately
upon striking an obstruction. Turn off engine, set
parking brake, remove key, inspect, and repair any
damage before resuming operation.
Always wear relatively tight and belted clothing
to avoid getting caught in moving parts. Wear
sturdy, rough-soled work shoes and protective
equipment for eyes, hair, hands, hearing, and head;
and respirator or filter mask where appropriate.
ATTACHING COMPACT SUPER SEEDER
TO TRACTOR (3-POINT HITCH)
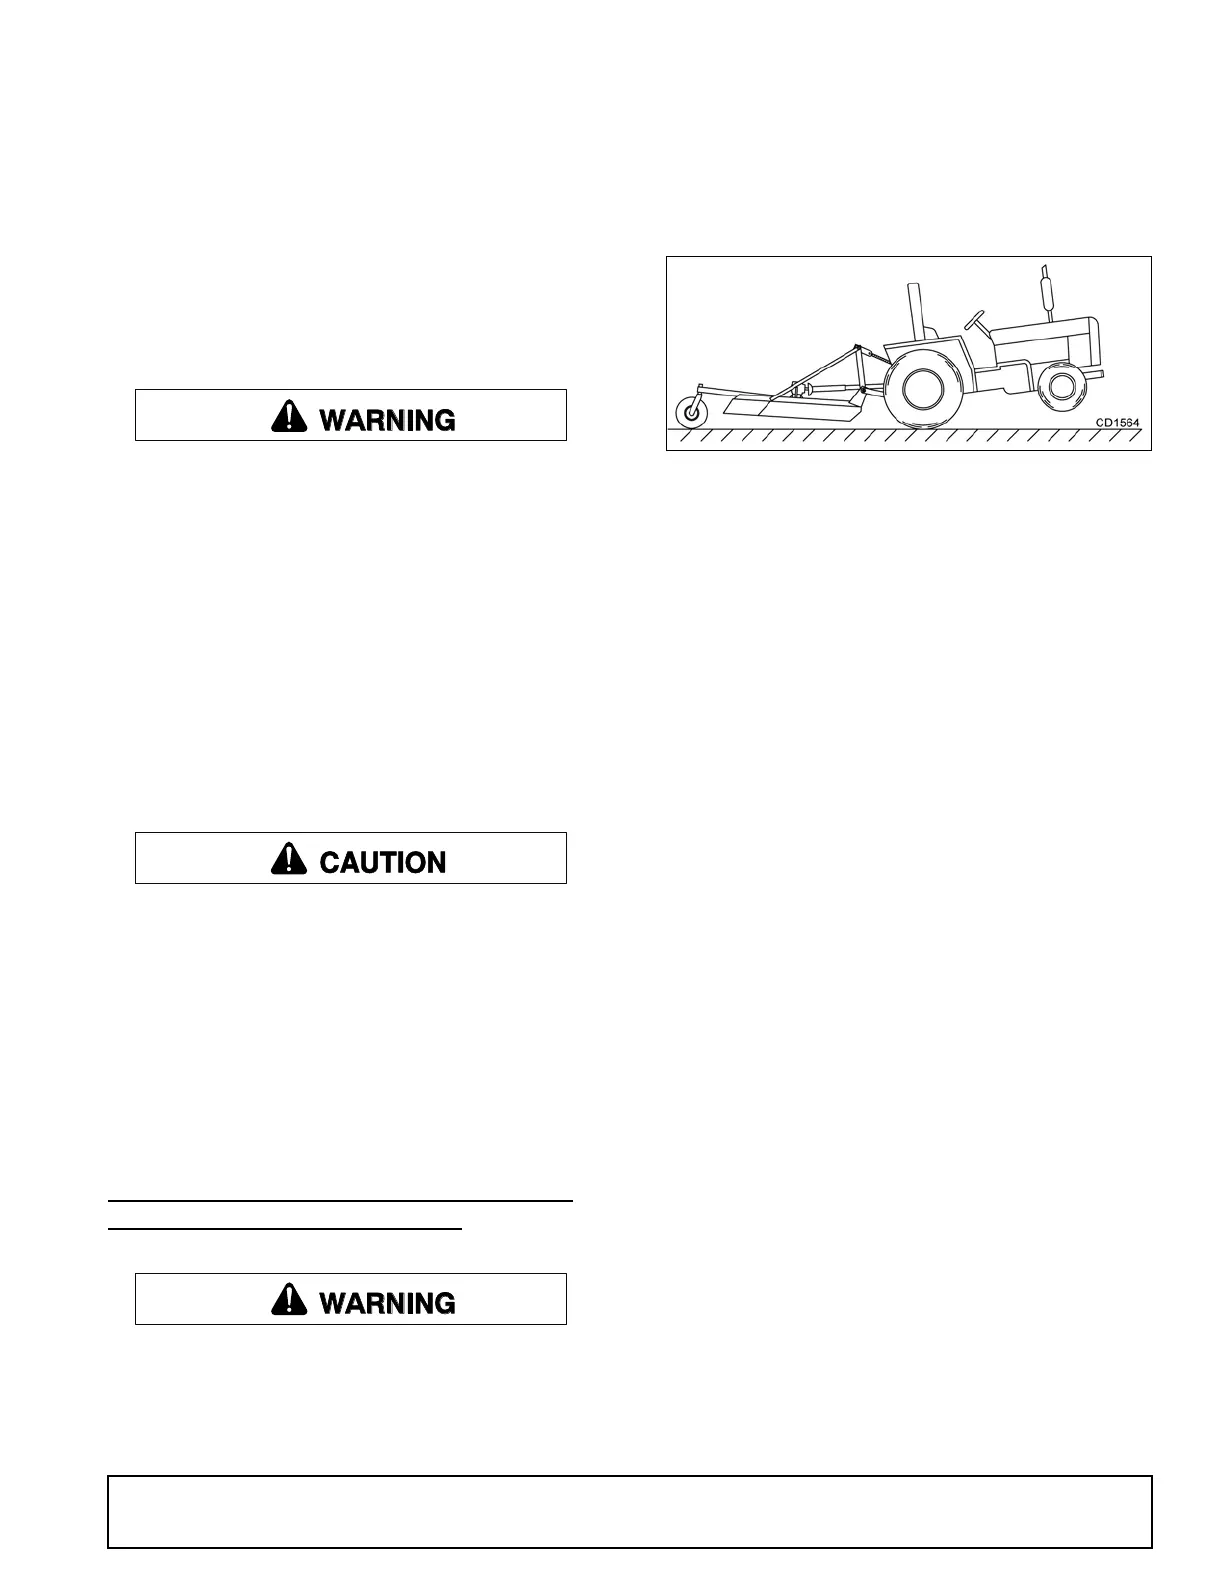
A minimum 20% of tractor and equipment
weight must be on the tractor front wheels when
attachments are in transport position. Without this
weight, front tractor wheels could raise up result-
ing in loss of steering. The weight may be attained
with front wheel weights, ballast in tires, front trac-
tor weights or front loader. Weigh the tractor and
equipment. Do not estimate.
Figure 1. Tractor Stability
NOTICE: The Compact Super Seeder is designed for
use on Category I, 3-point hitch tractors. See page 4
for specifications.
NOTICE: For Cat I fixed hitch usage, remove Quick
Hitch 5/8" bolt, nut and sleeve to prevent damage to
tractor’s 3-point top link.
1. Attach the tractor’s lower lift arms to the seeder
and secure with mounting pins and klik pins. See
Figure 2.
2. Attach the tractor’s top link to the mast plates of the
seeder. The seeder can be operated in a float or
fixed 3-point hitch position.
For beginning usage, the float position is
recommended. See Figure 2. To enable the seeder
to follow the contours of uneven ground, install the
tractor’s top link in the long slot in the top of the
mast plates. For proper float (up and down) the top
link pin should be centered in the slot
(recommended for beginners).
For controlled depth of tillage, use the fixed top link
position in the mast plates. See Figure 2.
For quick hitch use, install the available quick hitch
bushings. The seeder will not float with a quick
hitch installed. An optional Quick Hitch Bushing Kit,
P/N 1022043 is available.
3. Adjust the lower lift arm anti-sway device to
prevent excessive side-to-side movement of the
seeder.
4. Weigh tractor and seeder with seeder in transport
position. If necessary, add weight to obtain a
minimum of 20% of tractor and implement weight
on tractor front wheels. Weight may be attained
using front wheel weights, ballast on tires, front
roller weight, or front loader.
 Loading...