4. BATTERY STATUS LED (See Fig. H)
NOTE: The Power Level will indicate the
battery charge when the button on the battery
is pressed.
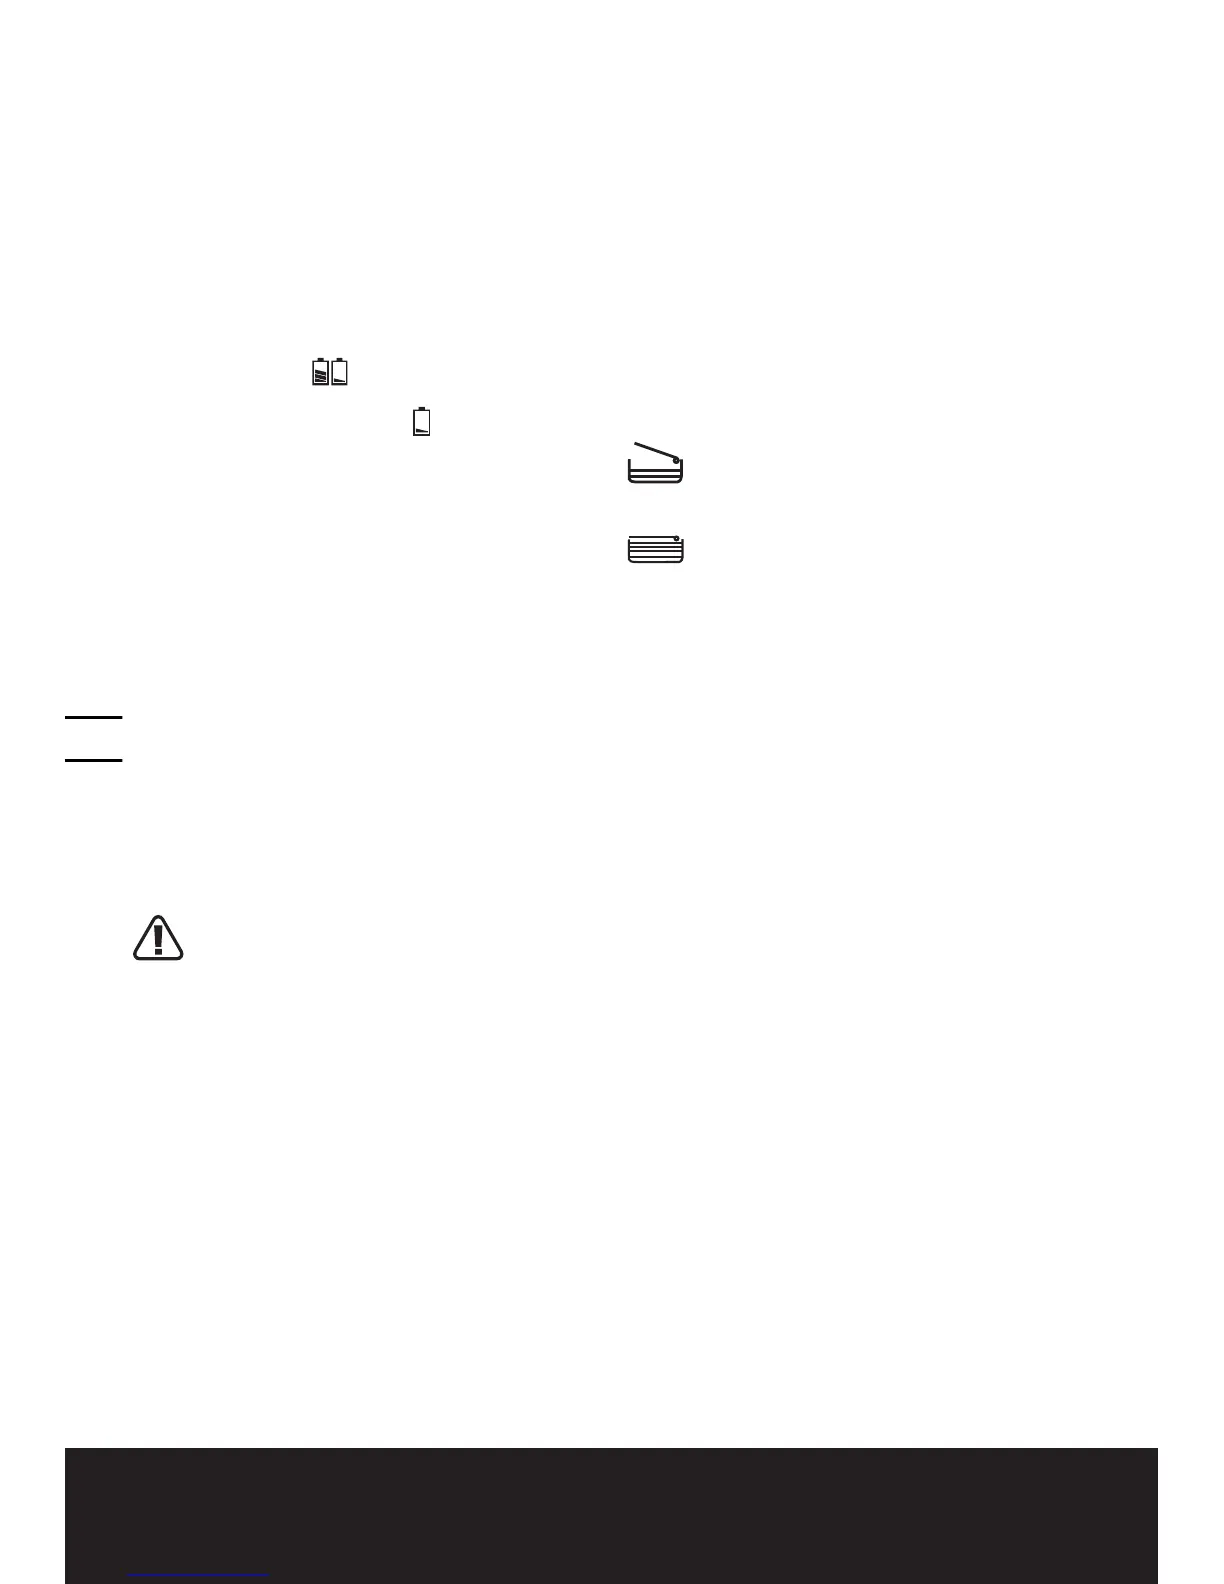
The Power Level Lights display the battery
condition as follows:
Press the button “POWERTEST”, the power
level light(s) will illuminate.
When the three green lights are illuminated,
the Battery Pack (10) is in a highly charged
condition.
When two lights (
) are illuminated, the
battery is in a moderately charged condition.
When only one green light ( ) is illuminated,
the battery charge is very low and should be
recharged .
Before using your new mower for the first
time, it is recommended that the unit be
charged overnight to ensure that the battery is
fully charged.
IMPORTANT
When only one light is illuminated,
your battery is overly discharged, even
though the mower may still be capable
of cutting grass. Continuing to operate
your lawnmower with the battery in this
discharged condition may reduce the life
and performance of your battery.
5. ADJUSTING THE CUTTING HEIGHT
(See Fig. I)
WARNING! Before adjusting the
mower height, wait for the mower
to completely stop. Mower blades
continue to rotate after the machine
is switched off and a rotating blade
can cause injury. Wait until all machine
components have completely stopped
before touching them.
• Themowerwasshippedatthelowestcut
height setting.
• Beforeyourrstuseofthemowermake
sure the cut height is adjusted, if desired.
• Thelawnmowercanbesetto3cutheights:
2”, 2.75”, and 3.5”.
• Adjustonewheelatatime.
• RemovetheBatteryPack(10).
• Turnmowerontoitsleftside(SeeFig.I)
1) Grip the wheel and pull or push it forward.
2) Make sure to pull it forward far enough that
it is able to be move up and/or down in the
wheel bracket.
3) With the wheel in its most forward position
slide it up or down into the desired
position.
4) Repeat the above steps to all four wheels.
6. GRASS BAG FULLNESS INDICATOR(4)
(See Fig. J)
To alert you that the Grass Collection Bag(5)
is full, the mower provides a Grass Collection
Bag Fullness Indicator on the top of the bag.
Empty status: flap floats (a)
Full status: flap falls down (b)
7. REAR DISCHARGE (See Fig. K)
The mower provides a rear discharge function.
Grass clippings will be discharged from the
rear chute of the mower and exit below the
Safety Flap (9).
8. MOWING TIPS
WARNING: Always inspect area where
mower is to be used and remove all
stones, sticks, wire, metal and other
debris which might be thrown by the
rotating blade.
1) Mow across the face of slopes, never up-
and-down. Exercise extreme caution when
changing direction on slopes. Do not mow
excessively steep slopes. Always maintain
good footing.
2) Release Switch Lever(2) to turn mower
“OFF” when crossing any graveled area
(stones can be thrown by the blade).
3) Set mower at highest cutting height when
mowing in rough ground or in tall weeds.
Removing too much grass at one time can
cause circuit breaker to trip, which stops
mower.
4) If a Grass Collection Bag (5) is used during
the fast growing season, the grass may
tend to clog up at the discharge opening.
Release Switch Lever to turn the mower
“OFF” and remove the Safety Key(6).

 Loading...