UNINET IMAGING INC. • XEROX
®
PHASER 6250 CARTRIDGE REMANUFACTURING INSTRUCTIONS
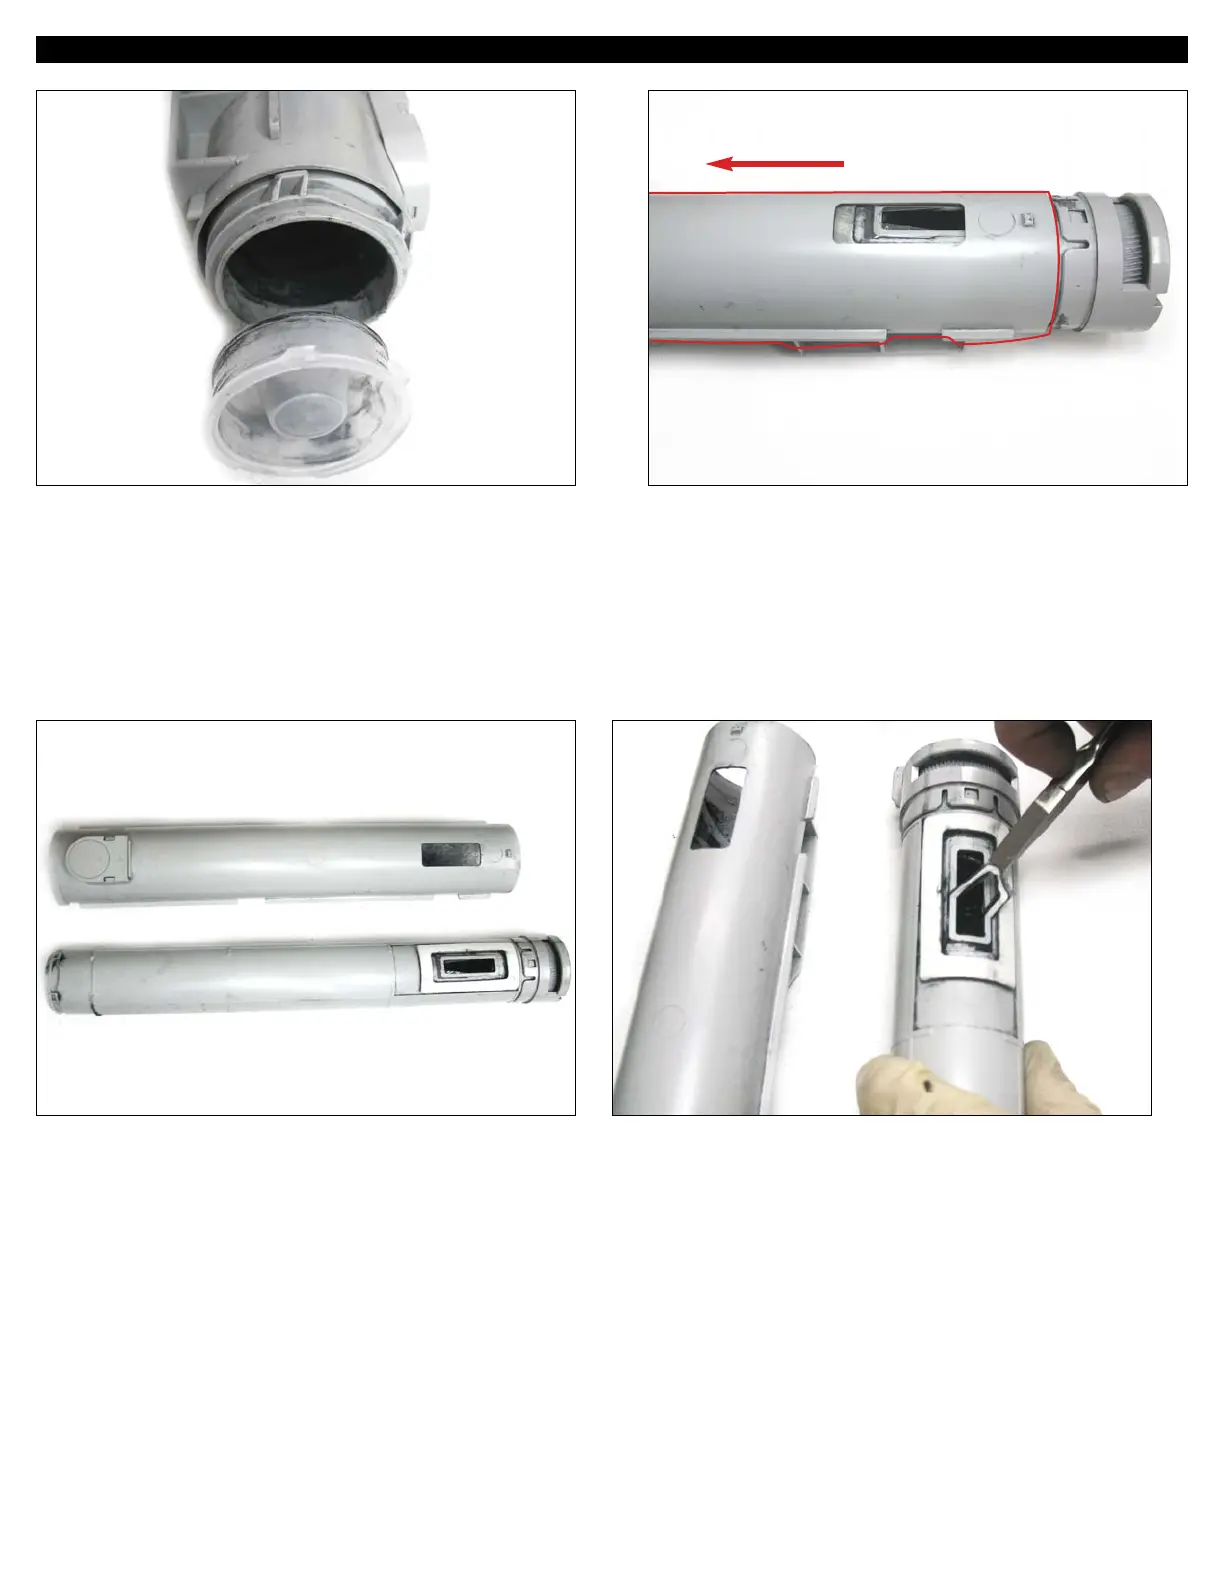
7. Toner fill plug removed.
Note the original positioning of the plug for reassembly.
SEPARATING THE TONER CARTRIDGE
8. Locate the gear side of the cartridge (shown).
Holding the gear end cap, remove the outer jacket (highlighted)
of the cartridge by sliding it out as shown.
9. Cartridge separated. Note the original positioning of the outer
container.
Clean thoroughly using compressed air.
ALTERNATE CLEARSEAL
®
ASSEMBLY
10. First, using a pair of pliers, gently peel off the worn sealant
(shown) from the toner cartridge.
OUTER CONTAINER
(SLIDES OUT)
GEARSIDE
END CAP
© 2007 UniNet Imaging Inc. All Trademark names are property of their respective owners. Product brand names mentioned are intended to show compatibility only. UniNet Imaging does not guarantee or warrant downloaded information.
www.uninetimaging.com/technical.asp
11124 Washington Blvd., Culver City, California USA 90232 • Ph +1 310 280 9620 • Fx +1 310 280 0533 • techsupport2@uninetimaging.com
 Loading...