CatKnobz
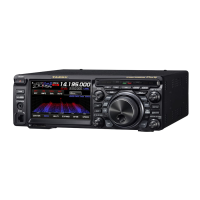
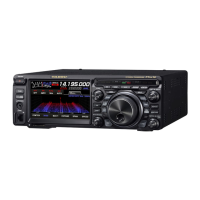
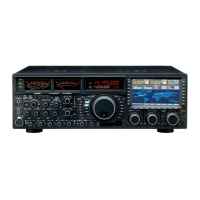
Designed for Yaesu FTDX10
CatKnobz
Thank you for purchasing CatKnobz.
CatKnobz is an easy to connect controller for the Yaesu FTDX10 transceiver. Six easy use knobs
control 41 settings. Any knob cab be any setting, in any order. Add another CatKnobz if you need
more knobs. Add a CatDisplay232 or CatMeters for more information about your Transceiver.
The settings controlled are:
• APF
• AGC
• AMC LVL
• BAND
• CONTOUR
• CW BK-DLY
• CW SPEED
• CW PITCH
• DNR
• IF SHFT
• IF WDTH
• MEMORY
• METER
• MIC GAIN
• MODE
• MONI LVL
• NB LVL
• NOTCH
• PROC LVL
• RF POWER
• RF GAIN
• SCP LVL
• SCP MODE
• SCP PEAK
• SCP SPAN
• SCP SPEED
• SQUELCH
• VFO
• VOX DLY
• VOX GAIN
• VOLUME
• DTA IN AM
• DTA IN FM
• DTA IN SSB
• DTA IN PSK
• DTA OUT AM
• DTA OUT FM
• DTA OUT SSB
• DTA OUT CW
• DTA OUT RTTY
• DTA OUT PSK
Compatibility
This version of CatKnobz was developed for the Yaesu FTDX10 which supports the latest Yaesu CAT command set.
Installation
Set FTDX10 menu options as follows:
•
Operation Settings > General > 232C RATE > 19200bps
•
Operation Settings > General > 232C TIME OUT TIMER > 10msec
•
Operation Settings > General > CAT RTS > OFF
Plug the supplied CAT cable into the transceiver's RS232 CAT jack. Plug the other end into the CatKnobz RJ45 jack.
CatKnobz requires 7VDC to 30VDC at around 160mA to operate. It has a standard 2.1mm DC jack and is wired
centre pin positive (tip positive), an industry standard for may plug-packs (wall warts).
You must use a power supply with a DC output.
Do not use a power supply with AC output.
CatKnobz can also provide power to CatDisplay232 or CatMeters via the CAT pass through port. Short the jumper on the back of
CatKnobz labelled “CatDisplay232 Power Link”. DC is then passed through to the connected device via the CAT cable. If you
purchased CatKnobz with CatDisplay232 or CatMeters, the link will be jumpered.
If you have multiple CatKnobz solder “CatDisplay232 Power Link” & apply power to the CatKnobz directly connected to the transceiver.
Then for each daisy chained CatKnobz, solder the “CatKnobz Power Link” & “CatDisplay232 Power Link”. The CAT cable connecting
the two CatKnobz will then carry power to the second CatKnobz (or CatDsipaly232 or CatMeters).
Mounting
CatKnobz is supplied with a a bracket designed for FTDX10. Remove the bottom front 2x case screws. Position the bracket holes over
screw holes & reinstall screws. Do not over-tighten the screws. Extend the bottom transceiver bail foot.
For other mounting ideas, you could remix this STL design file: https://www.thingiverse.com/thing:4838885
© 2022 – Chris Day – ZL1CVD - New Zealand. All rights reserved. Last updated 25/4/2022 Page 1 of 2