EasyManua.ls Logo

Yamaha CDX- 590 User Manual

Yamaha CDX- 590
23 pages
To Next Page IconTo Next Page
To Previous Page IconTo Previous Page
Page #4 background imageLoading...
Page #4 background image
Before making any connections, switch OFF the power to
the unit and the amplifier or other component.
Connections should be made to the correct input terminals of
the amplifier or other component.
If the placement of this unit causes noise to other equipment,
such as a tuner, separate them from each other.
4
CONNECTIONS
LINE OUT DIGITAL OUT
VARIABLE FIXED
OPTICAL COAXIAL
CD DIGITAL IN
OPTICAL
COAXIAL
LINE OUT DIGITAL OUT
OPTICAL COAXIAL
CD DIGITAL IN
OPTICAL
COAXIAL
To AC outlet
CDX-890
Amplifier
Connection cord
(not included)
Connection cord
(included)
Optical fiber cable
(not included)
Optical fiber cable
(not included)
To AC outlet
CDX-590
Amplifier
Connection cord
(not included)
Connection cord
(included)
CDX-890
CDX-590
Question and Answer IconNeed help?

Do you have a question about the Yamaha CDX- 590 and is the answer not in the manual?

Yamaha CDX- 590 Specifications

General IconGeneral
BrandYamaha
ModelCDX- 590
CategoryCD Player
LanguageEnglish

Summary

FEATURES

MODE D'EMPLOI

SAFETY INSTRUCTIONS

CAUTION: READ THIS BEFORE OPERATING YOUR UNIT

FCC INFORMATION

Compliance with FCC regulations for digital devices and potential interference.

CONNECTIONS

Connection Methods and Terminal Usage

Details analog and digital output connections for various models and terminal types.

IDENTIFICATION OF COMPONENTS

Front Panel Component Identification

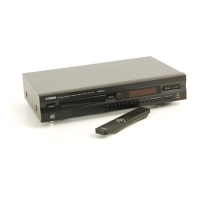
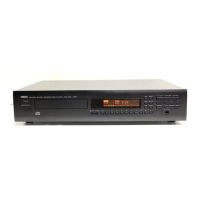
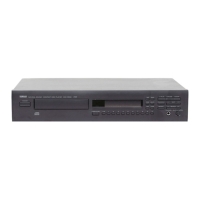
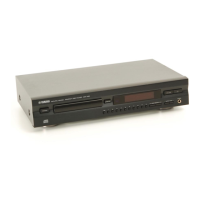
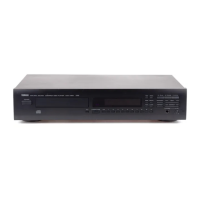
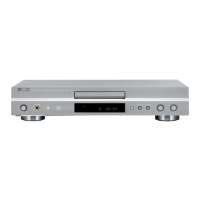
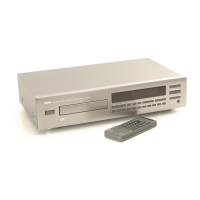
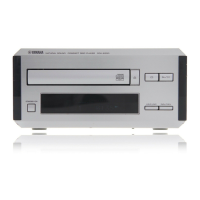
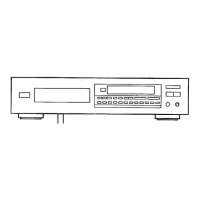
Identifies controls and indicators on the front panel for CDX-890 and CDX-590/490 models.

REMOTE CONTROL TRANSMITTER

Remote Control Operation and Battery Installation

Details buttons, battery installation, and operational range of the remote control.

BASIC OPERATION

Initial Setup and Playback Start

Steps for powering on, loading a disc, and beginning playback.

Playback Control and Track Selection

Managing playback modes (stop, resume) and selecting specific tracks.

Advanced Playback and Display Features

Using manual search, automatic spacing, and selecting time display modes.

Display Adjustment, Headphone Use, and Door Operation

How to adjust display brightness, connect headphones, and operate the control door.

RANDOM-SEQUENCE PLAY

REPEAT PLAY

PROGRAM PLAY

INDEX SEARCH

TRACK PROGRAMMING FOR RECORDING TO TAPE

Automatic Tape-Programming

Automatically programs tracks to fit the tape's recording time for side A and B.

Manual tape-programming

Manual Tape-Programming Procedure

Manually programs desired tracks onto tape, considering tape length and order.

Random sequential tape-programming

Random Sequential Tape-Programming

Programs tracks in random order onto tape based on tape duration for sides A and B.

Automatic searching for the peak level on a disc

Peak Level Search Functionality

Searches disc for peak levels to assist in recording level adjustment on tape decks.

CD SYNCHRONIZED RECORDING

Synchronized CD to Tape Recording Process

Automatically synchronizes CD playback with tape deck recording for easy transfer.

NOTES ABOUT THE REMOTE CONTROL TRANSMITTER

NOTES ABOUT HANDLING COMPACT DISCS

TROUBLESHOOTING

SPECIFICATIONS

Related product manuals