PUNCH-IN/OUT RECORDING
Punch-in/out recording makes it possible to re-record a short segment of an otherwise perfect track in order to correct a
mistake or “brush up” an important passage. You “punch-in” at the point where you begin recording the new segment, and
“punch-out” at the end of the new segment so that the previously-recorded material is not erased.
Punch-in/out Using the REC SELECT Switches
1.
With all REC SELECT switches set to OFF, start the
recorder running —
a few measures before the section
to be re-recorded begins — in the record-ready mode
by pressing the REC/PAUSE button and then the PLAY
button with all track REC SELECT switches set to OFF.
The red REC/PAUSE LED will flash indicating that the
transport is in the record-ready mode. The MONITOR
SELECT switch should be set to MONITOR so you can
hear all the tracks.
2. At a convenient break in the track switch the track to be
corrected to the record mode (punch-in by switching the
REC SELECT switch for that track to the appropriate
record position) and start playing the new material to be
recorded. The REC/PAUSE LED will light continuously
as soon as the REC SELECT switch is set to a record
position.
3.
At the end of the re-recorded segment switch the track
back to the play mode (punch-out by switching the REC
SELECT switch for that track to OFF). The red REC/
PAUSE LED will begin to flash.
Footswitch Punch-in/out
1.
Plug a YAMAHA FC4 or FC5 (optional) footswitch into
the MT120 PUNCH l/O jack.
2. Set the REC SELECT switch for the track to be punched-
in to the appropriate record position, and press the
REC/PAUSE button to activate the rec/pause mode.
The red REC/PAUSE LED should flash instead of light-
ing continuously. If the red REC/PAUSE LED lights
continuously, press the footswitch once so that it flashes.
If the LED lights continuously, press the footswitch once
so that it flashes.
CAUTION:
WHEN USING A FOOTSWITCH, MAKE SURE
THE RED REC/PAUSE LED LIGHT IS FLASHING,
NOT STEADY BEFORE PUTTING THE TRANS-
PORT IN RECORD. THIS WILL PREVENT ACCI-
DENTAL ERASURE OF EXISTING MATERIAL.
DO NOT PRESS REC/PAUSE AND PLAY.
3.
Press the PLAY button to start the transport running in
the record-ready mode.
4.
Press the footswitch to punch-in. The red REC/PAUSE
LED will light continuously.
5.
Press the footswitch a second time to punch-out. The
red REC/PAUSE LED will begin to flash.
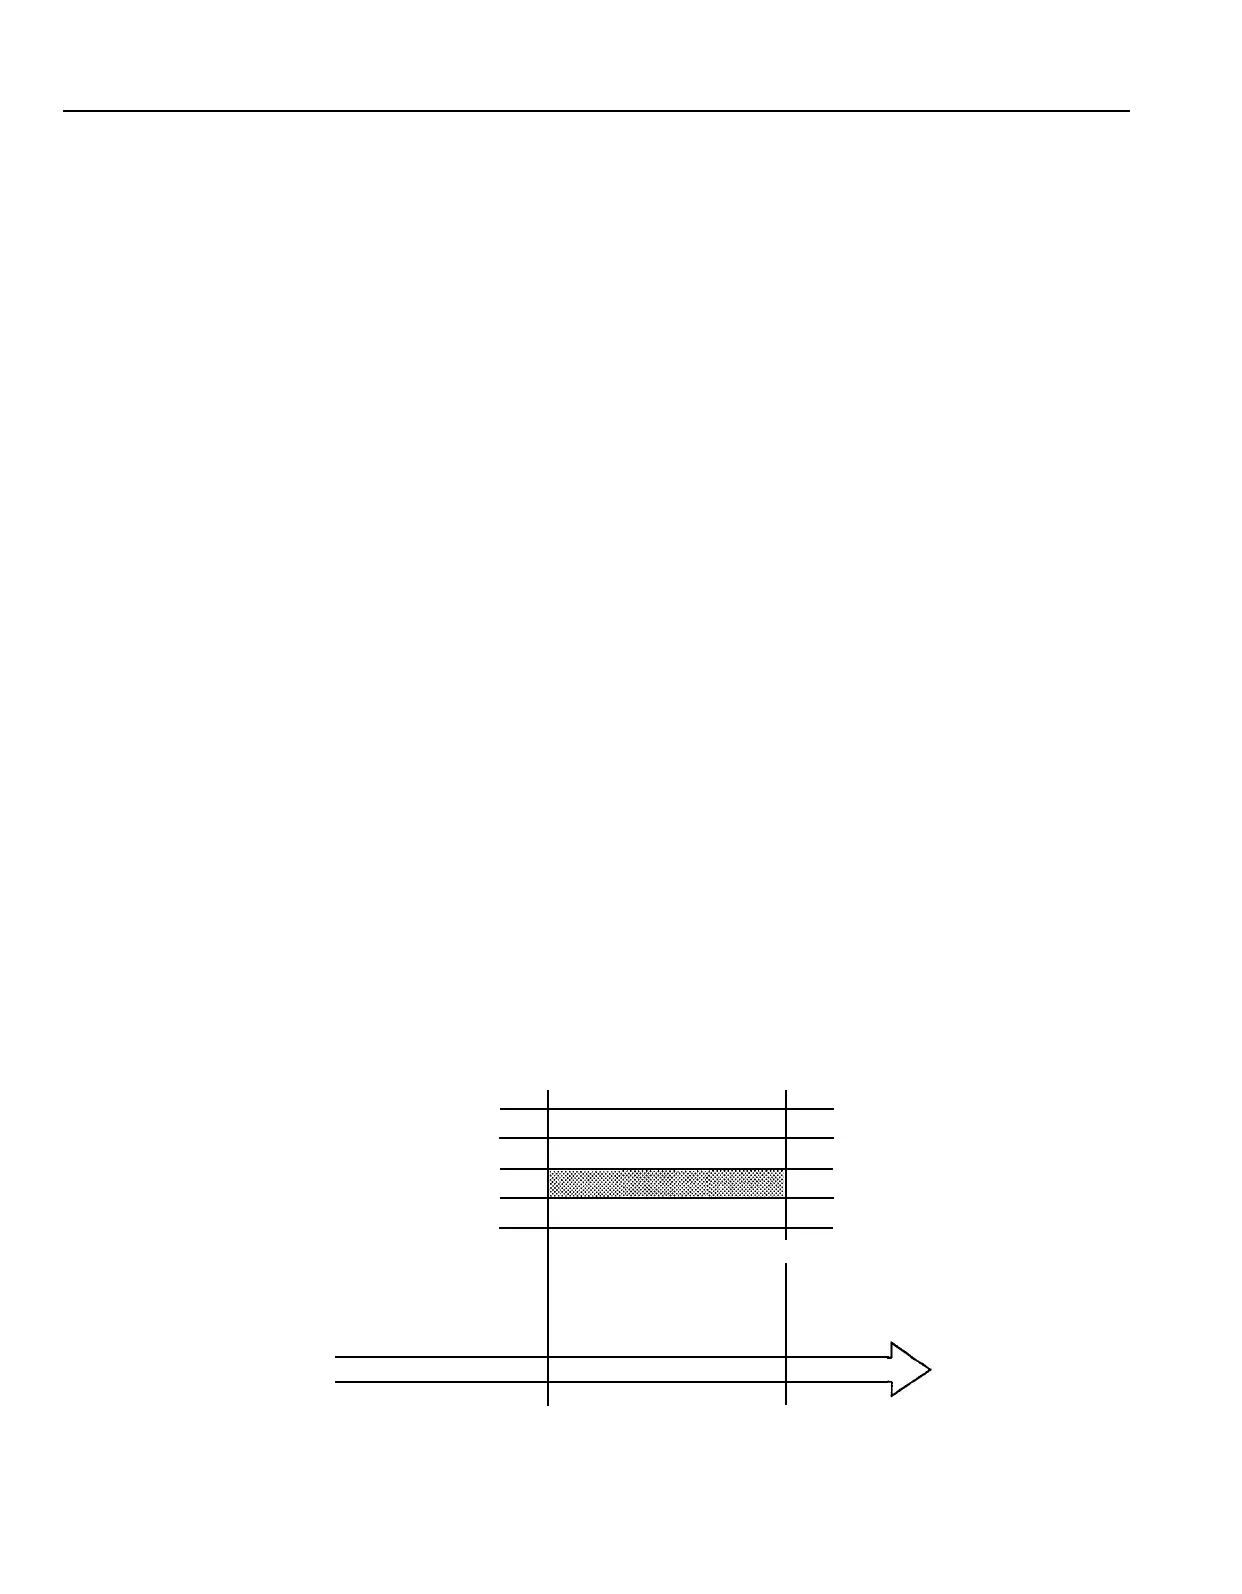
TRACK 1
TRACK 2
TRACK 3
TRACK 4
STOP
All tracks monitored in PLAY-
BACK mode (the deck is in the
REC mode, but the track REC
SELECT switches are set to
OFF).
The record mode is engaged
for track 3 only when the track
3 REC SELECT switch is set
to an ON position.
Begin playback
It's a good idea to actually start playing a little
before the punch-in point.
23

 Loading...