model number 054-5764-4 | contact us: 1.866.523.5218
16
ASSEMBLY
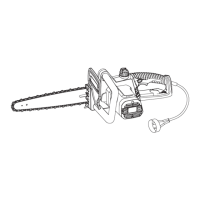
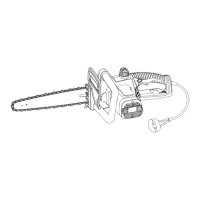
INTENDED USE
The chainsaw is intended for wood: sawing of trees, tree trunks, branches, wooden beams,
planks, etc. Cuts can be sawed with or across the grain. This product is not suitable for sawing
mineral materials, plastics or non-wood building materials.
!
WARNING! Do not connect the chainsaw to mains before it is completely
assembled.
Always use gloves when handling the chain.
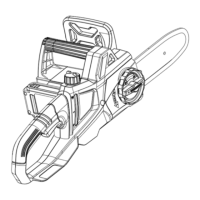
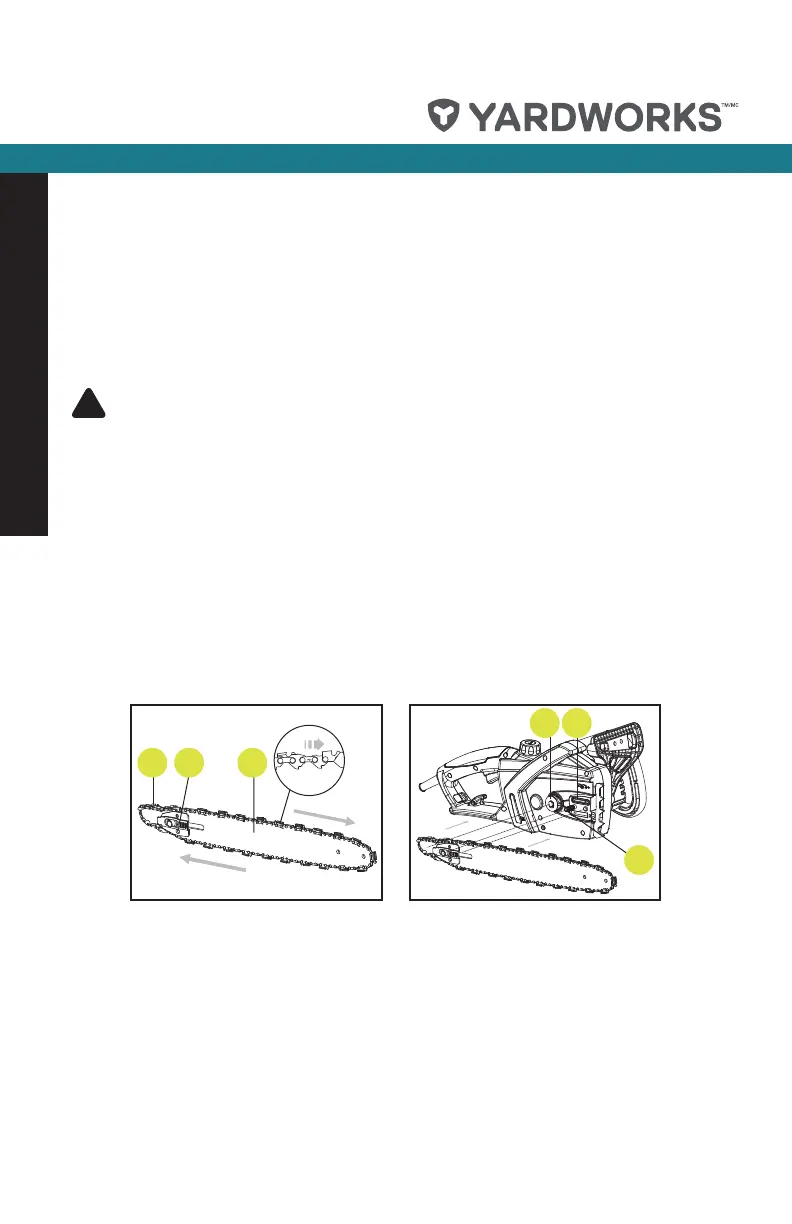
CHAIN AND CHAIN BAR ASSEMBLY/REPLACEMENT
1. Unpack all parts carefully.
1MBDFUIFDIBJOTBXPOBOZTVJUBCMF«BUTVSGBDF
3. Slide the chain (8) in the slot around the guide bar (7). Ensure chain is in correct running
direction by comparing with chain symbol (15). Ensure the chain tensioning catch (16) is
facing outwards. (See Fig. A)
4. Fit the chain onto the drive sprocket (13), and guide the guide bar (7) so that the fastening
CPMUBOEUXPHVJEFªOTªUJOUPUIFLFZXBZPGUIFHVJEFCBS4FF'JH#
5. Check to make sure all parts are seated properly and hold chain and guide bar in a level
position. (See Fig. C)
'JUDPWFSQMBUFFOTVSFUIBUUIFDIBJODBUDIFSªUTJOUPUIFHSPPWFPGUIFDPWFSQMBUF
1SFTTUIFDPWFSQMBUFªSNMZPOUPUIFNBDIJOFBOETDSFXPOUIFDPWFSQMBUFXJUIUIF
locking knob (11). (See Fig. D1)
NOTE: The chain is not yet tensioned. Tensioning the chain is described under “Tensioning
chain”.
Assembly
13
14
18
78
8 16
18
1413
7
A
B
 Loading...