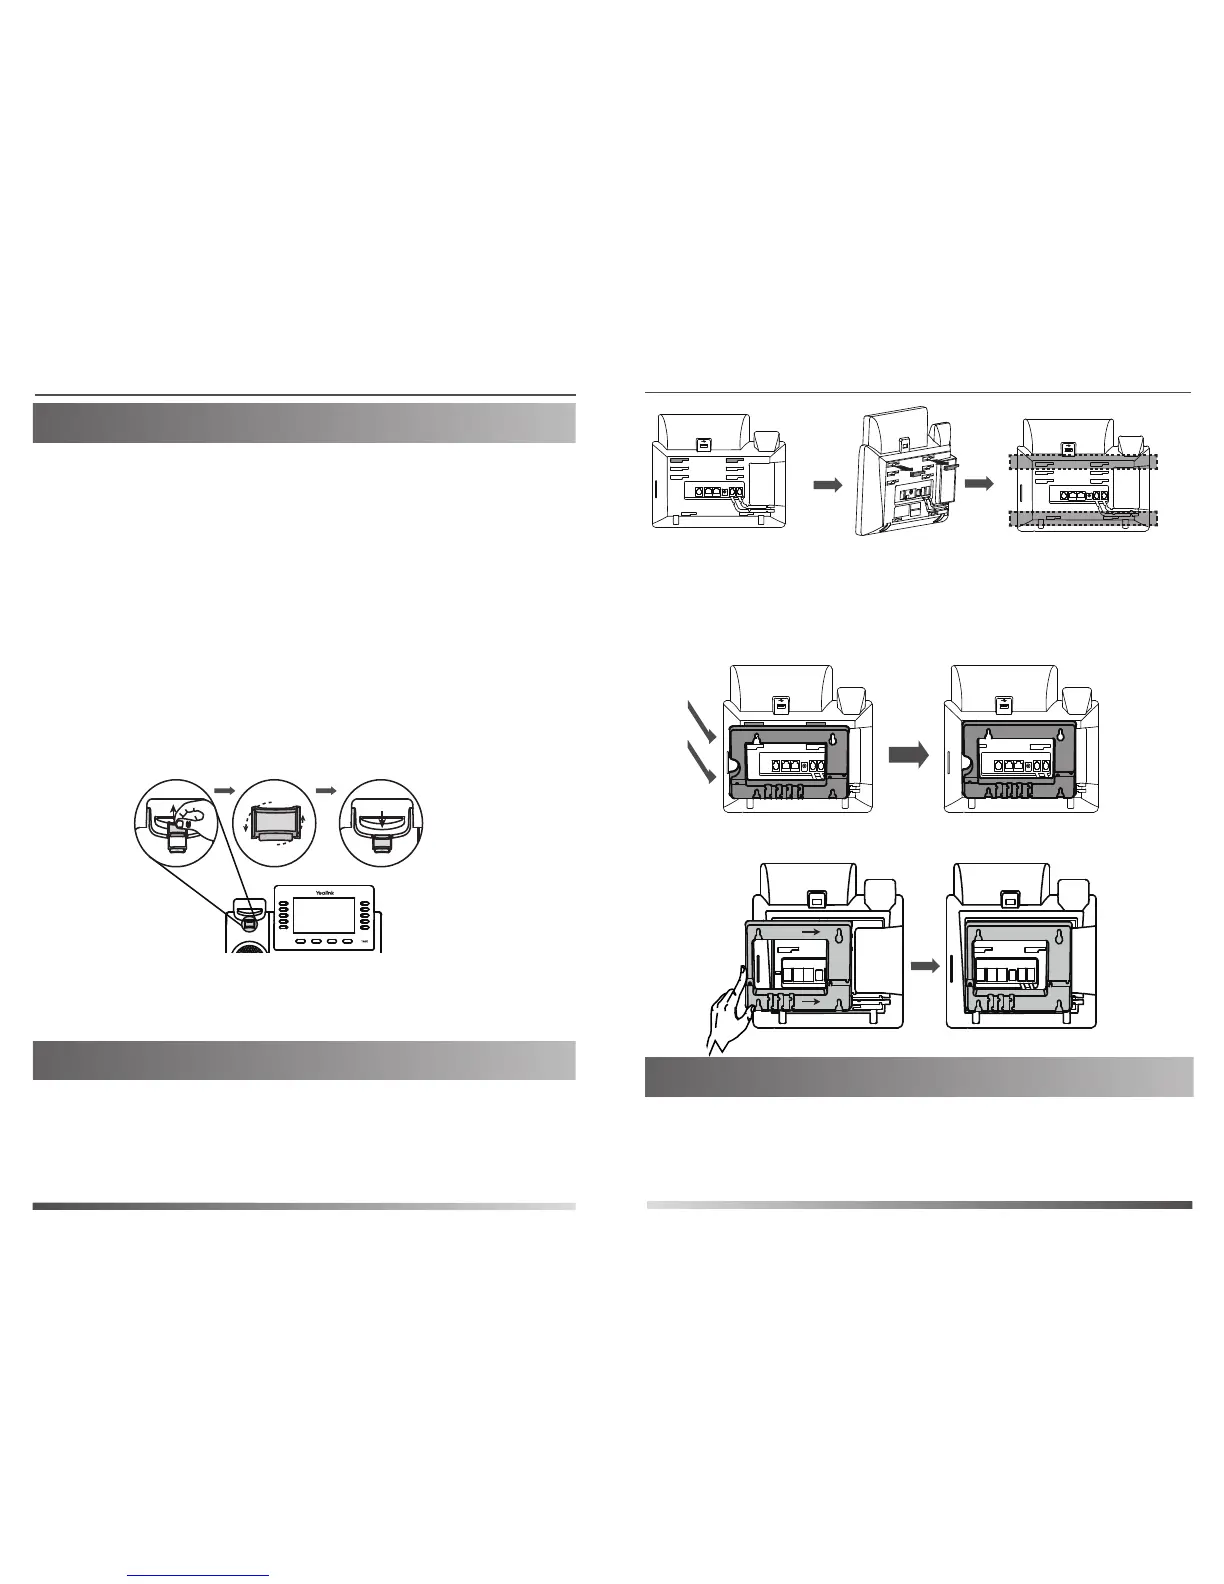
For a SIP-T48S/T48G/T29G/T27P/T27G IP phone:
2. Insert the tabs on the wall mount bracket into the
slots on the back of IP phone. And then slide the wall
mount bracket to right.
PUSH
For SIP-T46S/T46G/T42S/T42G/T41S/T41P/T40P IP phones:
Wall Mount Quick Installation Guide
www.yealink.com
1. Pull the hookswitch tab in the handset cradle.
2. Rotate the hookswitch tab 180 degrees.
3. Reinsert the hookswitch tab.
The hookswitch tab has a lip which allows the handset
to stay on-hook when the IP phone is mounted vertically.
To adjust the hookswitch tab:
Adjust the hookswitch tab as shown below(Take a
SIP-T46G IP phone as an example):
WALL WALL
The IP phone is packaged with the hookswitch tab in desk
mount position. Before mounting the IP phone toa wall, you
must set the hookswitch tab to wall mount position.
To attach the wall mount bracket:
1.Pull silica gels out of the two wall mount slots. (Only for
the SIP-T48S/T48G IP Phone )
Yealink provides the wall mount drilling template for
each IP phone model, which locates and marks the
position for mounting the screws (not provided) on the
Adjusting the Hookswitch Tab
Attaching the Wall Mount Bracket
Mounting the Wall Mount Bracket
 Loading...