a
Chat
Pickup
groups
Pickup
groups
Pickup groups
icku
Videocall
i
eoca
Videocall
Videocall
3-wa
3-way
conferencing
-wa
conferencin
Communicator
Communicator
Communicator
Pro
rammable buttons
Programmable
buttons
Busy
line
field
Busy
line
field
Busy
line
field
Presence
resence
ara
e
rin
in
Paralell
ringing
Unconditional
call forwarding
Unconditional
call forwarding
all forwardin
oice
ail
Voice
mail
Voice
mail
oice
ai
Receptionist
application
Mobility
Calling line
identification
restriction
Calling line
identification
restriction
Calling line
identification
restriction
PC communicator
obile phone
ommunicato
Mobile phone
communicator
Mobile
hone
communicato
r
obile phone
ommunica
or
Mobile phone
communicator
Mobile phone
communicator
ttendant
Attendant
Attendant
Attendant
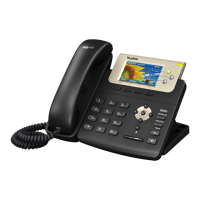
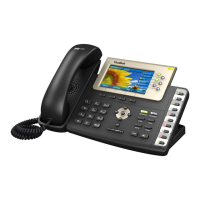
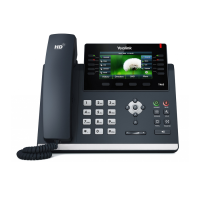
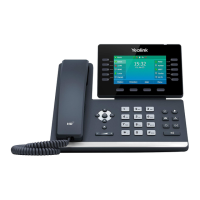
Yealink
SIP-T32G
- transfer a call
• Context-dependent button MENU -
enter menu
• Button RD - Redial - dial the last called
number
• Button Message - forwards you to your
voicemail, settings: MENU-4-1
3. Telephone contact list
In the telephone a list of telephone con-
tacts has been made ready for you to
use. This list of contacts was divided into
Personal contacts and Business con-
tacts. It can be edited on centrex.gts.cz
portal. Business contacts: all active users
of the company. Personal contacts: your
own personal directory.
4. Using contact list
To open this list, you have to press the
"Personal contacts" button or the
"Business contacts" button (the second
and the third of programmable buttons).
To navigate in the list, use the up and
down arrows and call by pressing OK; for
the fast search (name or surname), press
numeric keys with the relevant characters.
ATTENTION: the numbers pressed will
appear on the display but the search
continues.
5. Call register
• You can enter the call register by pre-
ssing the context-dependent button on
the home screen. The call register con-
tains a list of dialled numbers and the
received, missed and transferred
calls. To call numbers from the register,
press the context-based button Call, or
Option – Detail for detailed information.
• Deletion of call registers: Press the con-
text menu History to display the regis-
ter of all calls; to display other parts of
the history, press navigation buttons
left or right. This will display outbound
calls, inbound calls, missed calls or for-
warded calls. You can delete a selected
item by pressing the context-based
button Delete. If you wish to delete the
entire register, press Option and Delete
all.
6. Redial
Pressing the RD button will display a list of
recently dialled numbers. Next pressing of
the button will dial the last dialled number.
7. Transferring a call
• Incoming call may be transferred du-
ring the call by pressing the "Forward"
button. After pressing this button it is
necessary to enter the telephone num-
ber to which the call is to be transferred
and after dialling this number the call
will then be transferred by pressing the
"Forward" button again.
• Transferring a call without consultation
• During an ongoing call, press the
"Forward" button, enter the telephone
number to which the call is to be trans-
ferred and then press the "Forward"
button again to transfer the call.
• Transferring a call with consultation
• During an ongoing call, press the
"Forward" button, enter the telepho-
ne number to which the call is to be
transferred and then press OK to dial
the number. Then you can talk with
the person who has been called. To
transfer the first call, press again the
"Forward" button.
8. Adjusting volume
The dual -/+ button is used to adjust vo-
lume. During ongoing call it can be used
to adjust the volume of receiver, headset
or loudspeaker; on the home screen it is
used to adjust the ring volume.
9. Language setting
Telephone's language setting depends
on the settings in the user profile on
centrex.gts.cz portal.
In the left bar select "Profile", in the
basic setting select "Profile" and then
select the preferred language ("Czech"
or "English") and press OK. The lan-
guage used on the portal will change after
the new sign on the portal, the language
of the telephone will change after swit-
ching the power supply off and on. The
language setting on centrex.gts.cz por-
tal has the priority over the language se-
tting in the telephone's menu.
Required character Numbers
A, B, C 2
D, E, F 3
G,H, I 4
J, K, L 5
M, N, O 6
P, Q, R, S 7
T, U, V 8
W, X, Y, Z 9
 Loading...