• By pressing repeatedly either PREV or NEXT button (whichever is nearest), until you reach
the TRI scale.
This will not insert the attenuator, so you will have to use less than 20 W drive (unless the
amplifier is nearly correctly tuned), otherwise the next step would be executed
automatically;
• By simply applying a normal working (60-85 W) drive power, while the amplifier is not yet
tuned.
This will automatically invoke the TRI tuning aid and will insert the input attenuator (the ATT
LED will light) after one second. The attenuator will be switched off, and the old screen will
be returned automatically, after you release the PTT shortly.
If you have achieved meanwhile a nearly good tuning, the attenuator would not be inserted
again. If the old screen was the same (TRI, selected manually earlier), you will then be able to
precisely tune the amplifier also at nominal power, without changing drive at all. Use this
hint to shorten the tuning process duration.
c) Tuning Procedure
While a continuous carrier (CW key down, RTTY or FM) signal at the desired frequency is still applied:
• Look at the upper scale (FORWARD POWER). Obtain maximum power using the upper TUNE
knob;
• Look at the lower (Load Cap) scale and turn the lower LOAD knob in order to center the
triangle marker at the "!" mark.
• Release the PTT shortly in order to disable the attenuator, then repeat both steps at nominal
power. Always finish by peaking with the TUNE knob.
Appearance of an arrow on either left or right TRI scale edges means that the LOAD
knob is too far from the proper position. To correct this, turn the LOAD knob to the
prompted direction until the triangle marker appears inside the scale field.
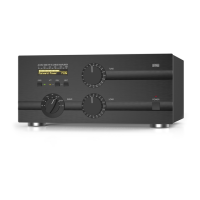
Figure 4-1 Using TRI tuning aid
 Loading...