8 WZ
3
20S User Guide
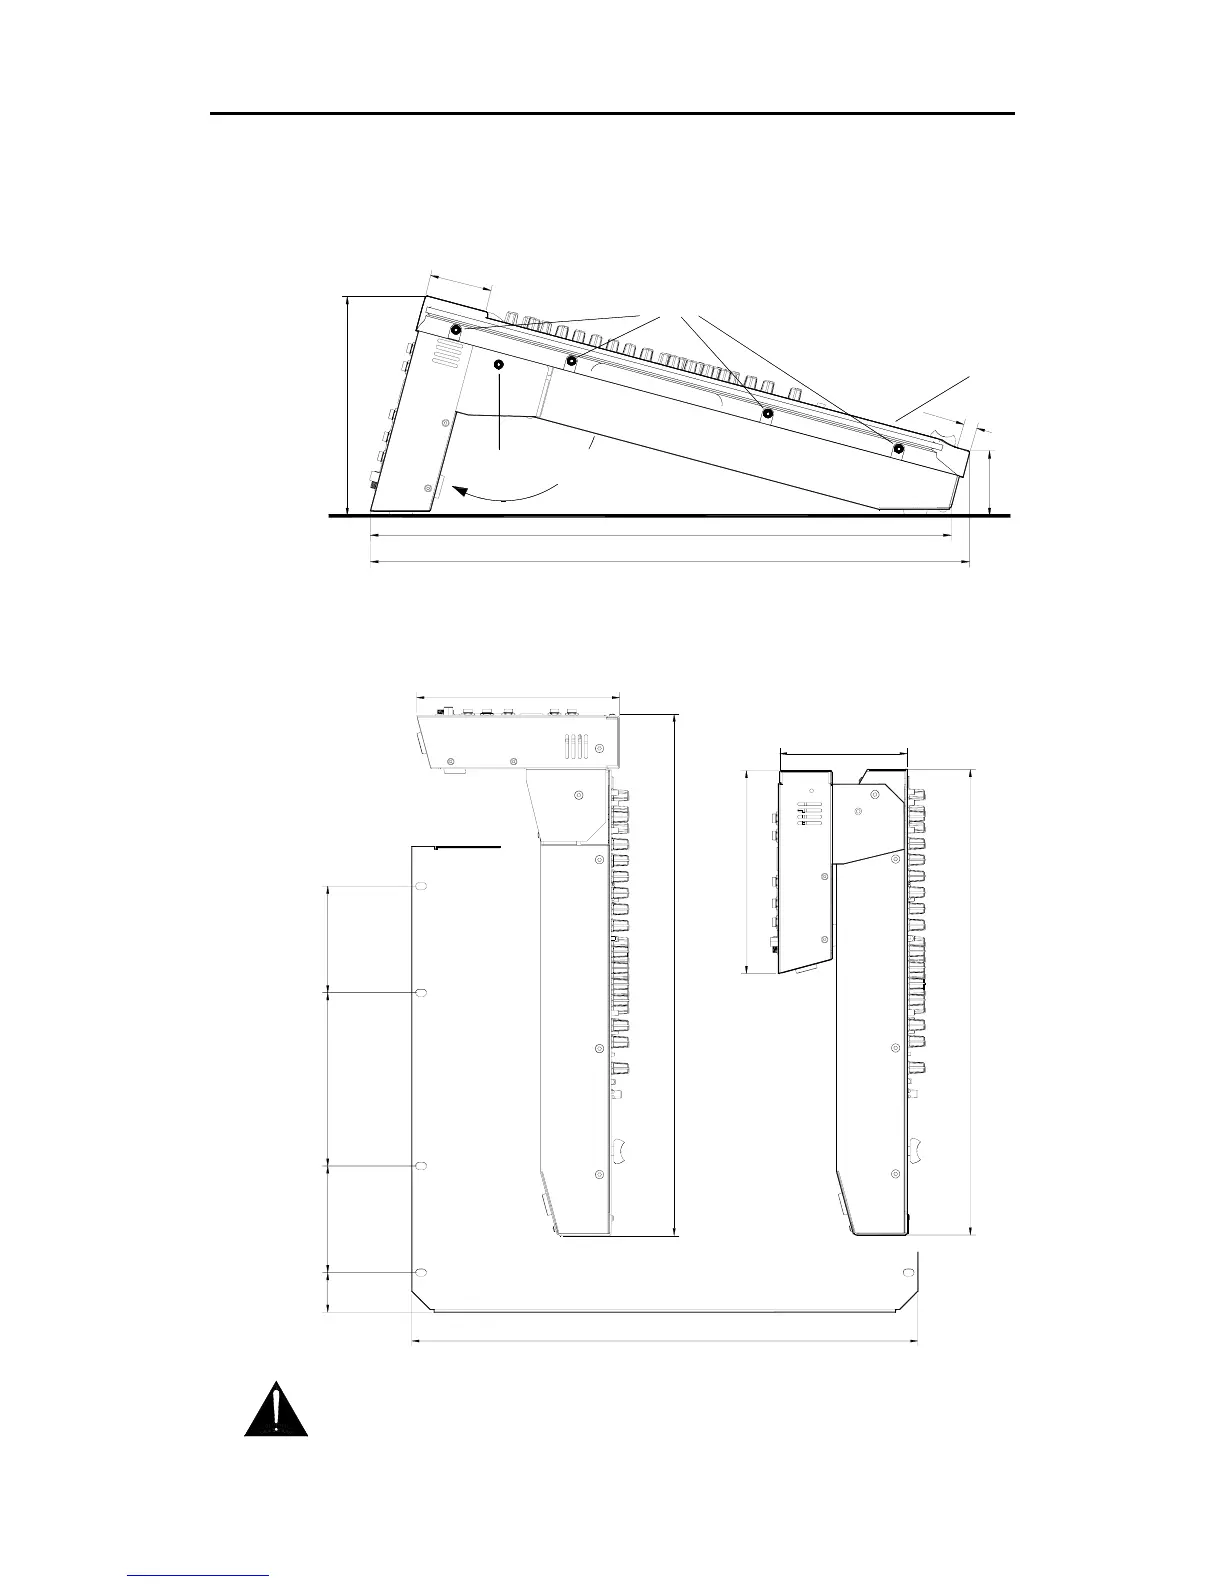
Installing the Console
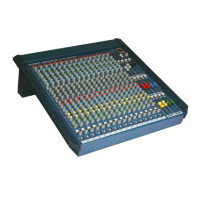
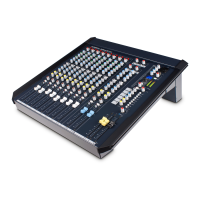
Free Standing
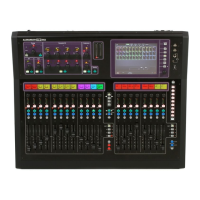
The console is supplied ready for free standing operation with its side trims fitted and
connector pod positioned for rear access. If you are converting from rack to free standing
then make sure the pod is correctly rotated and secured, and the side trims fitted as shown
below:
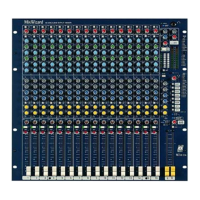
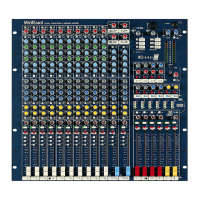
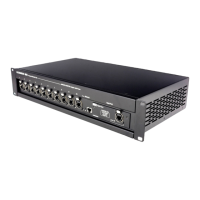
19” Rack Mount
For rack mounting, remove the two side trims and rotate the pod into the connector position
preferred. Allow enough space for the cables and connectors behind the console.
Do not transport the console with its connector pod securing screws removed. Do not
attempt to remove the connector pod from the console. Do not obstruct the ventilation slots.
Allow adequate space around the console for air flow. If the side-trims are to be removed,
do not re-fit the (2x M4x10 and 6x M4x8) fixing screws to the unit. Please retain and store
these screws in case the side-trims need to be re-fitted in the future.
194
5
5
1
2
58
514
530
ROTATE POD AND REFIT SECURING SCREWS
RELEASE M4 POZI SCREW EACH SIDE
FIT SIDE TRIMS - 4x M4 POZI SCREWS PER SIDE
CONSOLE WIDTH = 507mm
101.6165.1101.637.7
482.6 (19" RACK)
444
(10U)
193
497
(11.2U)
SECURE IN RACK USING 8x M6 BOLTS
USE PLASTIC CUP WASHERS TO PROTECT THE PANEL
122
193
 Loading...