HI/LO Speed Control Handle
Handle controls include: HI/LO Speed Adjusting Knob, Key Extension/Key Switch and Battery Indicator Light. The Key
Extension/Key Switch, located on the right side of the Handle Control Cover, will turn the power of the Amigo ON or OFF.
Turning it OFF will prevent drainage of batteries and unauthorized use. The speed may be adjusted
by turning the HI/LO Speed Adjusting Knob.
TouchTron Handle
The TouchTron handle controls include: Key Extension/Key Switch, HI/LO Speed Gauge (Rabbit/Turtle Buttons),
Battery Status Gauge, Horn, Headlight, Directional Lights, Electromagnetic Brake Release and Power Seat Lift.
To turn power ON, insert the Key and turn it counterclockwise to the ON position. The Key Extension/Key Switch is on the
right side of the Control Cover. When the power is ON, the Battery Indicator and Speed Gauge Displays will light up,
showing the level of charge contained in your batteries and the last recorded speed setting prior to the Amigo being turned
off. Regulate your maximum speed with the Rabbit and Turtle Buttons. To increase your top speed, press the Rabbit Button.
To lower the top speed, press the Turtle Button. Each segment in the Speed Gauge corresponds with approximately 15 to 20
percent of the maximum speed. Every time a button is activated on the touchpad, you will hear a “chirp.” The speed setting
has approximately 200 possible increments, so you may have to press the Turtle or Rabbit Button several times to see
a change on the Speed Gauge. Continuous “chirping” sounds indicate highest and lowest speed settings.
The Horn Button should be used to avoid confrontation with pedestrians or other mobile entities. When using your Amigo at
night, turn the Headlight ON, by pressing the Light Button. If you purchased the optional Lighting Package you will also have
a Taillight and Turn Signals. Refer to the “High Intensity Light Package Operation” on page 7 for specific details
on using these features.
The Electromagnetic Brake Release allows you to engage the “Freewheeling” mode, enabling you to push the unit,
if necessary. Additional information on using the Electromagnetic Brake Release can be found in the “Operating Your
Amigo” section on page 6.
Units with an optional Power Seat Lift can raise or lower the seat height by pressing the Seat Button.
Please refer to the “Power Seat Lift Operation” on page 7, for specific instructions on using this feature.
ADJUSTING YOUR AMIGO
To adjust your Amigo to a comfortable driving position, you can alter the Handle, Seat and Armrests as follows:
EZ-Tilt Handle Adjustment
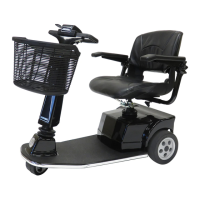
To adjust the angle of the Handle, turn the Adjustment Lever counterclockwise. Move the
Handle to the desired position. Tighten the Adjustment Lever by turning it clockwise (Figure 1A).
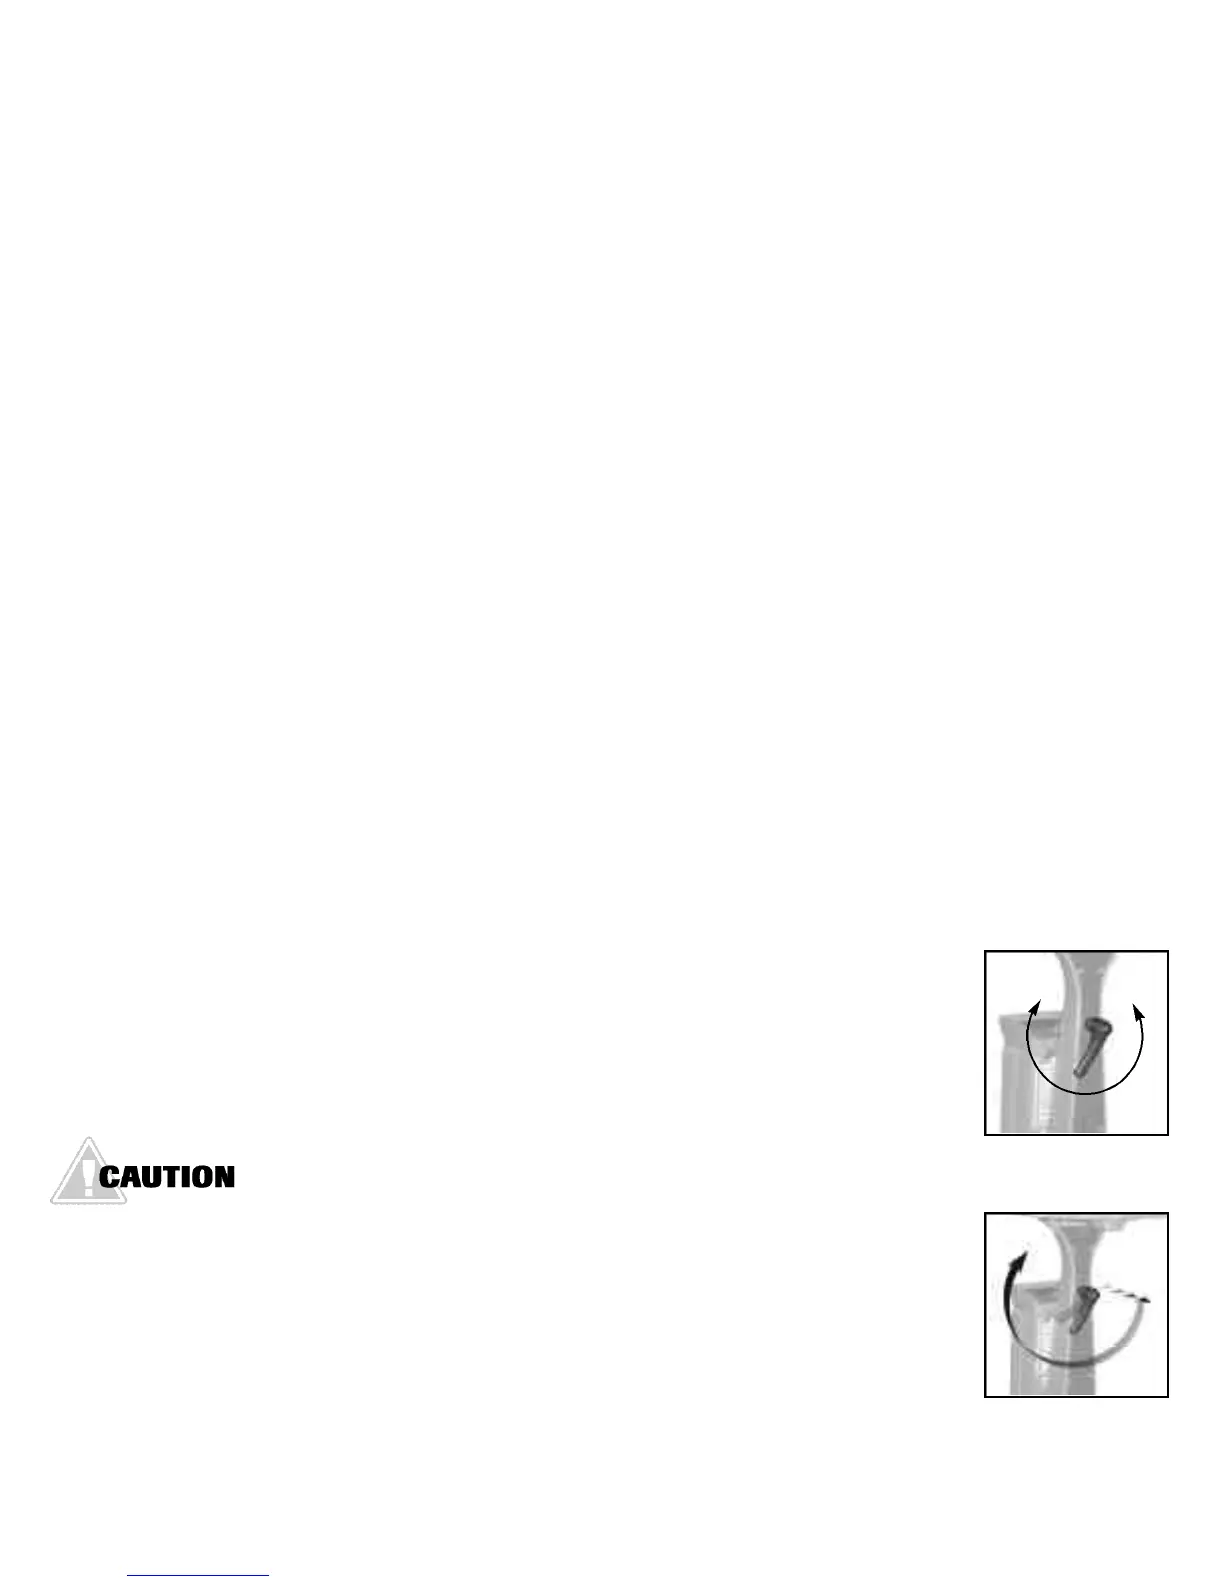
The placement of the spring-activated Adjustment Lever, itself, can be moved out of the way for
your comfort. Pull the Adjustment Lever straight out. Turn in either direction. Release Adjustment
Lever at desired placement (Figure 1B).
DO NOT USE THE ADJUSTMENT LEVER FOR A FOOT REST.
SUCH USE MAY CAUSE THE ADJUSTMENT LEVER TO LOOSEN
THE HANDLE AND CAUSE PERSONAL INJURY.
Seat Installation
1. Unlock the Seat Lock.
2. Insert the Upper Seat Post into the opening of the Lower Seat Post.
3. Spin Seat around to make sure it rotates freely.
4. To lock the Seat, pull the Seat Lock Lever toward the rear of the Seat.
5
Figure 1A
Figure 1B
 Loading...