ASUS A8N-SLI DeluxeASUS A8N-SLI Deluxe
ASUS A8N-SLI DeluxeASUS A8N-SLI Deluxe
ASUS A8N-SLI Deluxe
2-72-7
2-72-7
2-7
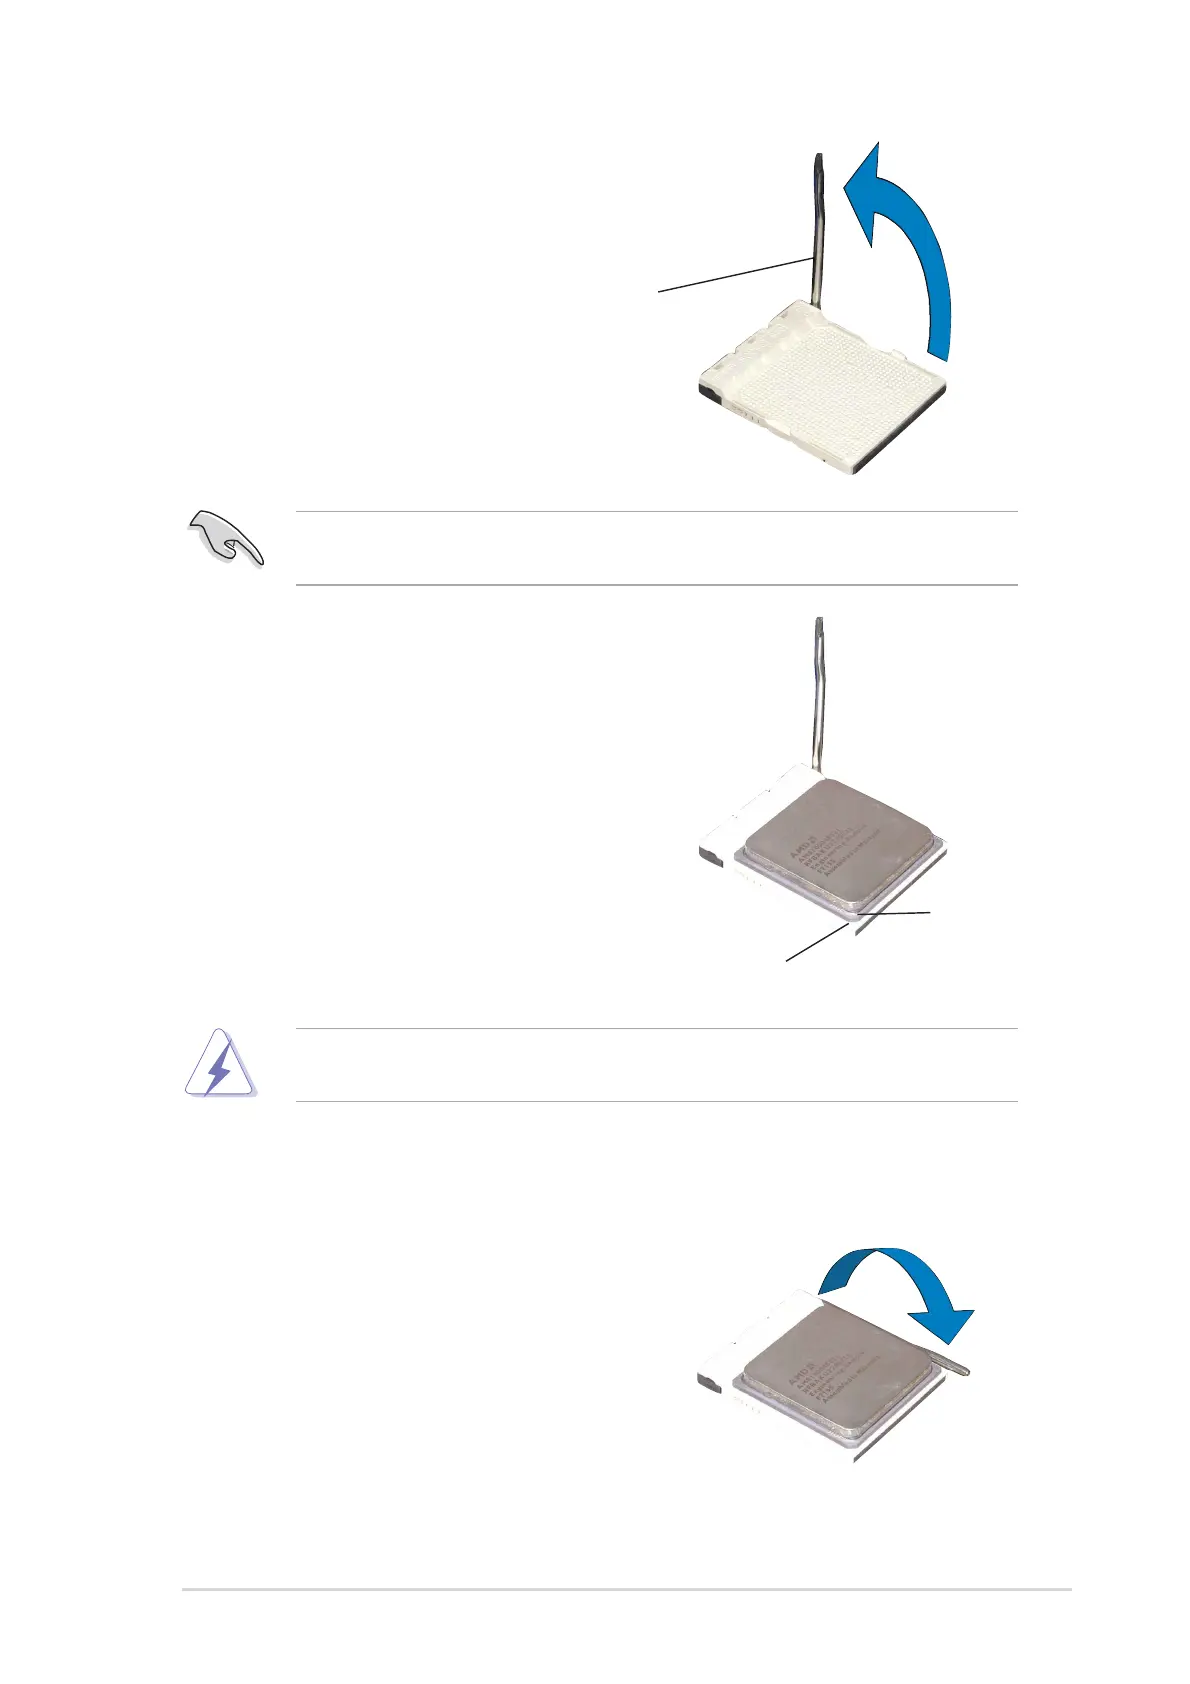
3. Position the CPU above the
socket such that the CPU corner
with the gold triangle matches
the socket corner with a small
triangle.
4. Carefully insert the CPU into the
socket until it fits in place.
2. Unlock the socket by pressing
the lever sideways, then lift it up
to a 90°-100° angle.
Make sure that the socket lever is lifted up to 90°-100° angle, otherwise
the CPU does not fit in completely.
The CPU fits only in one correct orientation. DO NOT force the CPU into
the socket to prevent bending the pins and damaging the CPU!
5. When the CPU is in place, push
down the socket lever to secure
the CPU. The lever clicks on the
side tab to indicate that it is
locked.
Gold triangleGold triangle
Gold triangleGold triangle
Gold triangle
Small triangleSmall triangle
Small triangleSmall triangle
Small triangle
Socket LeverSocket Lever
Socket LeverSocket Lever
Socket Lever
 Loading...