1.6 Central Processing Unit (CPU)
This motherboard supports AM3/AM2/AM2+ CPUs including AMD
®
Phenom™ II /
Athlon™ II/ Phenom™ / Athlon™ / Sempron™ processors.
1.6.1 Installing the CPU
To install a CPU:
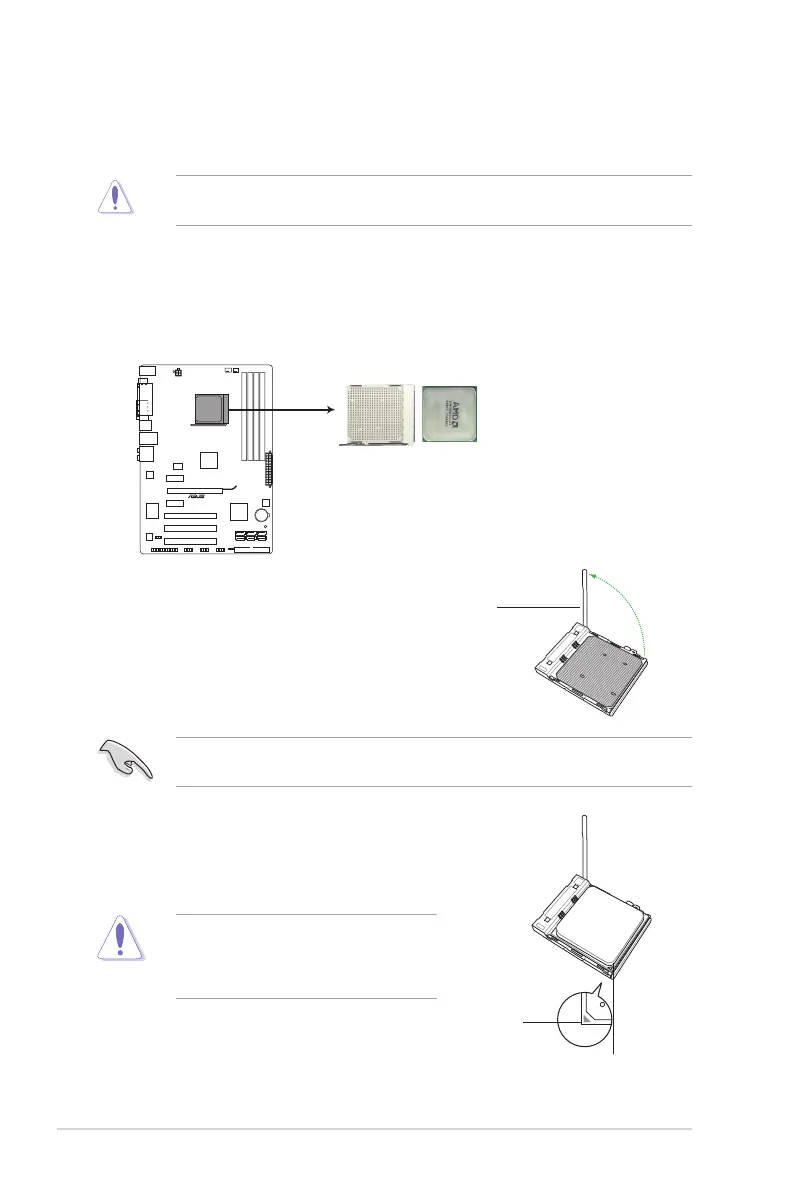
1. Locate the CPU socket on the motherboard.
2. Press the lever sideways to unlock the
socket, then lift it up to a 90°-100° angle.
Socket lever
Ensure that the socket lever is lifted up to a 90°-100° angle; otherwise, the CPU will not t
in completely.
3. Position the CPU above the socket such that the CPU
corner with the gold triangle matches the socket corner
with a small triangle.
4. Carefully insert the CPU into the socket until it ts in place.
The CPU ts only in one correct orientation.
DO NOT force the CPU into the socket to
prevent bending the pins and damaging the
CPU!
Gold triangle
Small triangle
The AM2/AM2+ socket has a different pinout from the 940-pin socket designed for the AMD
Opteron™ processor. Use a CPU that is designed for the AM2/AM2+ socket.
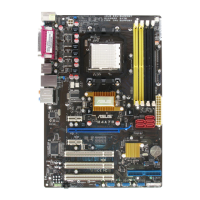
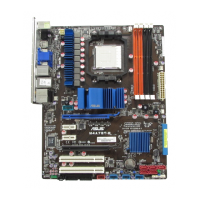
M4A77 CPU socket AM2+
M4A77
Chapter 1: Product introduction1-8
 Loading...