 Loading...
Do you have a question about the Asus P2B and is the answer not in the manual?
| Matrix size | 0.45 \ |
|---|---|
| Number of colors | 16.78 million colors |
| Native aspect ratio | - |
| Projection distance | 0.5 - 3 m |
| Projection technology | DLP |
| Supported aspect ratios | 4:3, 16:9, 16:10 |
| Contrast ratio (typical) | 3500:1 |
| Screen size compatibility | 20 - 120 \ |
| Projector native resolution | WXGA (1280x800) |
| Throw ratio | 1:1 |
| Focal length range | - mm |
| Service life of light source | 30000 h |
| Full HD | No |
| Analog signal format system | NTSC |
| Composite video in | 0 |
| USB connector type | USB Type-A |
| USB 2.0 ports quantity | USB 2.0 ports have a data transmission speed of 480 Mbps, and are backwards compatible with USB 1.1 ports. You can connect all kinds of peripheral devices to them. |
| Card reader integrated | Yes |
| Compatible memory cards | MicroSD (TransFlash) |
| Internal storage capacity | 2 GB |
| Noise level | 32 dB |
| Preset modes | Cinema, Dynamic, Presentation, sRGB, Standard |
| Noise level (economic mode) | 24 dB |
| RMS rated power | 1.5 W |
| Audio formats supported | AAC, APE, FLAC, MP1, MP2, MP3, OGG, WAV, WMA |
| Image formats supported | BMP, JPEG XR, JPG, PNG |
| Video formats supported | 3G2, 3GP, ASF, AVI, DAT, FLV, M4V, MKV, MOV, MP4, MPG, TS, VOB, WMV |
| Document formats supported | |
| Placement | Ceiling, Tripod |
| Product type | Standard throw projector |
| Product color | White |
| Market positioning | Portable |
| Cable lock slot type | Kensington |
| Power source | AC/Battery |
| Battery capacity | 2950 mAh |
| Battery life (max) | 1.5 h |
| Power consumption (standby) | 0.5 W |
| Power consumption (typical) | 30 W |
| Operating temperature (T-T) | 0 - 40 °C |
| Operating relative humidity (H-H) | 20 - 90 % |
| Cables included | VGA |
| Depth | 130 mm |
|---|---|
| Width | 142.5 mm |
| Height | 34.6 mm |
| Weight | 656 g |
| Package depth | 179 mm |
| Package width | 235 mm |
| Package height | 113 mm |
| Package weight | 1400 g |
Explains manual structure and lists package contents for verification.
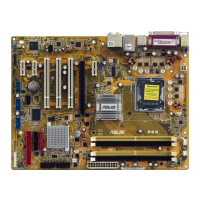
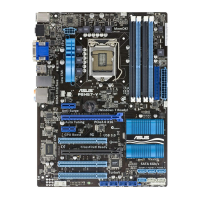
Details the advanced features and specifications of the ASUS P2B motherboard.
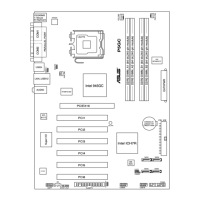
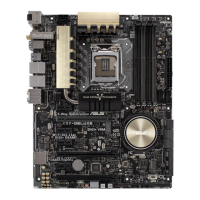
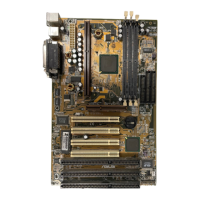
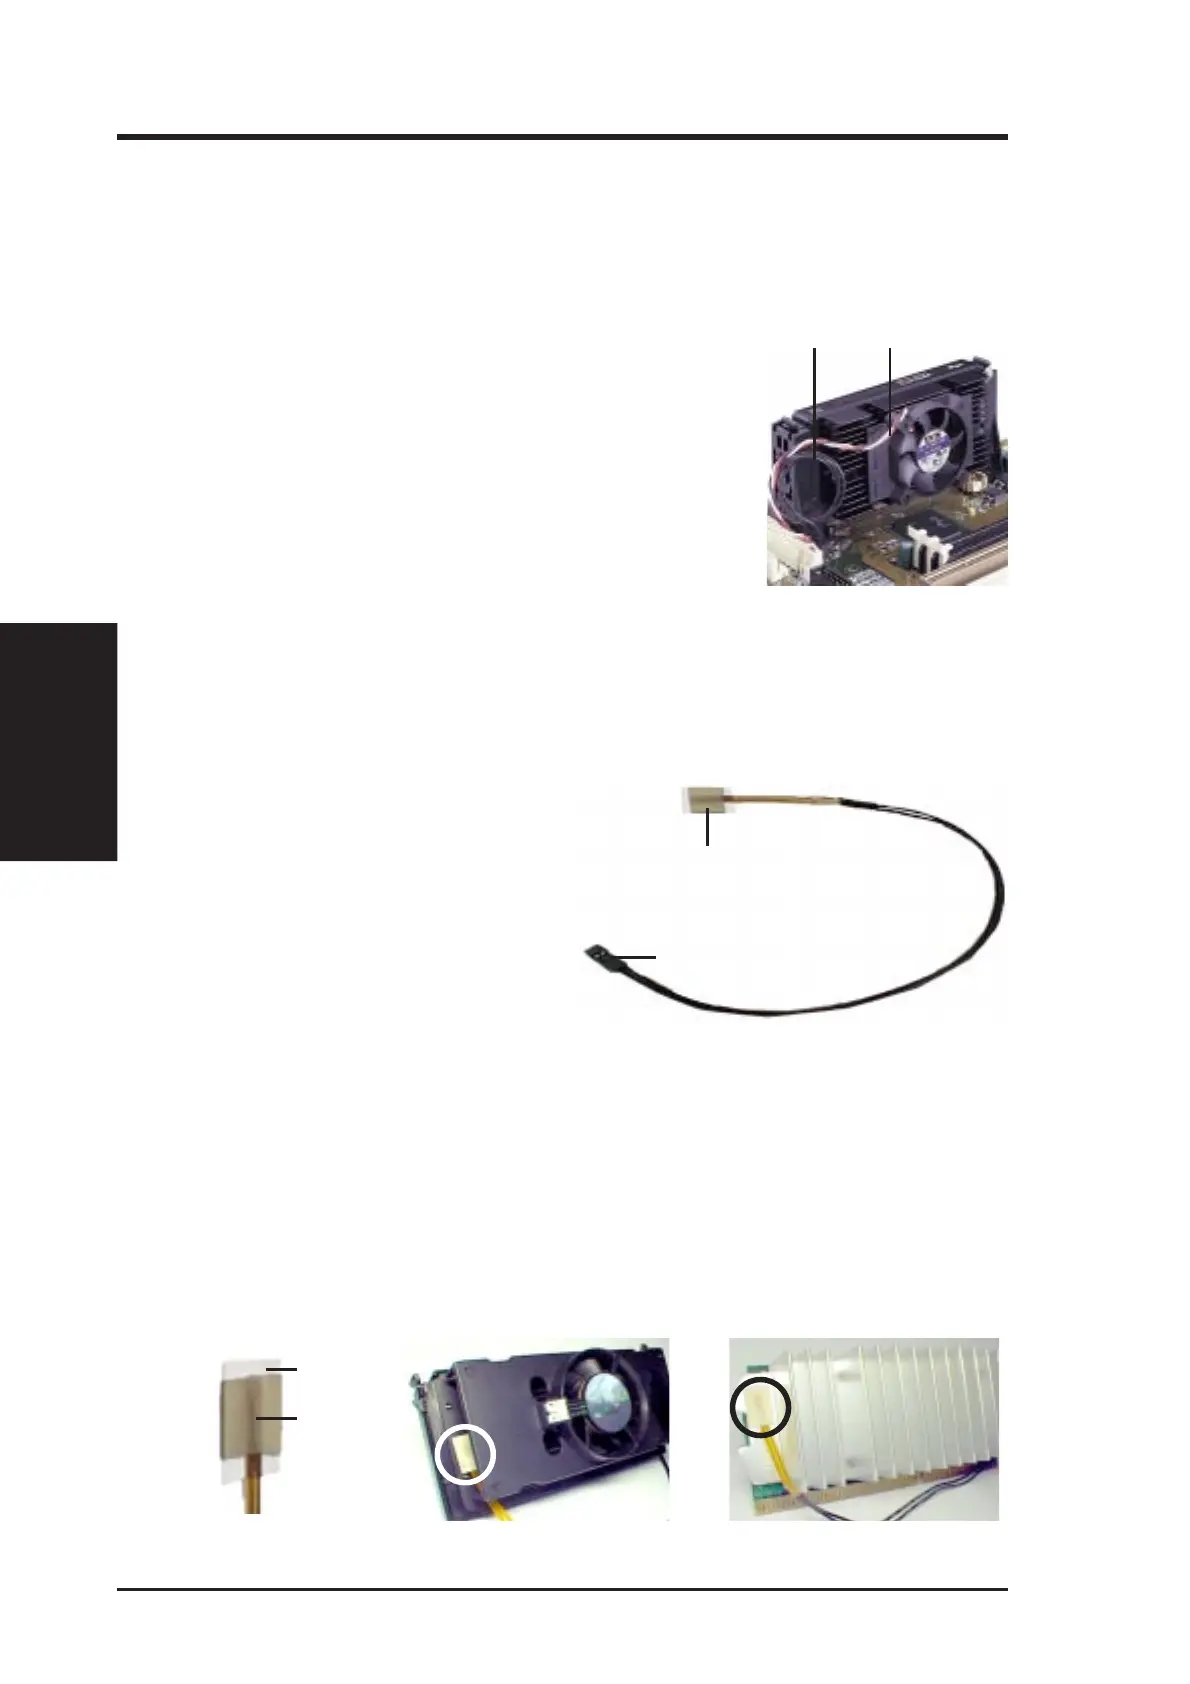
Visual identification and labeling of key motherboard components.
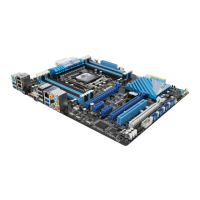
Diagram of the motherboard and general installation steps.
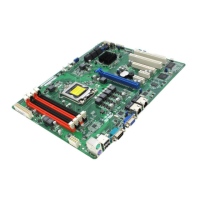
Guides for installing the CPU and system memory (DIMMs).
Information on installing expansion cards and connecting external devices.
Instructions for connecting the system's power supply.
Procedures for saving and updating the system BIOS.
Configuration of basic hardware, system features, and chipset settings.
Settings for security passwords, boot sequence, and power management.
Explains DMI, its utility, requirements, and usage.
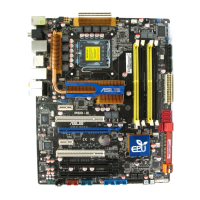
Details on optional modules, CPU card, LAN card, and technical terms.