7.0 Commissioning the Appliance
32
7.1 Commissioning the Appliance
1. Pressurise the system to 1.0 bar then close
and disconnect the filling loop. Check for water
leaks.
2. Purge away air from the supply pipe at the gas
service cock. (BS 6891: 1988) (Fig. 78).
3. Ensure that the electrical supply is isolated.
4. Check the electrical supply for earth continuity,
polarity, short circuit and resistance to earth.
5. Turn the gas service cock to the ON position
and check for gas soundness up to the gas valve.
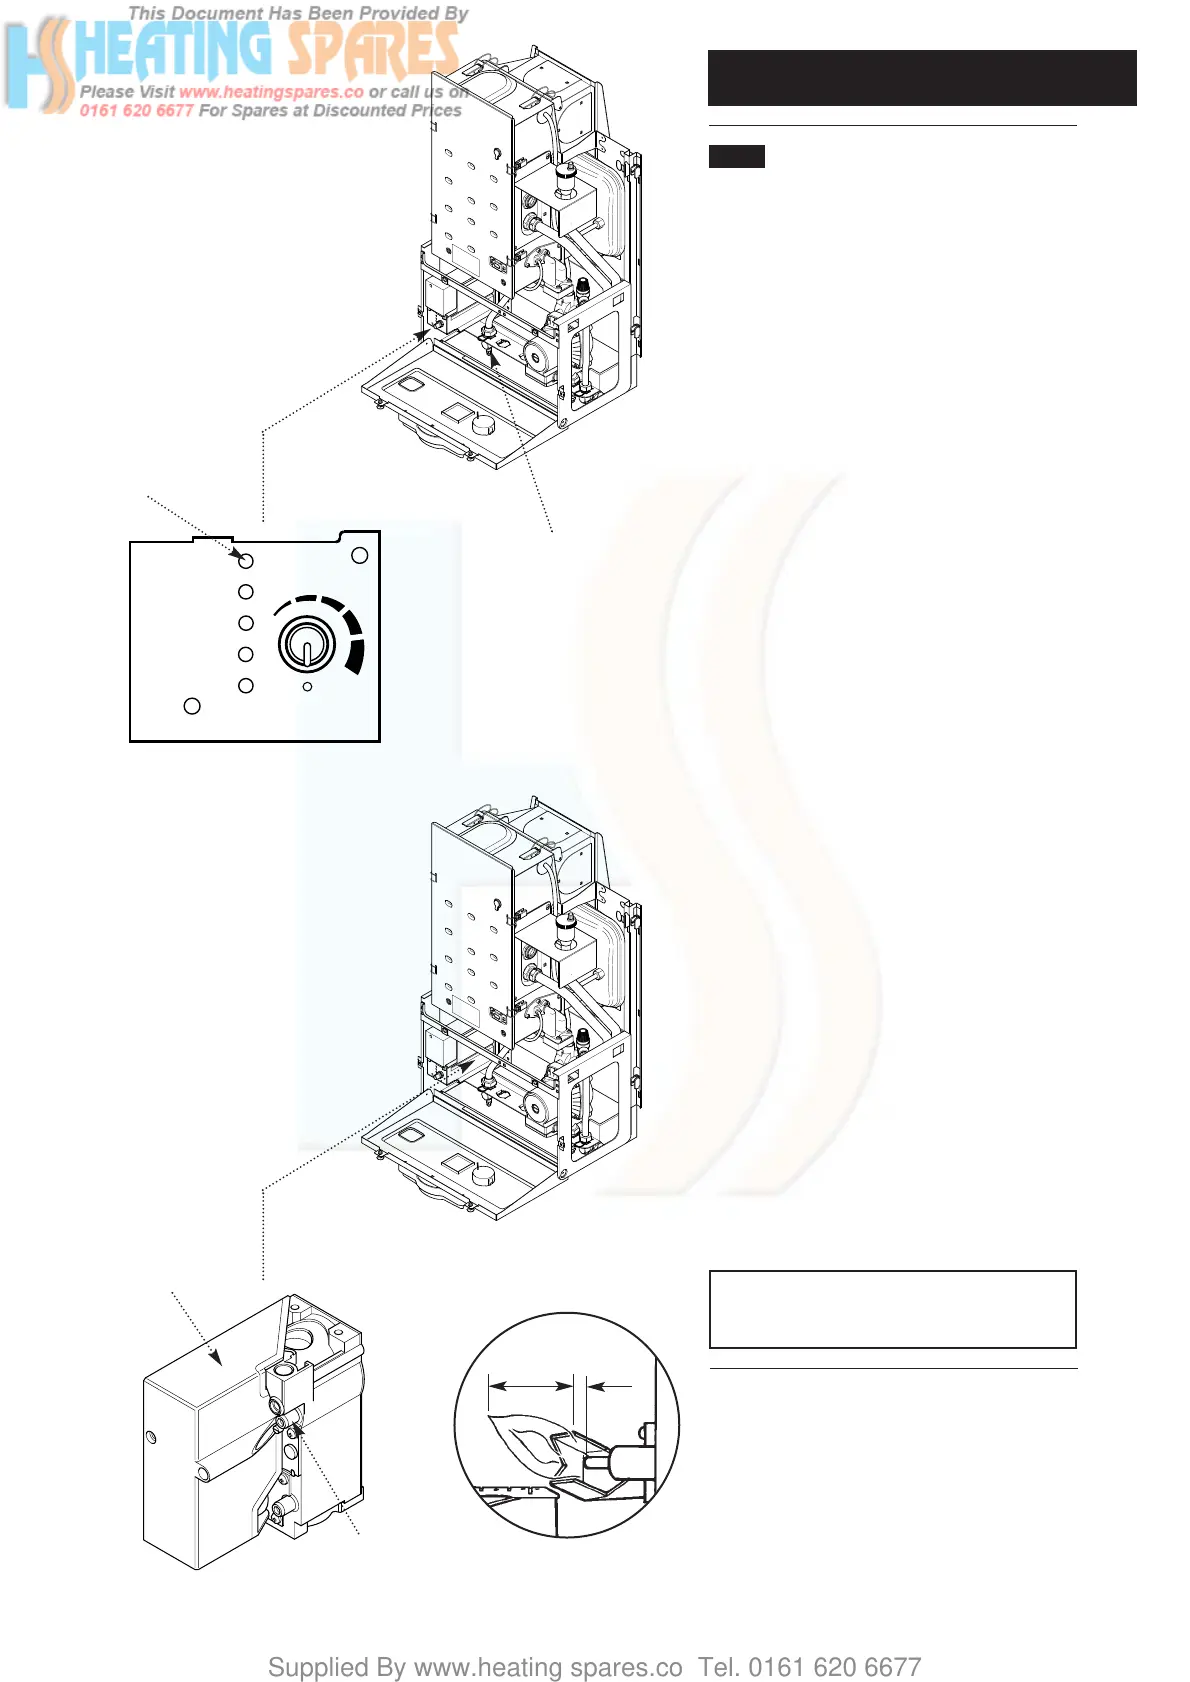
6. Loosen the pressure test point screw on the
gas control valve (there is no need to completely
remove this screw to check the burner pressure)
and connect a pressure gauge (Fig. 81).
7. Turn the boiler thermostat control knob fully
anti-clockwise to the OFF position marked 0
(Fig. 79).
8. Ensure that the electricity supply is turned ON
and set any external controls to the ON position.
9. Turn the boiler thermostat knob fully clockwise.
10. The fan will start running and after
approximately 10 seconds, the ignition spark will
commence.
11. The sparking will continue until the pilot light
is established (Fig. 82) and then the main burner
will light from the pilot flame.
12. Check that both the main burner and the pilot
are alight by observing through the viewing
window. The indicator lights should also be
illuminated.
13. Should this sequence not occur, then refer to
the fault finding section of these instructions.
NOTE: The pilot rate for this appliance is
factory set, sealed and therefore non-
adjustable.
 Loading...