8
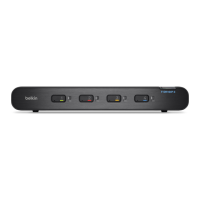
Secure Audio and Microphone 4-Port Switch
INSTALLATION
SECTIONSTable of Contents 1 2 3 4 5
Pre-Configuration
Where to place the Switch:
The enclosure of the Switch is designed for desktop configuration.
Consider the following when deciding where to place the Switch:
• your proximity to the port selectors on the front of the Switch
• the lengths of the cables you use to connect your computers/phones
to the Switch
Connection and Installation
Step 1 Connecting the Console to the Switch
Connect your headset, speaker, and microphone to the rear of the
Switch in the “Console” section. (Refer to diagram on page 6.)
Step 2 Power Up
Power up the Switch by connecting the power. The LED for Port 1
should light up solid white a second after power up.
Step 3 Connecting Computers to the Switch
Using the Belkin Shielded Audio/Mic Cable Kit, connect the computers
to a port on the rear of the Switch. Other devices may be connected
with appropriate adapter cables. (Refer to diagram on page 6.)
 Loading...