10
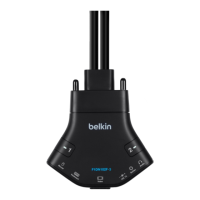
Secure Audio and Microphone 4-Port Switch
OPERATING THE AUDIO AND MICROPHONE SWITCH
SECTIONSTable of Contents 1 2 3 4 5
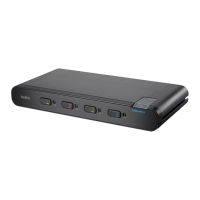
Operation
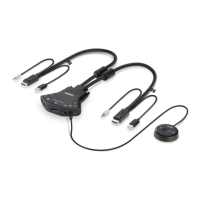
Selecting a Computer Using Port Selectors
Now that you have connected your console and computers to the
Switch, it is ready for use. You can select which computer you wish
to direct audio to by pressing the corresponding port selector on the
front of the Switch. The LED next to the port number will illuminate
to indicate which computer (or port) is currently selected. You may
hear a clicking sound after each switch. This is normal behavior and
indicates a mechanical connection has taken place.
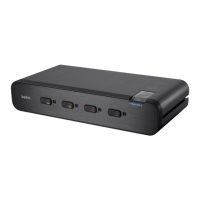
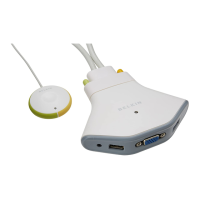
Using the Microphone-Mute Button
The Switch offers a microphone-mute button to shut-off the
microphone when the Switch is not in use or while handling calls
where the microphone is not required.
Enable the microphone mute by selecting the microphone-mute
button. After it is selected, the microphone will be muted and the
microphone-mute LED and current selected port will light up red.
Note only the microphone will be muted. Audio signals will still pass
through uninterrupted.
Attention!
Please note that the default port at power-up is Port 1. In case
of a power failure or if the power is cycled, the Switch will
default to Port 1.
 Loading...