S 401 GB - 8 - 03-06
S 401 GB - 8 - 03-06
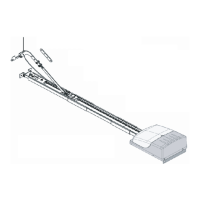
sion chain / belt
Turn the nut to tension the chain or belt
slightly. Fig. 10).
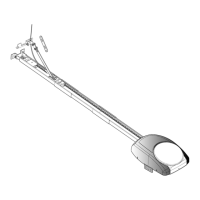
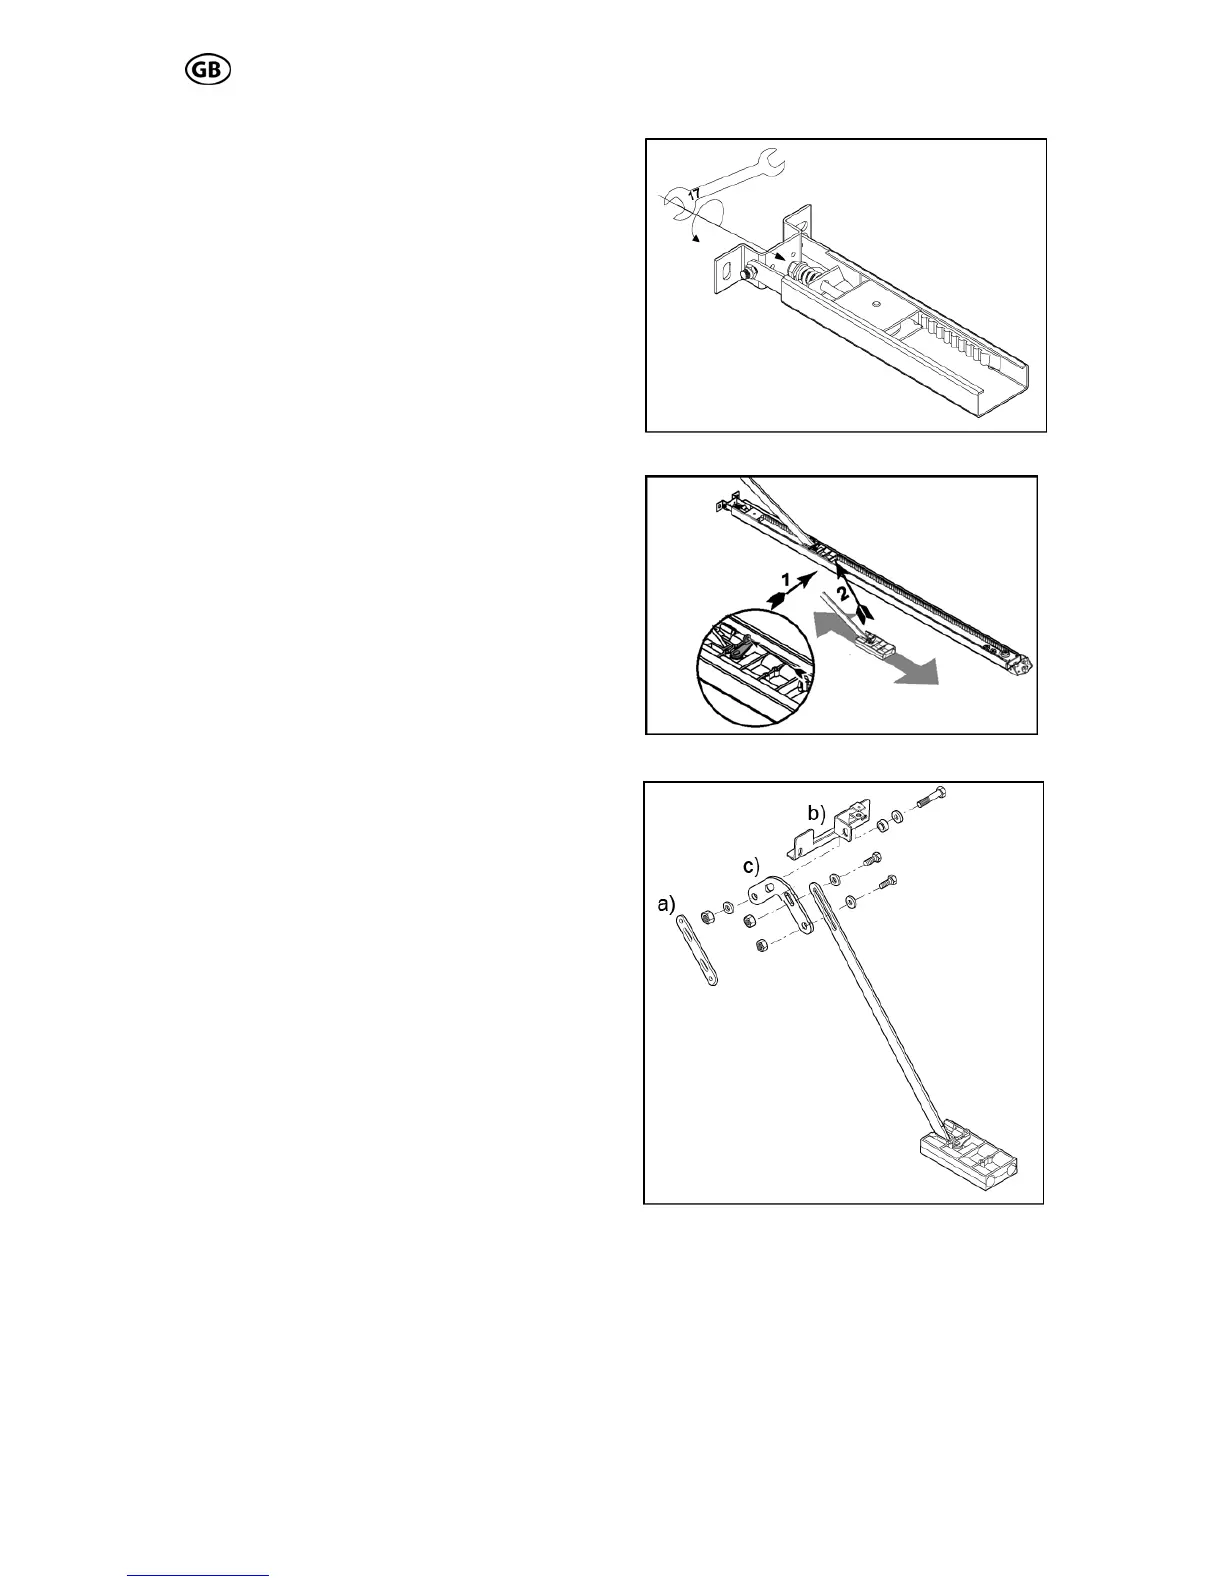
Trolley test
Check afterwards, that the trolley can easily be
moved by hand. To release the trolley, from
the chain lock, pushes the lever on the trolley
and at the same time move the trolley in the
rail (Fig. 11).
Make absolutely sure, that after this test the
trolley engages on the chain lock. To perform
this, move the trolley without holding the lever
over the chain/belt lock and the trolley en-
gages automatically.
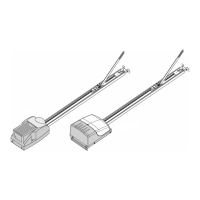
Assembly of door bracket
According to the installation situation the pro-
vided push rod components can be combined
as needed (Fig. 12).
If the length of the push rod is not sufficient, it
can be adjusted via the extension rod (Fig.
12a). In adoption with sectional doors, we rec-
ommend the use of a sectional door angle
(Fig. 12c). Then the provided door bracket
(Fig. 12b) has to be attached to the push rod.
For the assembly use the provided screws,
washers and nuts, and tighten them firmly.
Fig. 10
Pre-ten
Fig. 11
Fig. 12
 Loading...