16) SOLENOID LOCK Fig. K
WARNING: In the case of leaves longer than 3m, it is indispensable to
install a solenoid lock.
Fig. K shows a sample connection of an ECB 24V~ solenoid latch connected to
the LIBRA C LX control panel.
In order to control the solenoid lock, the LIBRA C-LX panel needs a special board
mod. ME BT.
ACCES TO MENU: Fig. 1
PARAMETERS MENU param
(TABLE “A” PARAMETERS)
LOGIC MENU logic
(TABLE “B” LOGIC)
RADIO MENU RADIO
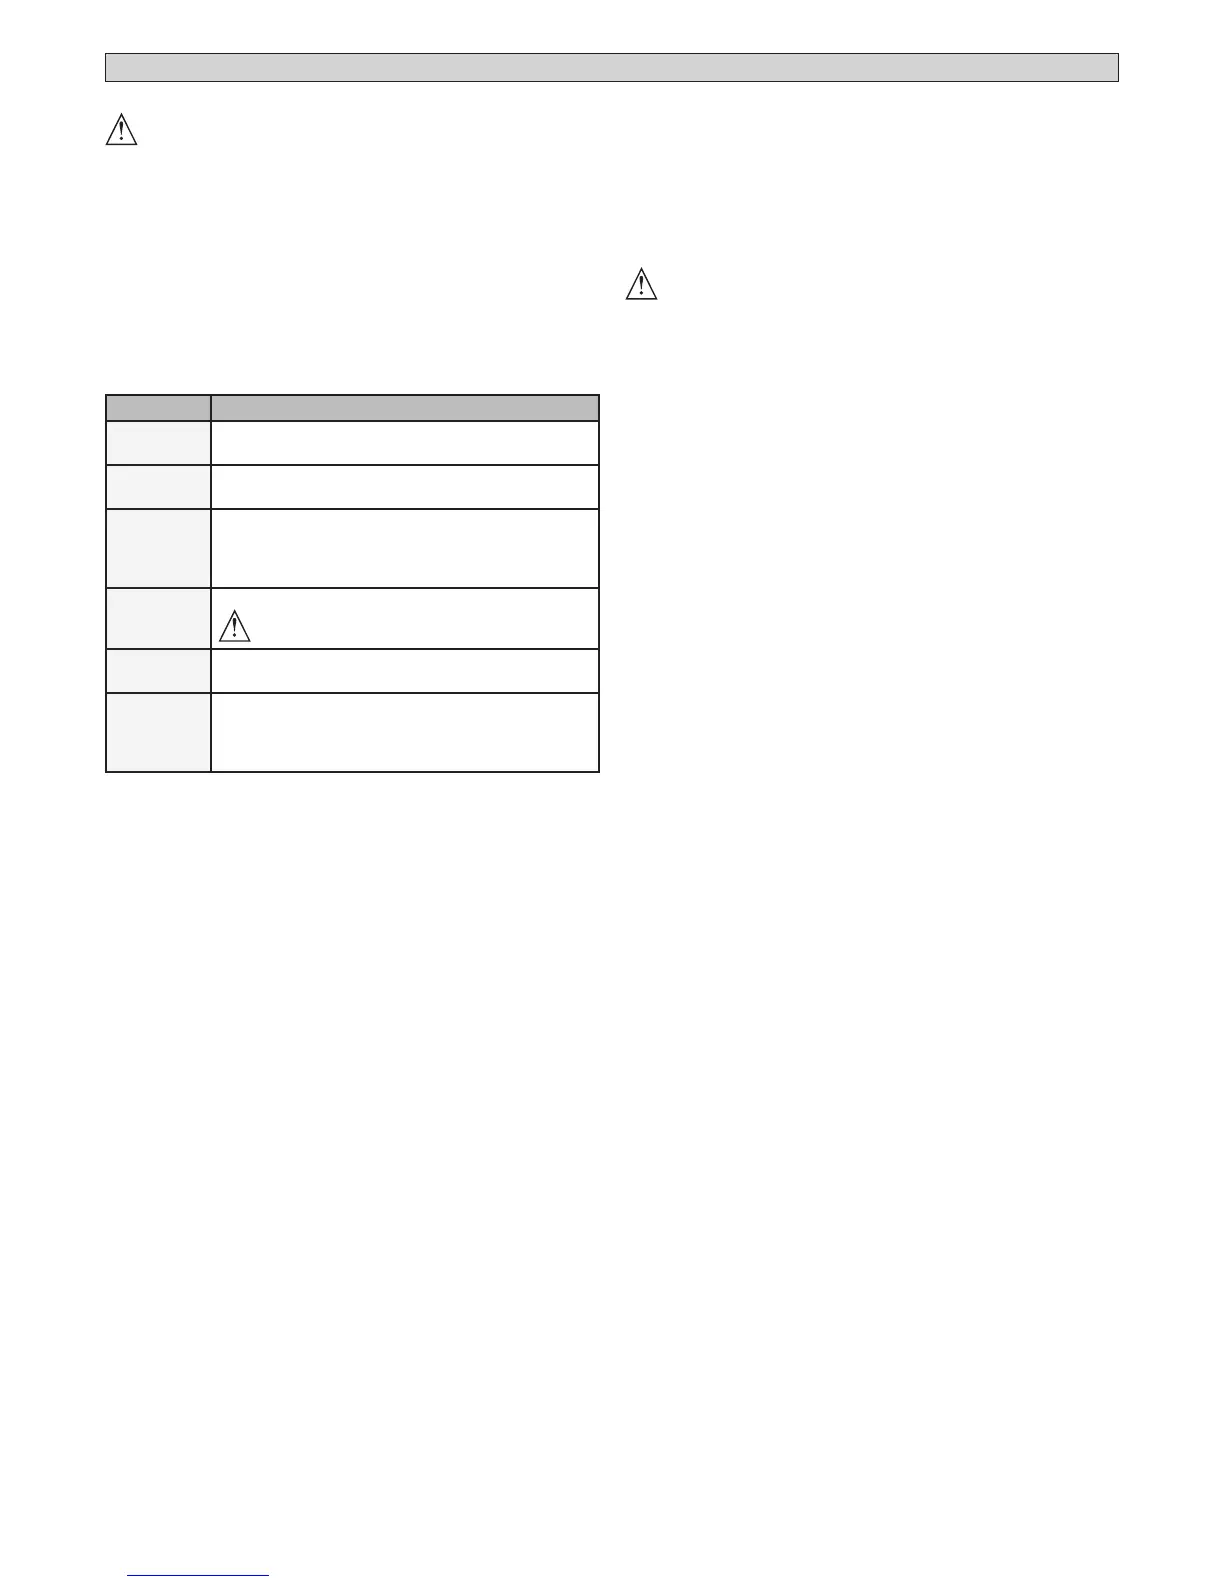
Logic Description
add start
Add Start Key
associates the desired key with the Start command
add 2ch
Add 2ch Key
associates the desired key with the 2nd radio channel command
read
Read
Checks a key of a receiver and, if memorized, returns the
number of the receiver in the memory location (from 01 to
63) and number of the key (T1-T2-T3 or T4).
erase 64
Erase List
WARNING! Erases all memorized remote controls from
the receiver’s memory.
cod RX
Read receiver code
Displays receiver code required for cloning remote controls.
uk
ON = Enables remote programming of cards via a previously me-
morized W LINK transmitter. It remains enabled for 3 minutes
from the time the W LINK remote control is last pressed.
OFF=W LINK programming disabled.
- IMPORTANT NOTE: THE FIRST TRANSMITTER MEMORIZED MUST BE
IDENTIFIED BY ATTACHING THE KEY LABEL (MASTER).
In the event of manual programming, the rst transmitter assigns the RECEIVER’S
KEY CODE: this code is required to subsequently clone the radio transmitters.
The Clonix built-in on-board receiver also has a number of important advanced
features:
• Cloning of master transmitter (rolling code or xed code)
• Cloning to replace transmitters already entered in receiver
• Transmitter database management
• Receiver community management
To use these advanced features, refer to the universal handheld programmer’s
instructions and to the CLONIX Programming Guide, which come with the uni-
versal handheld programmer device.
LANGUAGE MENU language
Used to set the programmer’s language on the display.
DEFAULT MENU default
Restores the controller’s default factory settings.
AUTOSET MENU Autoset
See Fig. G and “Autoset Men”.
LIMIT SWITCH SETTING MENU (reg FC)
see Fig. F and “L
i m i t Sw i t c h Se t t i n g me n u ”
MONITORING
The torque parameter denes the maximum acceptable dierence between the
instant torque and the expected instant torque , i.e. it indicates sensitivity to the
obstruction. The lesser the torque parameter, the greater the sensitivity to the
obstruction (Torque 1= maximum sensitivity).
17 ADJUSTING PROCEDURE
Before switching on, check electrical connections.
- Set the following parameters: Automatic Closing Time, Opening and closing
delay times, Slow-down speed and Slow-down Distance.
- Set all the logics.
- Carry out the autoset procedure.
After completing the autoset procedure, the Motor fast time and the Torque can
be manually adjusted.
WARNING! Any incorrect setting can cause injuries to persons and animals
or damage to things.
WARNING:check that the impact force value measured at
the points established by the EN 12445 standard is lower than that
specied in the EN 12453 standard.
To obtain a better result, it is advisable to carry out the autoset procedure and
the fast time setting with the motors at rest (i.e. not overheated by a considerable
number of consecutive manoeuvres).
INSTALLATION MANUAL
 Loading...