7
D
3
10
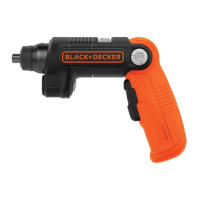
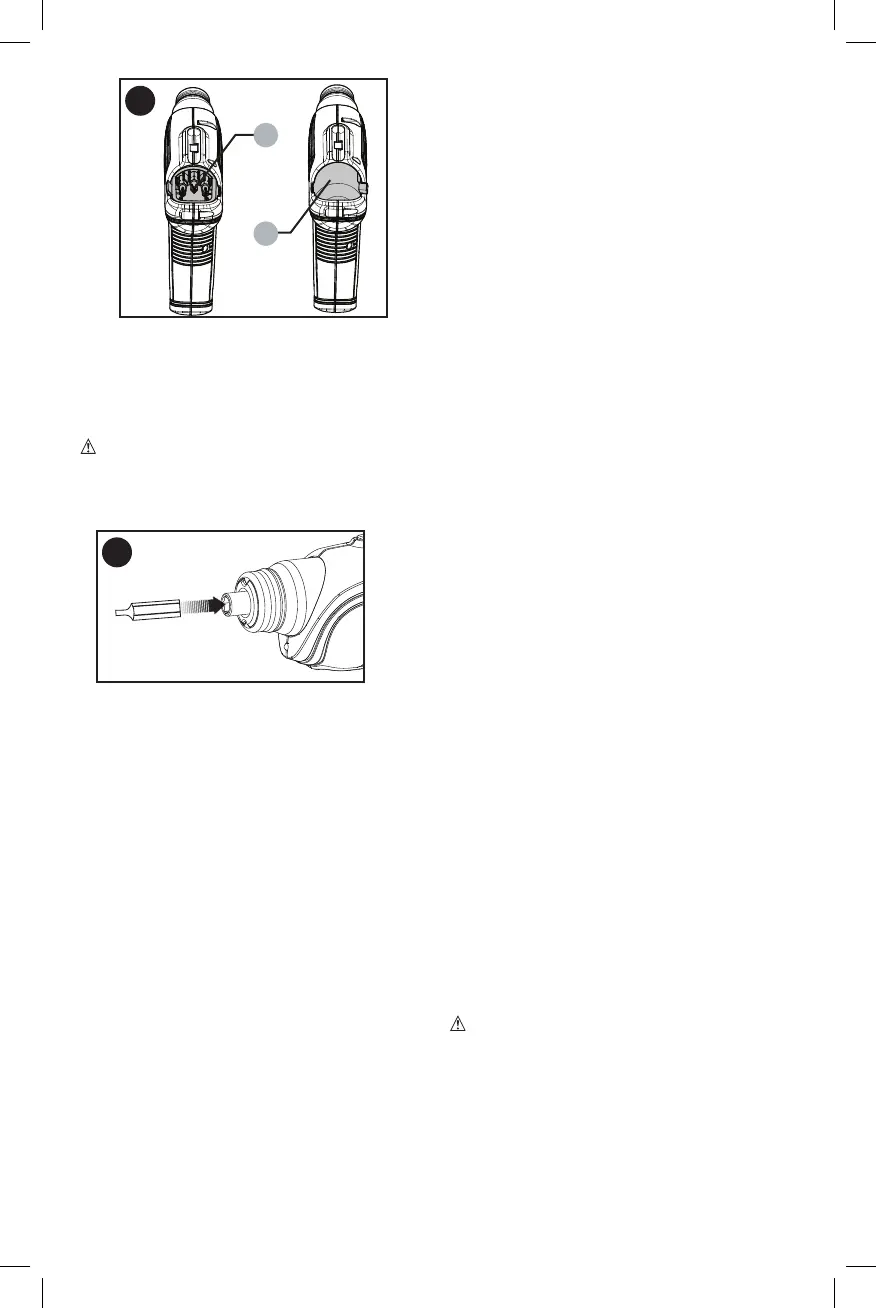
INSERTING AND REMOVING BITS
• To install a bit, insert it into the cavity in the
hex spindle as shown in Figure E.
• To remove the bit, pull it straightout.
• For bit tips, use a bit tipextender.
NOTE: Only hex end bits will fit in spindle
WARNING:
• Do not use screwdriver as a pry bar in
anyposition.
• To avoid screwdriver being turned on
accidentally, do ot cary in yourpocket.
E
OPERATING INSTRUCTIONS
TRIGGER SWITCH & REVERSING BUTTON
• The drill is turned ON and OFF by pulling
and releasing the trigger (1).
• The forward/reverse control button (2)
determines the direction of the tool and
also serves as a lock off button.
• To select forward rotation, release the
trigger switch and depress the forward/
reverse control button to the left.
• To select reverse, depress the forward/
reverse control button the oppositedirection.
NOTE: When changing the position of the
control button, be sure the trigger is released.
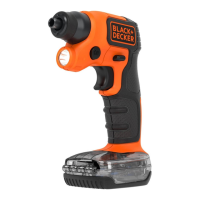
LED LIGHT
When the screwdriver is activated by pulling
the trigger switch (1), the LED light (5) will
automatically come on. The light will go off
when the trigger isreleased.
MAGNETIC SCREW HOLDER
Place a few screws in the magnetic screw
holder (4), so your screws are right there to
help make the jobeasier.
SCREW DRIVING
For driving fasteners, the foward/reverse button
should be pushed to the left. Use reverse (button
pushed to the right) for removing fasteners.
When moving from forward to reverse, or vice
versa, always release the trigger switch first.
Release trigger when the fastener is at the
desireddepth.
NOTE: For best performance, #8, 2” fasteners
are recommended, or screw into pre-drilled holes
(1/16 - 5/32 bit recommended).
DRILLING
• Insert the appropriate hex shank drillbit.
• Select forwardrotation.
GENERAL DRILLING TIPS
• This tool is not recommended for drilling
inmasonry.
• Use sharp drill bits only
• Drill bits for metal can be used for drilling
holes in wood. These bits must be sharp
and should be pulled out frequently when
drilling to clear chips from theflutes.
• Support and secure work properly, as
instructed in the safety Instructions.
• Use appropriate and required safety
equipment, as instructed in the
safetyinstructions.
• Secure and maintain work area, as
instructed in the safety instructions.
• Use light pressure until the hole is started
enough to keep the drill bit from slipping
out ofit.
• Apply pressure in a straight line with the bit.
Use enough pressure to keep the bit biting
but not so much as to stall the motor or
deflect thebit.
• Hold the tool firmly to control its twistingaction.
• DO NOT CLICK THE TRIGGER OF A
STALLED TOOL OFF AND ON IN AN
ATTEMPT TO START IT. DAMAGE TO THE
TOOL CAN RESULT. To remove:
• Put tool in reverse and back drill bitout.
• Turn tool off and back bit out byhand.
• Remove bit withpliers.
• Minimize stalling on breakthrough by
reducing pressure and slowly drilling
through last part of hole.
• Put tool in reverse while pulling the bit out of a
drilled hole. This will help reducejamming.
• Make sure switch turns tool on andoff.
WARNING: It is important to support
work properly and to hold the tool firmly to
prevent loss of control which could cause
personalinjury.
MAINTENANCE
Use only mild soap and damp cloth to clean
the tool. Never let any liquid get inside the tool;
never immerse any part of the tool into aliquid.
IMPORTANT: To assure product SAFETY
and
RELIABILITY, repairs, maintenance and adjustment
 Loading...