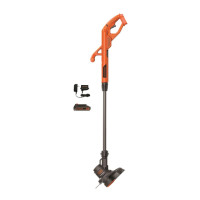
9
• Push the handle
completely onto the housing
and position it slightly until it
“snaps” into place (figure 7).
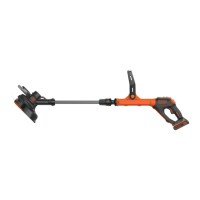
• To adjust the handle up or
down, press in on the button
(g) and raise or lower the
handle.
• The handle should be
adjusted so that your front
arm is straight when the
trimmer is in the working
position.
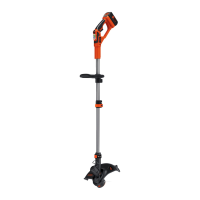
HEIGHT ADJUSTMENT
• The overall height of the
trimmer can be adjusted by
loosening the collar (h) and
rotating it in the direction of
the arrow shown in figure 8.
• Move the upper housing
straight up or down. When
the desired height is
achieved, tighten the collar
(h) by rotating it opposite of
the direction shown in
figure 8.
OPERATING INSTRUCTIONS
WARNING: Always use proper eye protection that conforms
to ANSI Z87.1 (CAN/CSA Z94.3) while operating this power tool.
CAUTION: Inspect area to be trimmed and remove any wire,
cord, or string-like objects which could become entangled in the
rotating line or spool. Be particularly careful to avoid any wire which
might be bent outwardly into the path of the tool, such as barbs at the
base of a chain link fence.
SWITCHING ON AND OFF
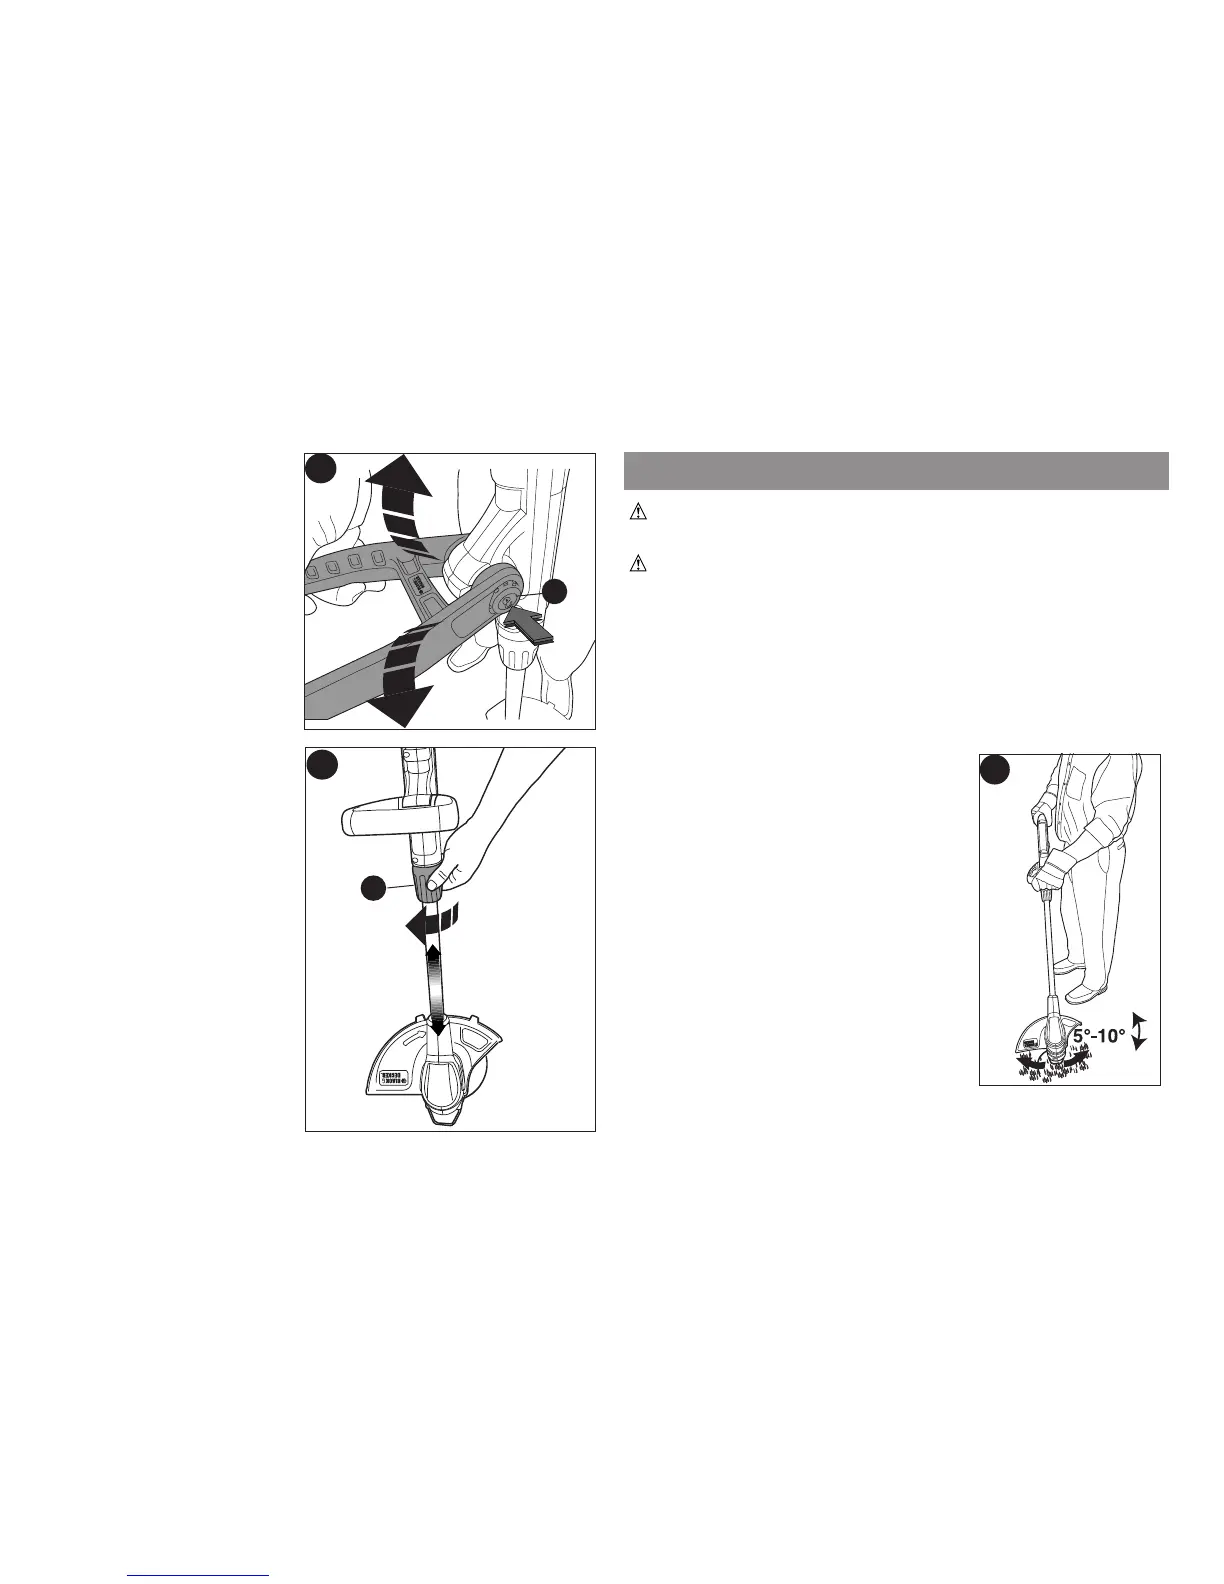
• To switch the tool on, squeeze the trigger lever.
• To switch the tool off, release the trigger lever.
• With the unit on, angle unit and slowly swing the trimmer side to
side as shown in figure 9.
7
g
8
h
9

 Loading...