Assembly Intro
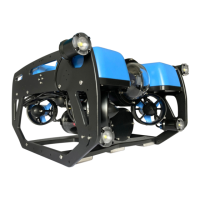
The BlueROV2 kit comes almost ready to dive. The assembly can be completed with basic
hand tools; no soldering or potting is required. We have included a couple of the tools to
make assembly and regular use as easy as possible.
Safety
When working with electricity, especially in water, always practice caution. Always
ensure that connections are secure and watertight. Keep your body away from spinning
motors and propellers.
When working with silicone grease and threadlocker, take care to minimize skin
contact. Wear protective nitrile or PVC gloves when handling.
Only apply threadlocker to screws contacting metal or the HDPE frame. Most
threadlockers are not chemically compatible with with polycarbonate, and will damage the
thrusters, fairings, and dome flange if used here. Refer to the documentation and chemical
compatibility notes of your threadlocker of choice for more information.
Required Tools (Not Included)
• #2 Phillips head screwdriver
• Wire cutters or scissors (for cutting zip ties)
• Medium-strength (blue) threadlocker such as Loctite 243
• Isopropyl alcohol or isopropyl alcohol wipes
• 2 mm flat head screw driver
Assembling the Frame
Mounting the Battery Enclosure to the Bottom Panel
To mount the battery enclosure to the bottom panel, you will need the following parts and
tools:
• 2 x Enclosure Clamp (3” Series)
• 1 x Threadlocker
• 1 x Bottom panel
• 1 x Bag with four M4x14 socket head cap screws and four M3x12 socket head cap
screws
• 1 x Watertight Enclosure for ROV/AUV (3” Series)
• 1 x 3 mm hex key
• 1 x 2.5 mm hex driver
1. Remove the Aluminium End Cap with 4 Holes (3” Series) to open the Watertight
Enclosure for ROV/AUV (3” Series) and set the bags inside of it to the side, except for
the bag with four M4x14 and four M3x12 screws in it.
2. Apply one drop of threadlocker to the bottom of each M4x14 socket head cap screw.
Roll the screws around on a paper towel to evenly spread the threadlocker and to
remove excess threadlocker.