Assembling the Frame
To assemble the frame, you will need the following parts and tools:
• 1 x Threadlocker
• 1 x Bag with 12 M5x16 button head cap screws
• 2 x Side panels
• 1 x Bottom panel with the Watertight Enclosure for ROV/AUV (3” Series) installed
• 1 x Front center panel assembly
• 1 x Rear center panel assembly
• 1 x 3 mm hex key
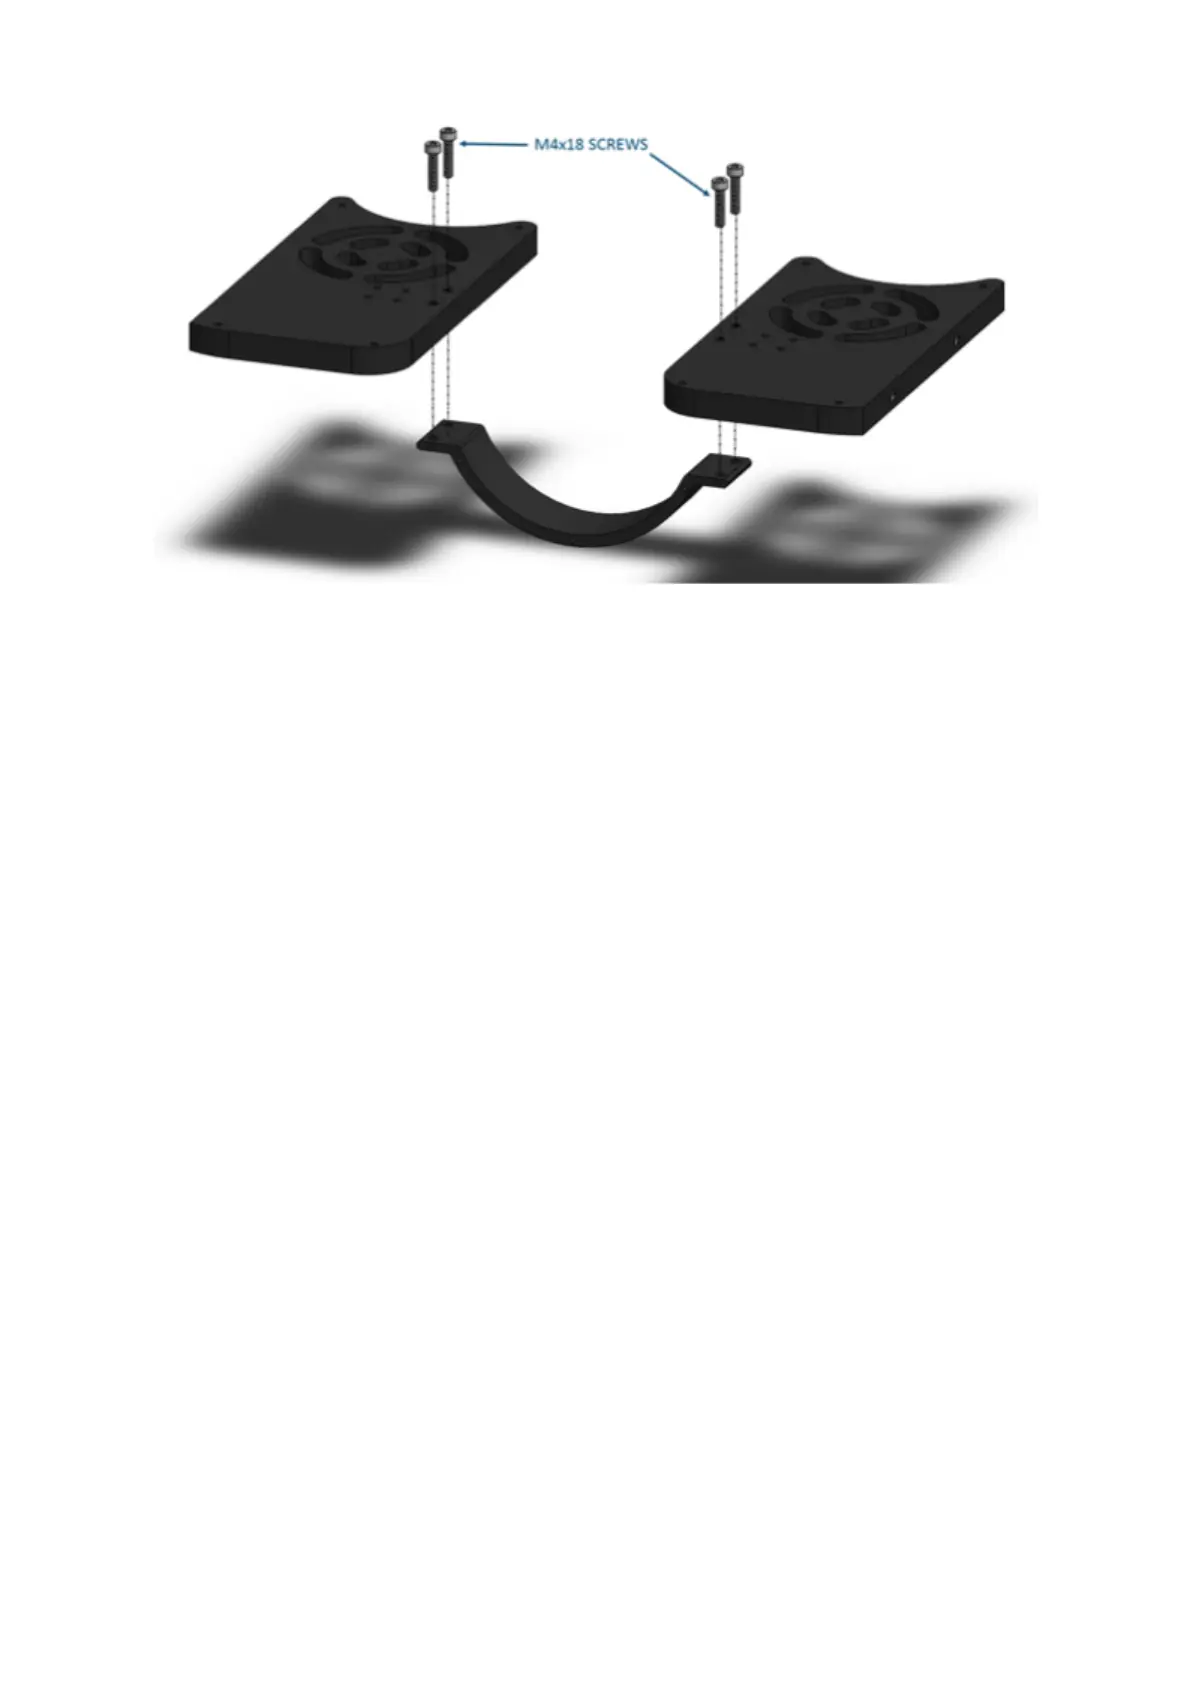
1. Apply one drop of threadlocker to each of the 12 M5x16 screws. Roll the screws
around on a paper towel to evenly spread the threadlocker and to remove excess
threadlocker.
2. Install both side panels to the bottom panel using four of the M5x16 screws; the
Aluminium End Cap (3” Series) on the Watertight Enclosure for ROV/AUV (3” Series)
should be on the same side as the Lumen mounting holes. It is very important to
avoid overtightening these screws. Tighten these screws using the provided 3 mm
hex key. Hold the short end of the 3 mm hex key while you are tightening the M5x16
screws. Do not tighten beyond the tightness you can achieve holding the short end of
the 3 mm hex key.
 Loading...
