Calsense
2 CS3000 Quick Start Guide
Setting Date and Time
The controller defaults to the Pacific Standard time zone. Based on your location, you may need to
adjust the time zone and set the clock accordingly. To set the date and time:
1. From the Main Menu, use ↓ to navigate to Setup and press SELECT. The Setup menu displays.
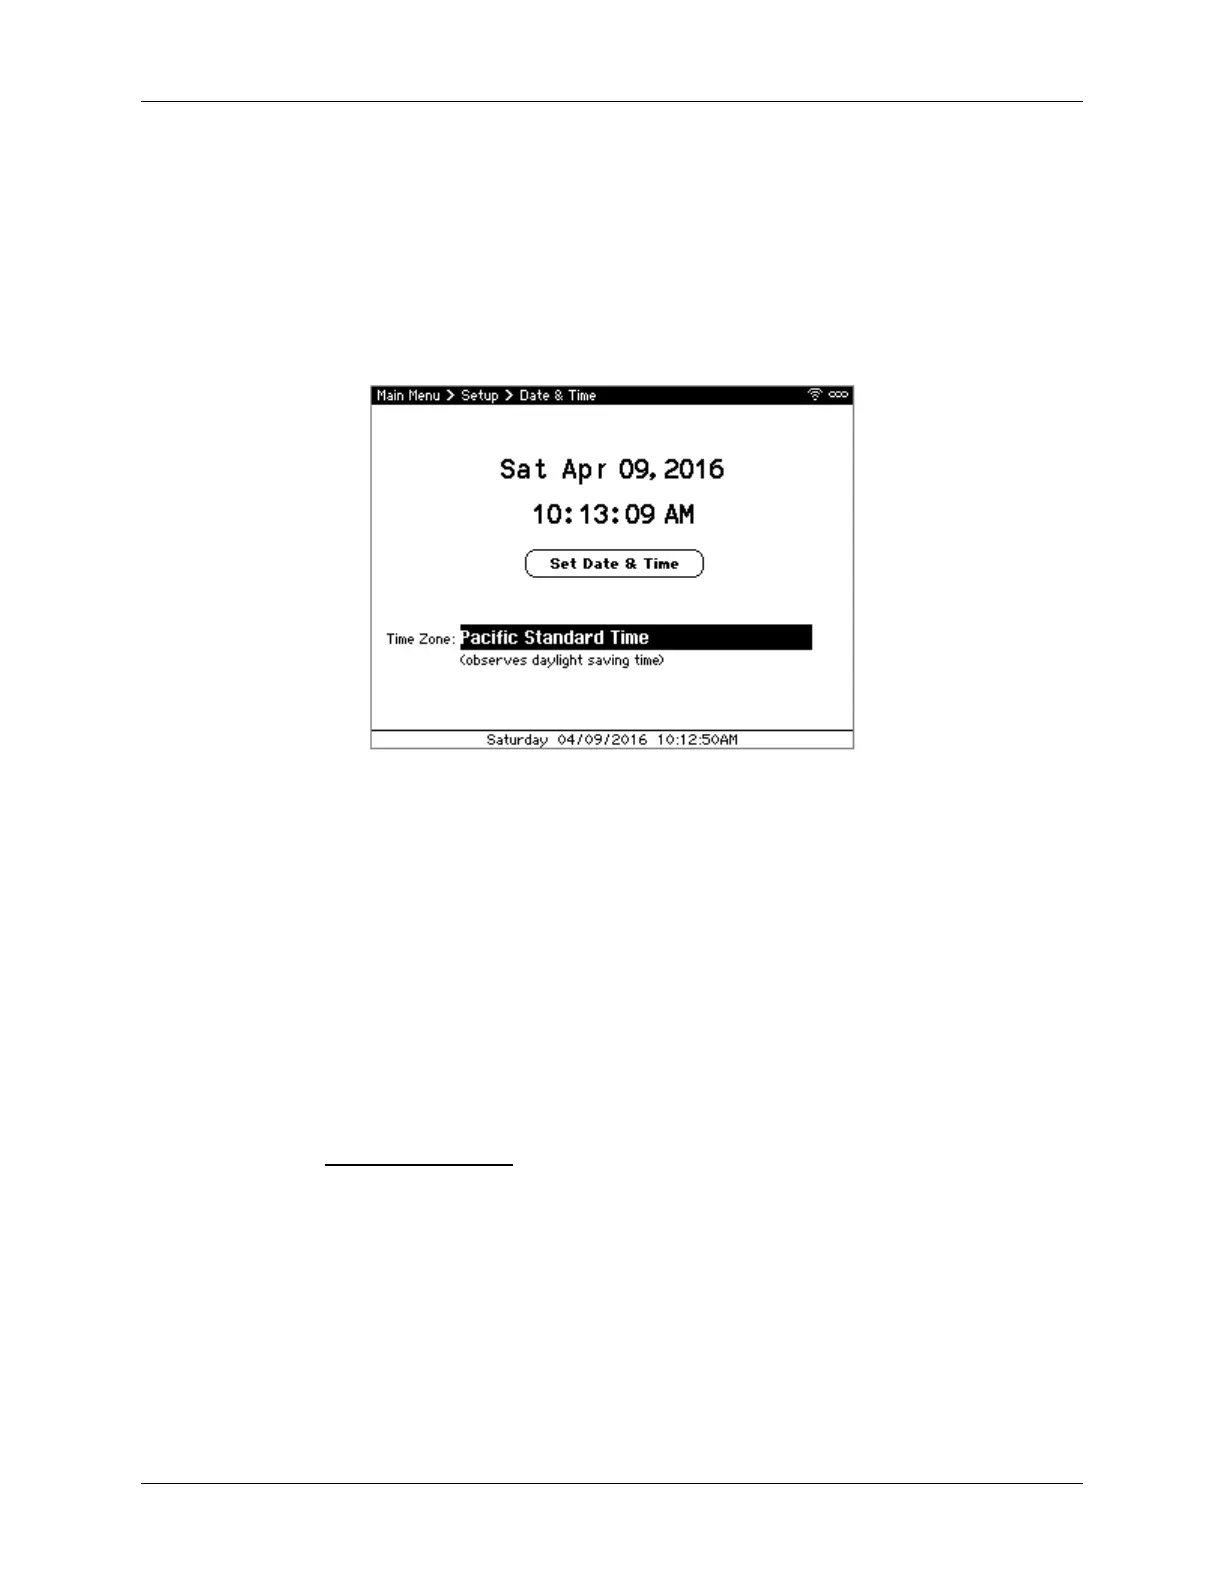
2. Use ↓ to navigate to Date & Time and press SELECT. The Date & Time screen displays
(Figure 1).
Figure 1 - Date & Time screen
3. Use +/– to adjust the time zone if necessary. Based on your time zone, the controller
automatically determines whether it observes daylight saving time or not.
4. Use ←↑→↓ to navigate to the date and time and use +/– to change values to set the current
date and time.
5. Once the time is correct, navigate to and select Set Date & Time to save the change.
6. Once done, press BACK to return to the Main Menu.
Discovering 2-Wire Decoders
If this controller has the 2-Wire option and uses 2-Wire decoders to operate POCs or stations, perform
the following steps to discover the decoders and assign stations to each decoder. If you don’t have a 2-
Wire option, skip to Using Station Groups.
Note: Prior to performing these steps, verify that the 2-Wire decoders are properly wired to the 2-Wire
cable per the 2-Wire decoder installation diagram included with each decoder.
1. From the Main Menu, use ↓ to navigate to Setup and press SELECT. The Setup menu displays.
2. Navigate to 2-Wire and press SELECT. The 2-Wire dialog displays (Figure 2).

 Loading...