1840-2
Using the Menu Screens
Many of the operations of this watch are performed using on-screen menus.
The following describes the general procedures for using on-screen menus.
To use the Menu Screens
• In any mode, press the MENU button to
display the Menu Screen.
• The highlighted menu item is the one that
is currently selected.
• Use L and K to move the highlighting.
The menu will scroll automatically if all the
items do not fit on a single screen.
• Press ● to select the highlighted menu item. Selecting a menu item
sometimes displays another menu, and sometimes it displays some sort of
Setting Screen.
• Press the MENU button to back track through menus.
Adjusting Display Contrast
Use the following procedure to adjust the relative darkness of the figures on
the display.
To adjust display contrast
1. In any mode, press the MENU button
and the H button at the same time to
display the Contrast Screen.
2. Use K to increase contrast (making the
screen darker) and L to decrease it.
• You can set contrast to one of 16 levels.
• The current contrast setting is indicated
by a value on the Contrast Screen.
3. After the contrast is the way you want, press MENU or ● to return to the
screen you started from in step 1.
• You can also display the Contrast Screen using the following procedure:
Press MENU, highlight SET UP, press ●, highlight CONTRAST, press ●.
After setting the contrast, press MENU twice to return to the Menu Screen.
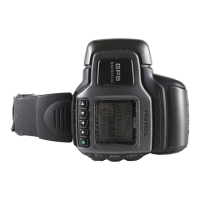
BACKLIGHT
Press the LIGHT button to illuminate the
display for about two seconds.
• The backlight is disabled while a GPS
measurement operation is in progress
(indicated when the GPS indicator is
flashing) and while the WAIT message is
on the display following a Set Up Menu
operation.
• The electro-luminescent (EL) panel that
illuminates the display loses illuminating
power after very long use.
• Illumination may be hard to see when
viewed under direct sunlight.
• The watch may emit an audible sound
while the backlight is on. This is normal
and does not indicate malfunction.
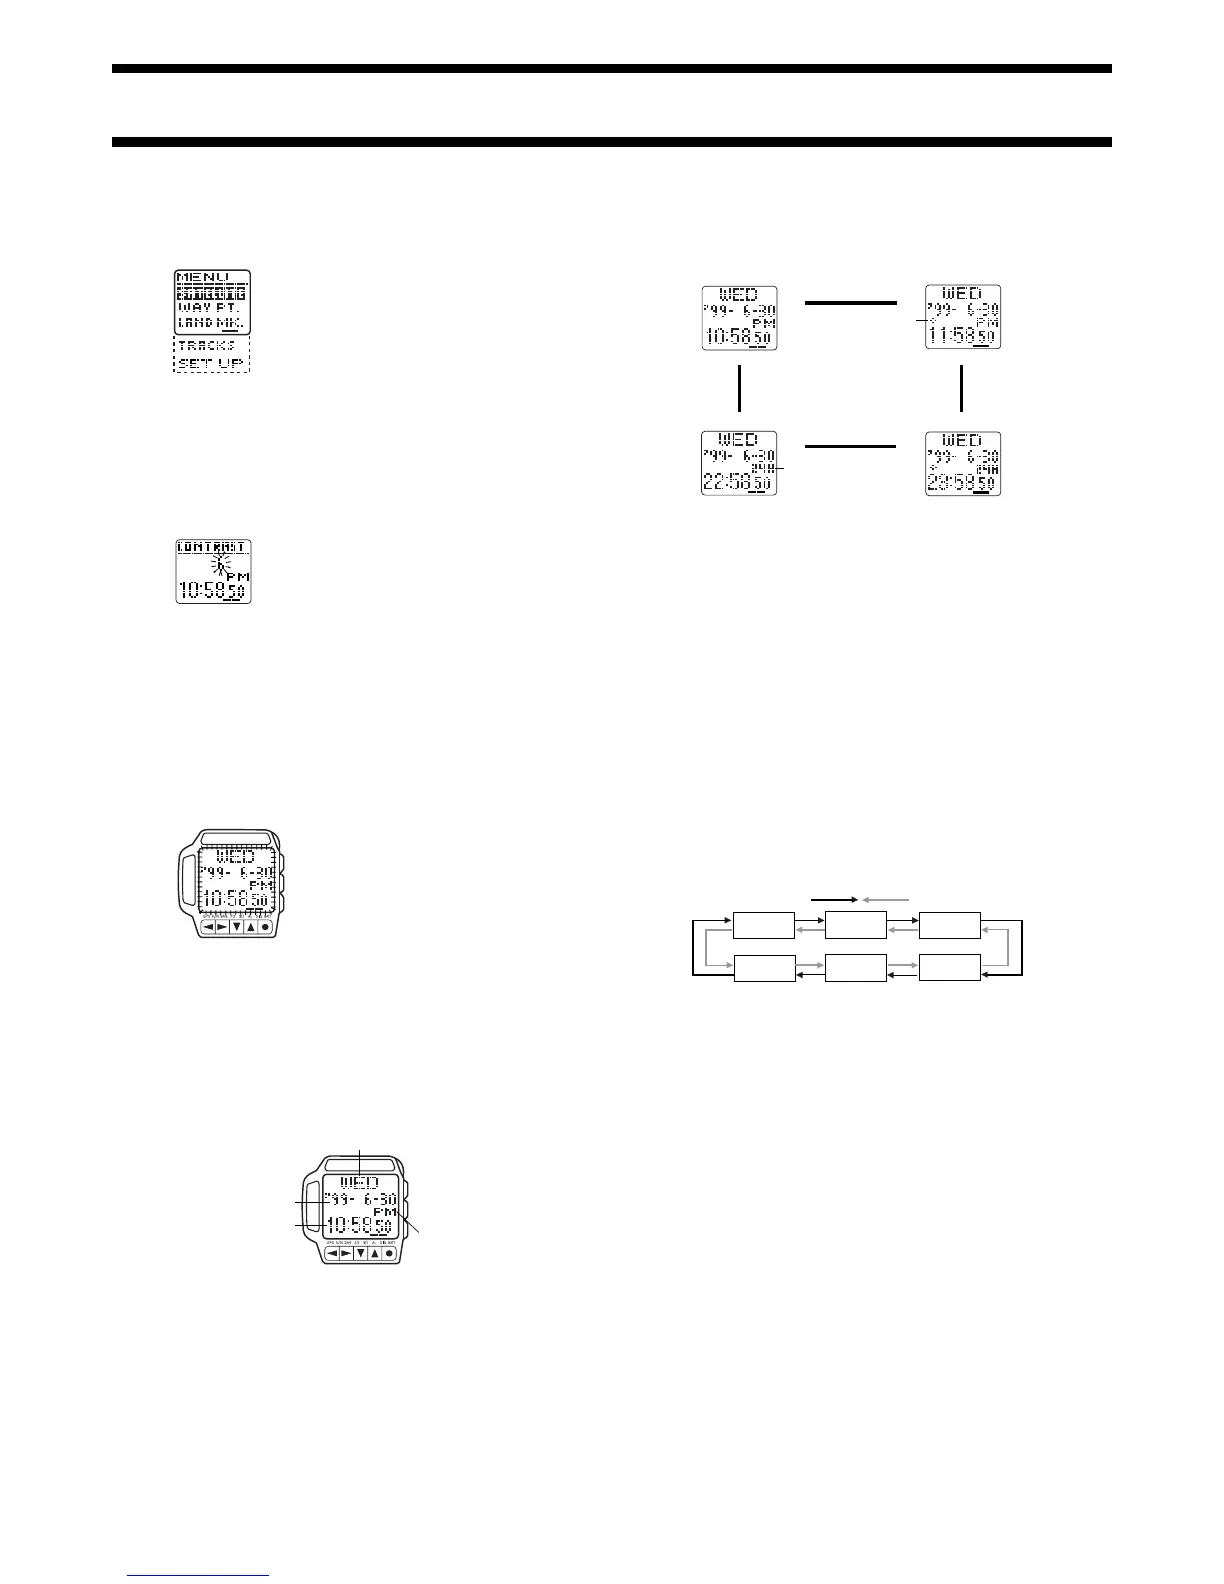
TIMEKEEPING MODE
Day of the week
PM indicator (AM indicator
for morning times)
Current time
Current date
(year, month, day)
Hold down ● about
one second.
Hold down ● about
one second.
Standard 12-hour
Timekeeping
Summer Time (DST)
12-hour Timekeeping
DST indicator
J
H
J
H
L
K
L
K
Press H.
Press H.
24-hour timekeeping
indicator
Standard 24-hour
Timekeeping
Summer Time (DST)
24-hour Timekeeping
To reset the seconds count to zero
1. In any mode, press the MENU button to display the Menu Screen,
highlight SET UP, and then press ● to display the Set Up Menu.
2. Use L and K to move the highlighting to TIME, and then press ●.
3. While the seconds digits are flashing, press K to reset them to zero.
• Pressing K while the seconds count is in the range of 30 to 59 resets it to
00 and adds 1 to the minutes. If the seconds count is in the range of 00 to
29, pressing K resets it without changing the minutes.
4. After everything is the way you want it, press GPS to exit the Setting
Screen and return to the screen you started from in step 1.
Notes
• The year can be set in the range of 1995 to 2039.
• The day of the week is displayed automatically in accordance with the
month and day settings.
• The watch's built-in full automatic calendar makes allowances for different
month lengths and leap years. Once you set the date, there should be no
reason to change it except after replacing the watch’s battery.
• The summer time or Daylight Saving Time (DST) Screen automatically
advances the current time setting by one hour. This is a practice followed
in certain geographic areas, and may or may not apply in your area.
Setting the Current Time and Date
Use the Menu Screen to set the current time and date, and to reset the
second’s count to zero.
Important!
The GPS Mode of this watch uses the time and date settings to determine the
current positions of satellites. Make sure that your time and date setting are
always accurate.
To set the current time and date
1. In any mode, press the MENU button to display the Menu Screen.
2. Use L and K to move the highlighting to SET UP.
3. Press ● to display the Set Up Menu.
4. Use L and K to move the highlighting to TIME, and then press ●.
• This displays the current date and time setting, with the seconds digits
flashing.
5. Use H and J to move the flashing around the display to the other digits
in the sequence shown below.
Seconds
Hour
Minutes
Month
Year
Day
Press
J
.
Press
H
.
6. While the hour, minutes, year, month, or day digits are selected (flashing),
press K to increase them or L to decrease them.
• Holding down either button changes the flashing digits at high speed.
7. After everything is the way you want it, press GPS to exit the Setting
Screen and return to the screen you started from in step 1.
Use the Timekeeping Mode to view the current time and date. You can select
from among the four different Timekeeping Screen formats shown below.
 Loading...