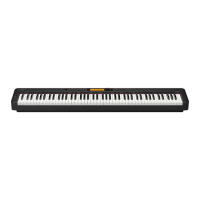
CDP-130
– 9 –
DISASSEMBLY
Y
About Repair
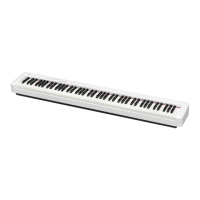
• The fi gures in this chapter show CDP-120, so the components used may differ from CDP-130.
• To avoid damages to the instrument and fl oor, lay the instrument on a mattress or blanket
before starting disassembling.
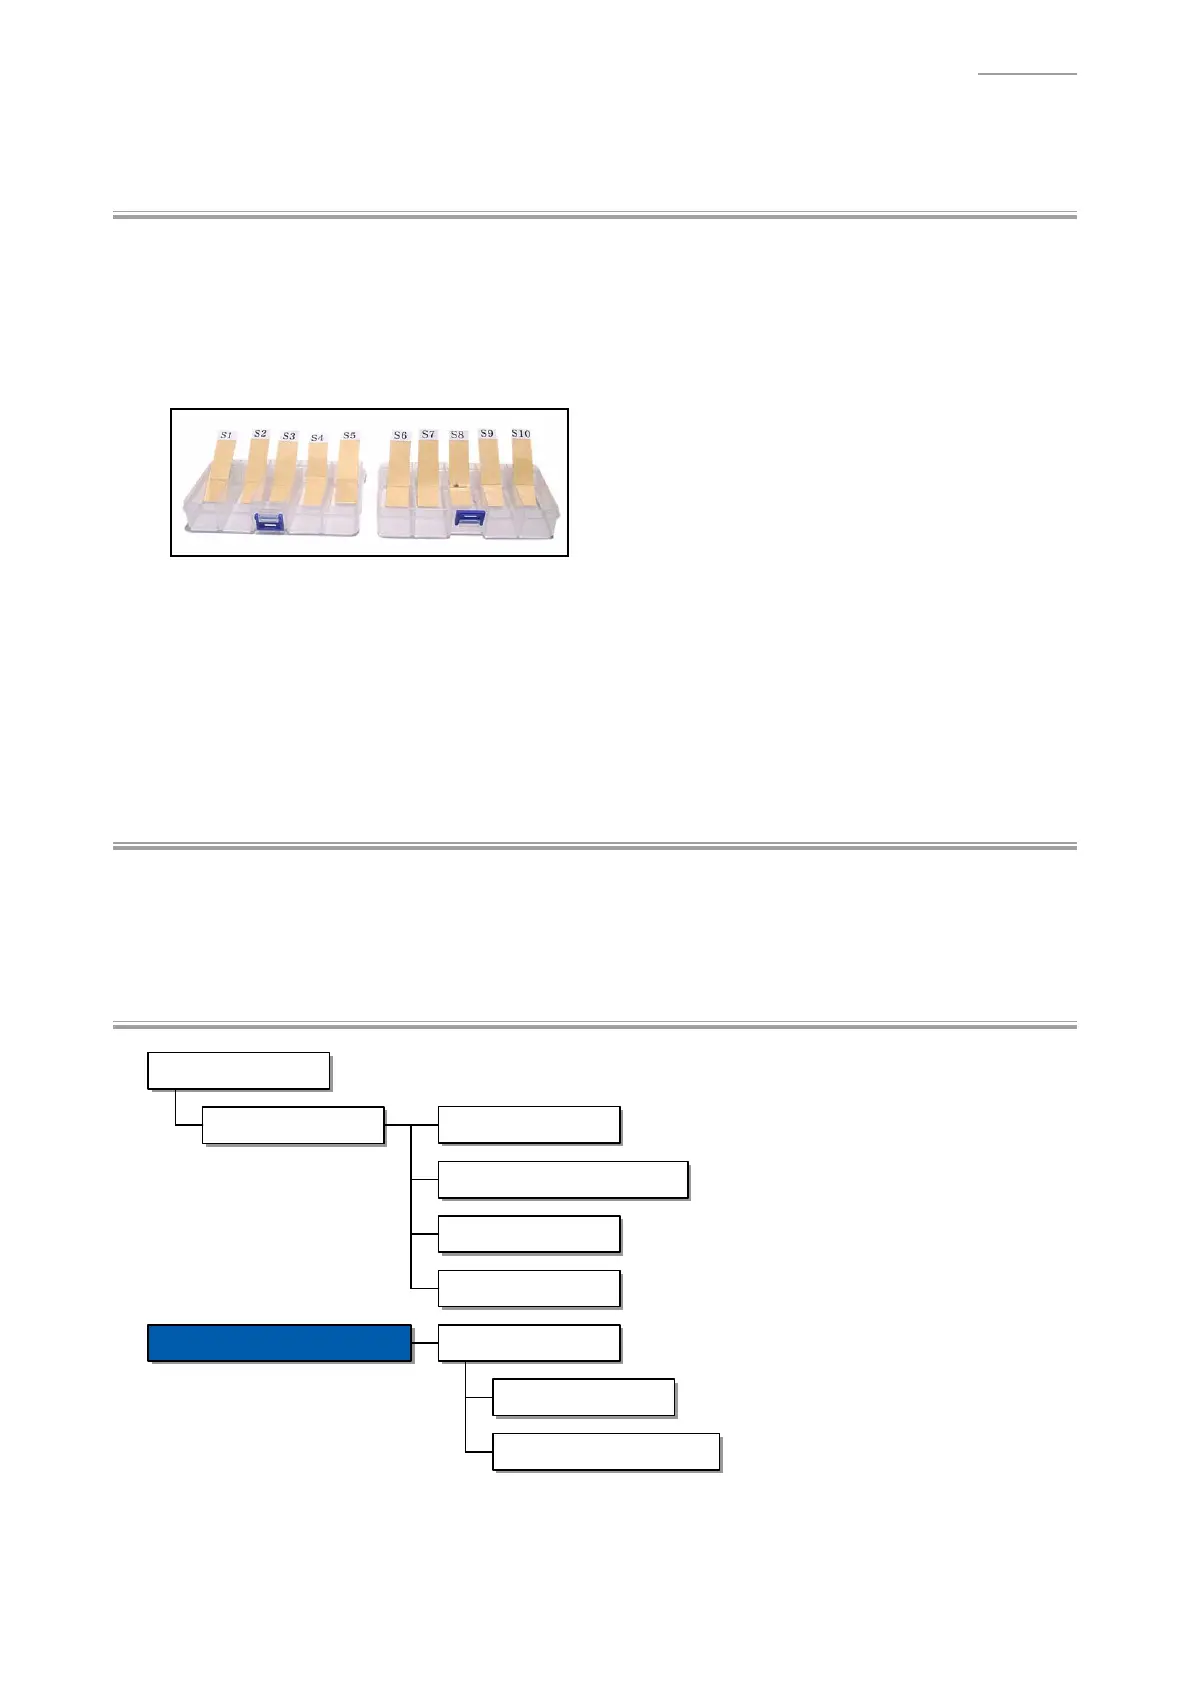
• There are several kinds of screws. Be sure to use the correct type of screws when
reassembling. It is advisable to sort the screws as shown below after removing them.
• If a screw cap is attached to the screw, remove it. Be sure to reattach the screw cap when
assembling.
• Check how cables are wired before removing cables. Be sure to wire the cables in the same
manner as they were before disassembly.
• In case cables are secured with cable ties, securing bands, clips, or tapes, remove them fi rst.
Be sure to secure the cables in place in the same manner as they were before disassembly.
Y
Before Starting Repair or Servicing
• Remove the AC adaptor, AC cord or batteries.
• Remove accessories such as the music stand.
Y
Flowchart
A. Panel Units
Assembled Product
D. SPEAKER
E. Keyboard Unit
B. PCB UNIT/MAIN
C. PCB UNIT/POWER & AMP
Disassembly of the Keyboard Unit
A. KEY
B. HAMMER UNIT
C. PCB UNIT/KEYBOARD
 Loading...