E-40
Assembly Instructions
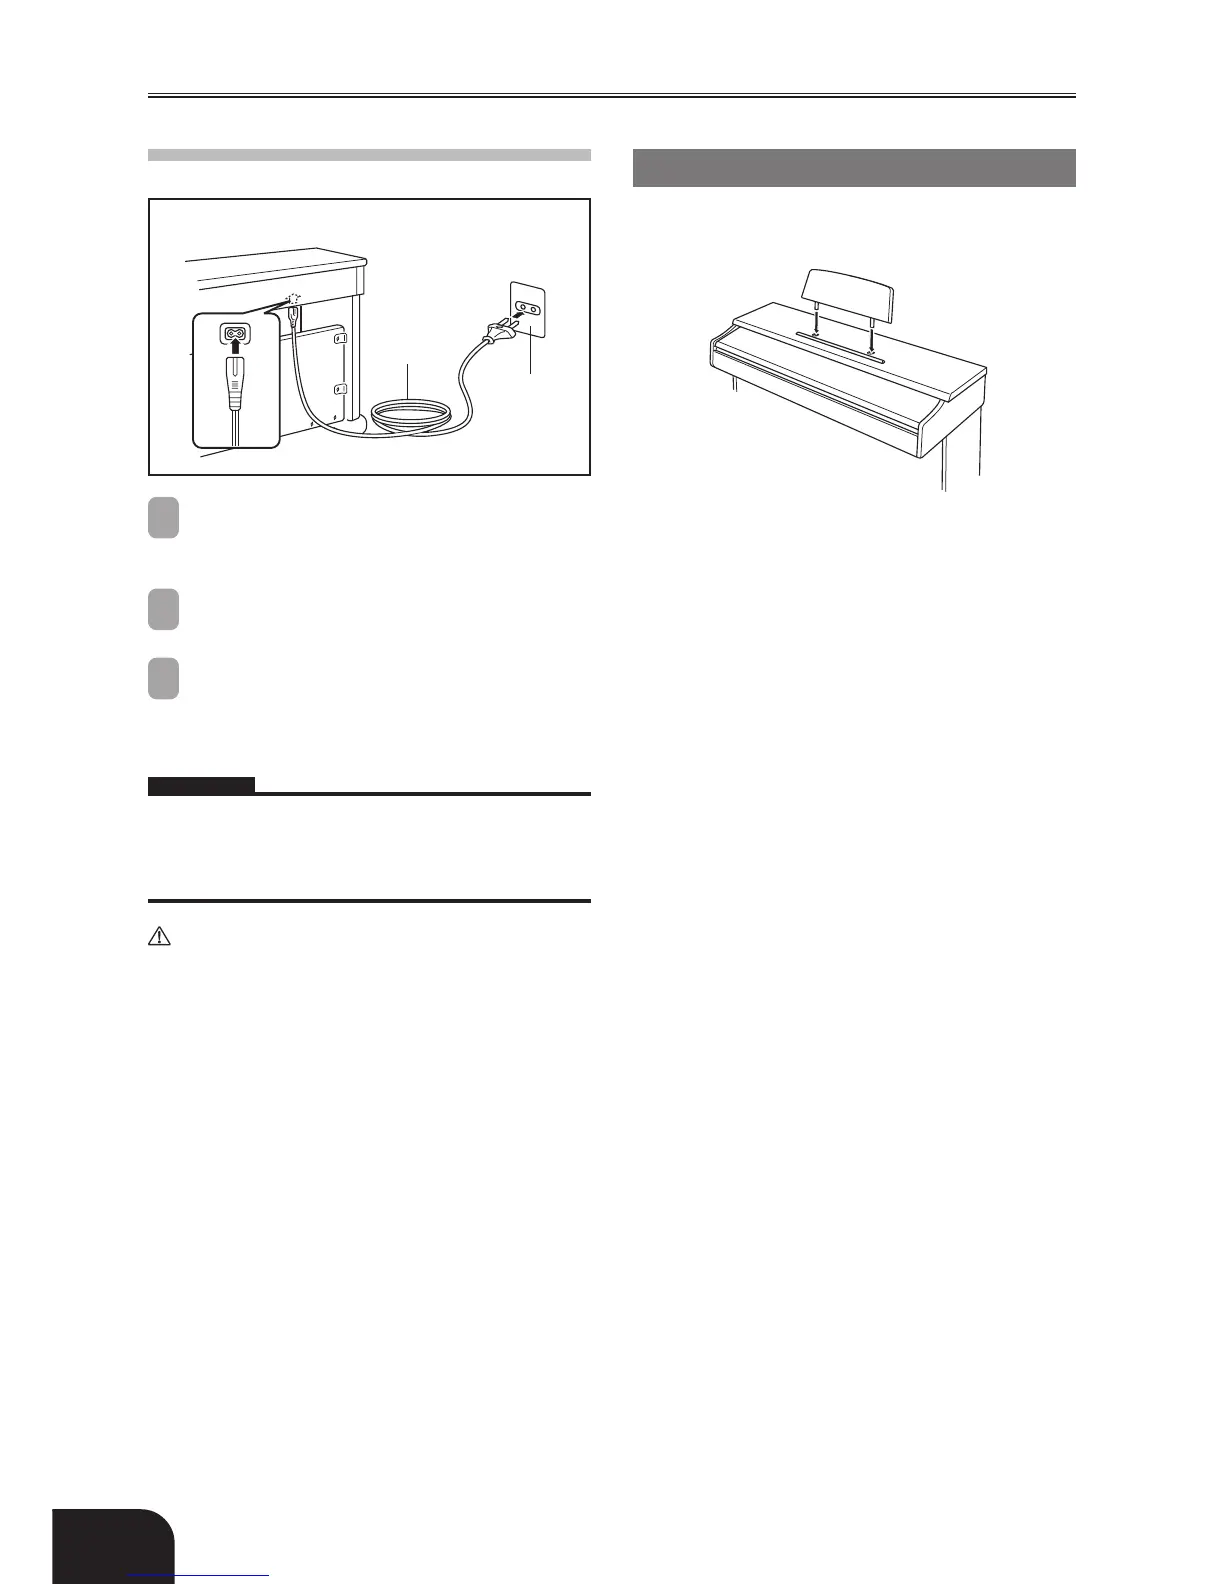
4 Connecting to a Power Supply
1
Check to make sure that the digital piano’s POWER
button is in the OFF position. If it is ON, press the button
to switch it OFF.
2
Attach the power cord that comes with the digital piano
to the bottom of the digital piano.*
3
Plug the digital piano’s power cord into a wall outlet
(Figure 9).
* applies to the AP-80RV.
IMPORTANT!
• The shapes of the digital piano’s power cord and wall outlet
should be different according to countries or regions. The
illustrations are examples.
• With the AP-80R, the power cord is hard-wired to the bottom of
the instrument.
CAUTION
• The screws that you use to assemble the stand may
become loose after a long period due to changes in
temperature and humidity, or vibration caused by normal use,
etc. Periodically check the screws used to fasten the stand and
the butterfly bolts used to fasten the stand and the digital piano,
and tighten them whenever necessary.
Power Outlet
• To power the digital piano, use a power outlet that allows easy
access when plugging in or unplugging the power cord.
Attachment of the Score Stand
Install the music stand by inserting its pegs into the holes in the
top of the piano.
Figure 9
Power cord
Household
wall outlet
429A-E-042A
 Loading...