— 9 —
■ To remove the console PCB (M706-CNA1, CNA2, CNA3).
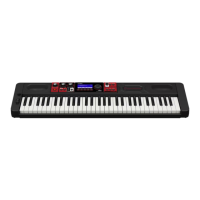
13. Remove the microphone and the volume knob.
14. Remove two screws on the PCB (M706-CNA2).
15. Remove three screws on the PCB (M706-CNA3).
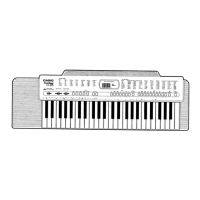
16. Remove 30 screws and then the PCB (M706-CNA1).
Caution while assembling: 6 screws fixing the LCD unit are different size from other screws.
Fixing with incorrect size of screws causes the risk of defective displaying.
Be sure to choose correct screws.
17. Remove the rubber keys.
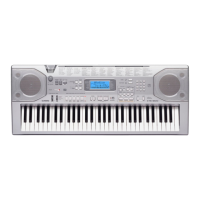
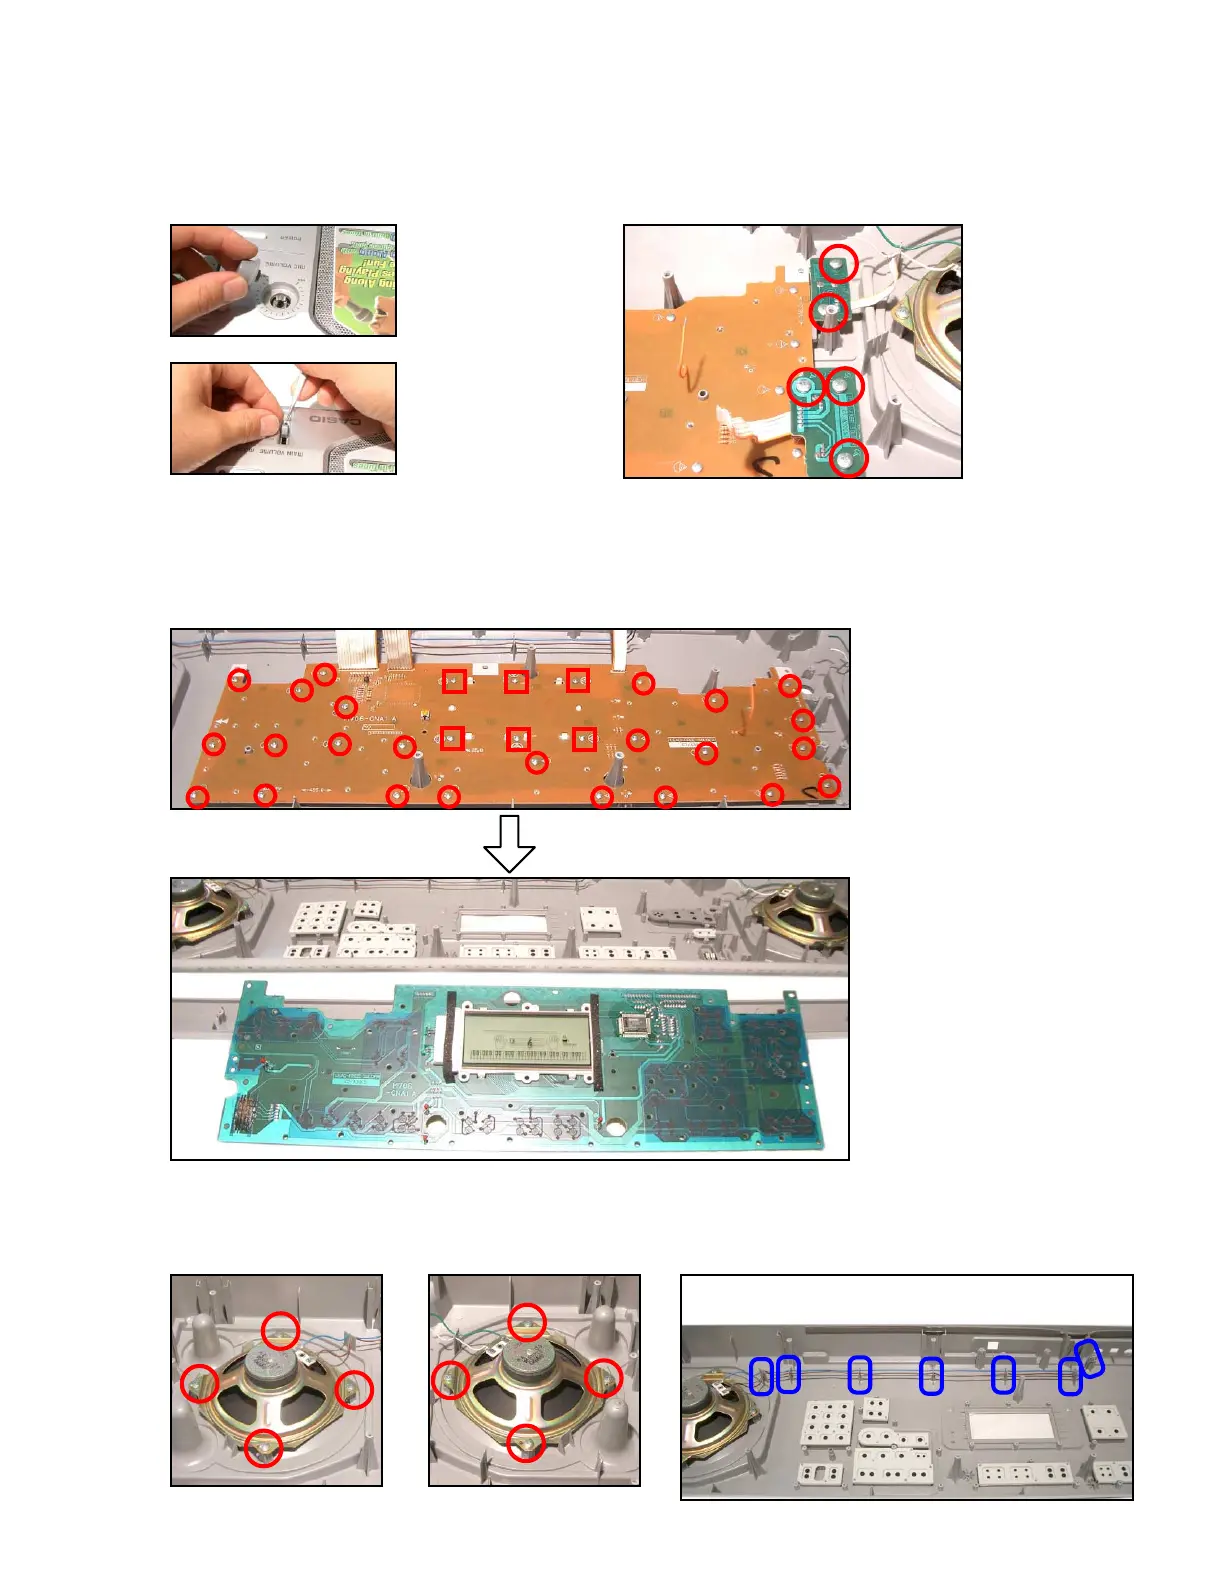
■ To remove the speaker.
18. Remove 8 screws and then two speakers.
Note: Fix speaker cords securely.
 Loading...