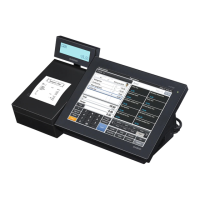
V-R100
– 25 –
3. DIAGNOSTIC OPERATION
3-1. Outline
The operation is booted by diagnostic program copied SD card.
3-2. Preparation
Prepare a SD card in which the diagnostic program is copied.
3-3. Booting
1. While the unit is powered off, slide Boot-SW to SD booting.
SD memory card slot
Boot-SW
eMMC booting
SD booting
Note: After the diagnostic operation, make sure to slide the Boot-SW to eMMC.
2. Insert SD card in which the diagnostic program is copied.
3. Turn the power on. DIAG MENU will be shown after for a while.
0
DIAG MENU (Touch N to power-off)
0. Display Version Number
1. TP
2. Set Log File Number
3. Batch 1
4. Status
5. Main LCD
6. Initialize eMMC
7. SD/eMMC/USB/LAN Menu
8. IOC Menu
9. Other Menu
1 2 3 4 5 6 7 8 9 Y N
3-4. To Start the Operation
Touch a "number", "Y" or "N" on the uppermost row on the display.
3-5. To End the Operation
1. Touch "N" in DIAG MENU.
2. Turn the power switch off after the display went off.
3. Slide Boot-SW to eMMC.
 Loading...