20
Important!
z The Eco Mode setting automatically changes to “Off” whenever the projector is in the 3D input
mode (“3D Input Mode”, page 11) or “On” is selected for the “Option Settings 2
J
Interactive
Pointer” setting.
z The “On (Auto)” setting cannot be selected for the Eco Mode while “On” is selected for
“Screen Settings
J
Ceiling Mount” on the setup menu. If the “Ceiling Mount” setting is
changed to “On” while “On (Auto)” is selected for the Eco Mode setting, the Eco Mode setting
will automatically change to “On (Manual)”.
z The “On (Auto)” setting cannot be selected for the Eco Mode while “Rear” is selected for
“Screen Settings
J
Projection Mode” on the setup menu. If the “Projection Mode” setting is
changed to “Rear” while “On (Auto)” is selected for the Eco Mode setting, the Eco Mode
setting will automatically change to “On (Manual)”.
Note
z While “Off” is selected for the Eco Mode setting, you also can specify whether brightness or
color should be given emphasis. For details, see “Eco Off Mode” under “Image Adjustment 1
Main Menu” (page 30).
z (for USB port model users)
Use the setup menu (page 21) to select the Eco Mode when the input source is an external
device connected to the USB-A port.
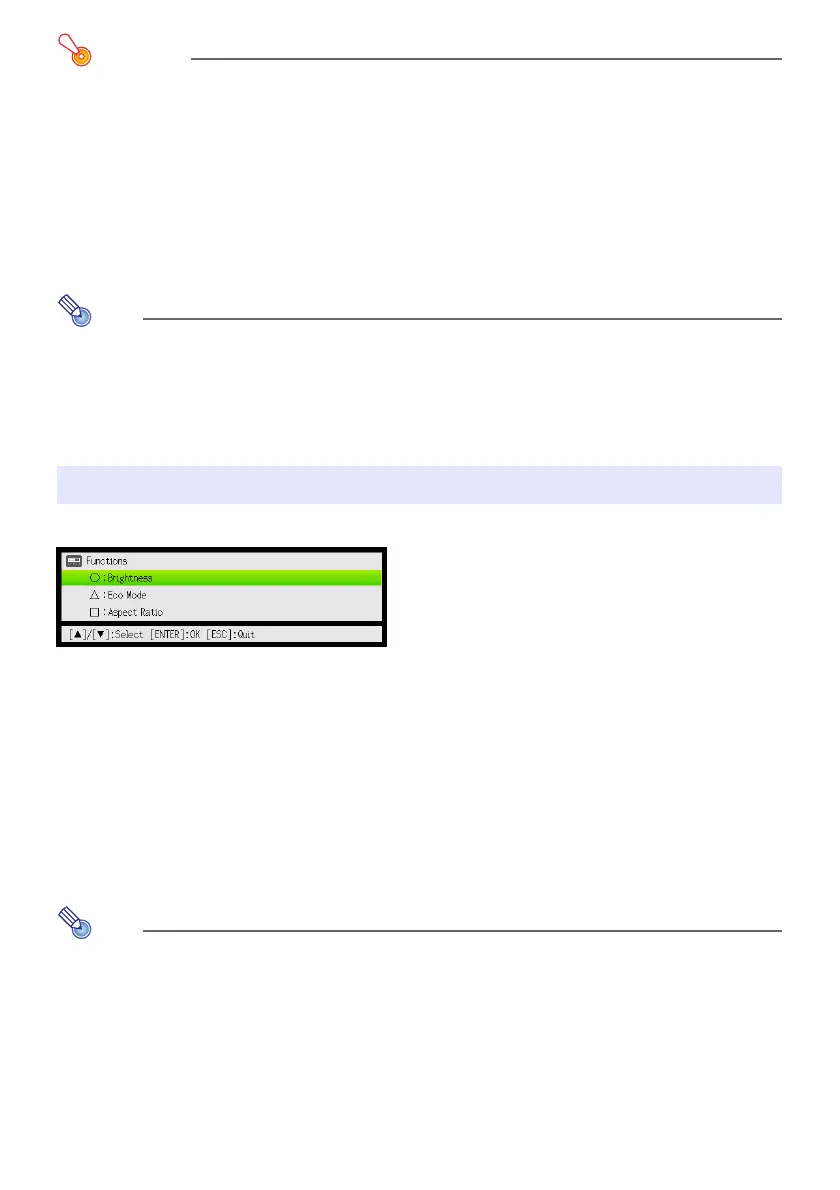
Pressing the [FUNC] key displays the menu shown below.
You can use this menu to perform the operations described below.
z Adjust image brightness
Highlight “Brightness” and then press the [ENTER] key.
z Turn the Eco Mode on or off
Highlight “Eco Mode” and then press the [ENTER] key.
z Select the aspect ratio of the projected image
Highlight “Aspect Ratio” and then press the [ENTER] key.
Note
(for USB port model users)
When the input source is an external device connected to the USB-A port, use the [FUNC], [O],
[
f
], and [
Z
] keys to control the connected device. For details, see the “USB Function Guide”
and “Wireless Function Guide” on the bundled CD-ROM.
Using the [FUNC] Key
J This performs the same operation as pressing the [BRIGHT] key (O key) described on page 13.
J This performs the same operation as pressing the [ECO] key (
f
key) described on page 19.
J This performs the same operation as pressing the [ASPECT] key (
Z
key) described on page 17.
 Loading...