EN-14
Quick Guide
This section explains the operational flow up to the point that projection is started.
For more individual operations, see the “User’s Guide” (UsersGuide.pdf).
1. Load batteries into the remote controller.
☞ “To load remote controller batteries” (User’s Guide)
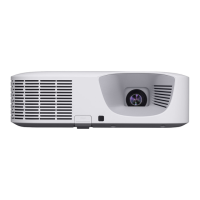
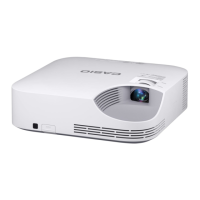
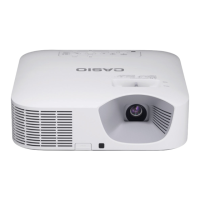
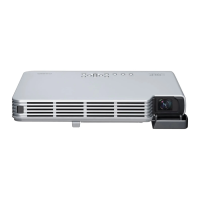
2. Place the projector onto a table, desk, or stand that is level and firm, making sure
that you allow enough room around it.
☞ “Setting Up the Projector”, “Setup Precautions” (User’s Guide)
Also, be sure to read the “Safety Precautions” (page EN-1) and the “Operating Precautions” (page
EN-6).
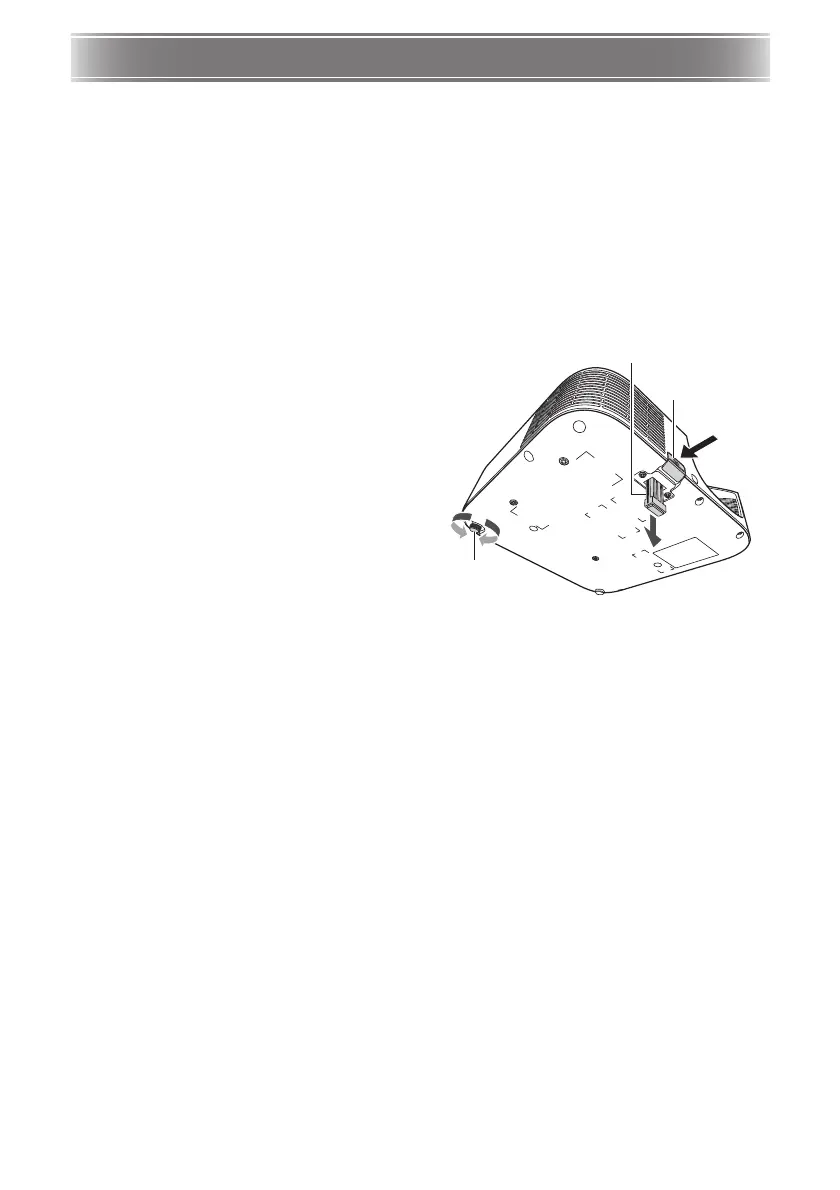
3. Adjust the vertical angle of the
projector.
Lift up the front of the projector and press the
release button. This causes the front foot to
drop from the bottom of the projector.
While holding down the release button, raise
and lower the front of the projector. When the
front foot is the height you want, release the
release button. The front foot will lock at that
position.
Make fine adjustments to the horizontal tilt of
the projector by rotating the rear foot.
Only one of the rear feet is adjustable to a
height of ±3 mm. The adjustable rear foot has
a click position, which indicates the setting
where its height is the same as that of the
other rear foot.
4. Use the supplied power cord to plug the projector into a power outlet.
5. Connect the projector to an image output device and then turn on the device.
☞ “Connecting Projector Cables” (User’s Guide)
6. Press the [P] key to turn on the projector.
The first time you turn on the projector, a “Language” window will appear in the center of the
projection screen. Select the language you want.
7. Use the [INPUT] key to select the input source.
☞ “Selecting the Input Source” (User’s Guide)
8. Use the zoom ring of the projector’s lens to adjust the size of the projected image.
9. Use the focus ring to adjust the focus.
10.
Use the projector’s [] and [] keys to adjust brightness (XJ-F Series).
With any projector model, you can adjust brightness using the remote controller’s [] and []
keys.
11.
Use the projector’s [] and [] keys to adjust keystone correction (XJ-F Series).
With any projector model, you can adjust keystone correction using the remote controller’s
[KEYSTONE +] and [KEYSTONE –] keys.
 Loading...