22 Cisco 3600 Series Memory Upgrade Configuration Note
Replacing Connections to the Router
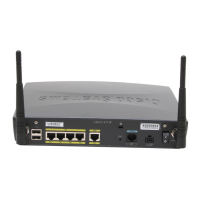
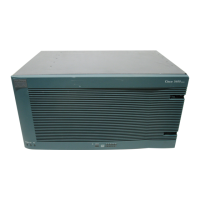
Figure 17 Replacing the Cisco 3640 Cover
Replacing Connections to the Router
Follow these steps to make final connections to the router:
Warning Read the installation instructions before you connect the system to its power source. (To
see translated versions of this warning, refer to the Regulatory Compliance and Safety Information
document that accompanied the router.)
Step 1 Replace all network connections.
Step 2 If you have an AC-powered router, plug the power cord into a 3-terminal, single-phase
power source that provides power within the acceptable range (100 to 240 VAC, 50 to
60 Hz).
If you have a DC-powered router, remove the tape from the circuit breaker switch handle
and reinstate power by moving the handle of the circuit breaker to the ON position.
Step 3 Turn ON the power switch. The power LED on the front panel of the router should go
ON.)
Step 4 Check the OK LED on the right side of the front panel to verify that it goes ON after a
few seconds delay when booting. If you have problems, see the next section, “Obtaining
Service and Support.”
 Loading...