7
English
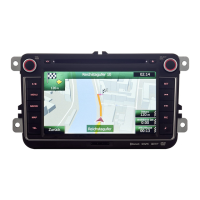
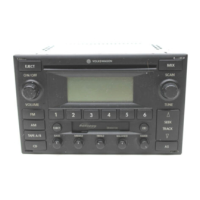
NX302A
Installation Guide
Before Starting
Cautions On Installation
1. Prepare all articles necessary for installing
the main unit before starting.
2. Install the unit within 30° of the horizontal
plane.
3. If you have to do any modication on the
car body, such as drilling holes, consult
your car dealer beforehand.
4. Use the included screws for installation.
Using other screws can cause damage.
Package Contents
Source unit ................................................1
Wire connector ..........................................1
GPS antenna .............................................1
CLAMP for GPS antenna’s cable ..............3
DOUBLE FACE TAPE for GPS Antenna...1
2Din Trim ring (wide) .................................1
2Din Trim ring (narrow) ..............................1
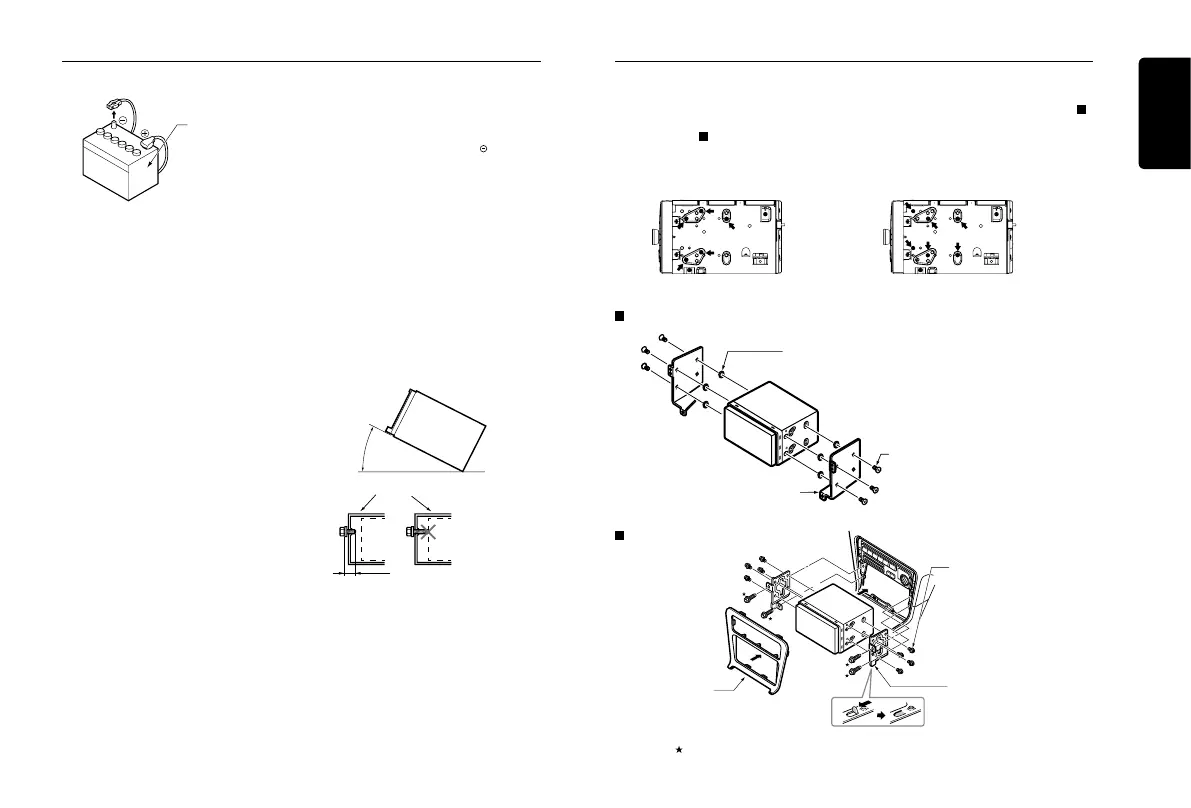
Car battery
1. This set is exclusively for use in cars with a
negative ground, 12 V power supply.
2. Read these instructions carefully.
3. Be sure to disconnect the battery “ ” terminal
before starting. This is to prevent short circuits
during installation.
Max. 30°
Chassis
Damage
Max. 6 mm (M5 screw)
Cleaning cloth ............................................1
Quick Start Guide ......................................1
Owner’s manual (CD-R) ............................1
Electro tap .................................................2
Flush mount bolts(M5x6) ...........................8
Hexagon Head Screw(M5x6) ....................8
AV cable ....................................................1
Installing The Main Unit
This unit is designed for xed installation in the dashboard.
1. When installing the main unit in NISSAN vehicles, use the parts attached to the unit (see “
NISSAN”). When installing the main unit in TOYOTA vehicles, use the parts attached to the
vehicle (see “ TOYOTA”).
2. Wire as shown in “Wire Connection”.
3. Reassemble and secure the unit in the dashboard and set the face panel and center panel.
Mounting Screw Holes (Side View of the Main Unit)
NISSAN
6-Spacer (thickness: 1 mm)
8-Hexagonal screw (M5 × 6)
Center Panel *1
Screws marked
and mounting bracket are attached to the vehicle.
NISSAN
TOYOTA
6-Flat head screw (M5 × 6)
(attached to the main unit)
Mounting bracket
(1 pair for the left and right sides)
Mounting bracket
(1 pair for the left and right sides)
TOYOTA
*2
Installation Guide

 Loading...