25
Electrical connections
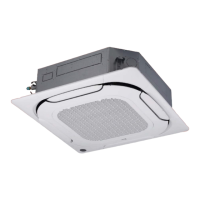
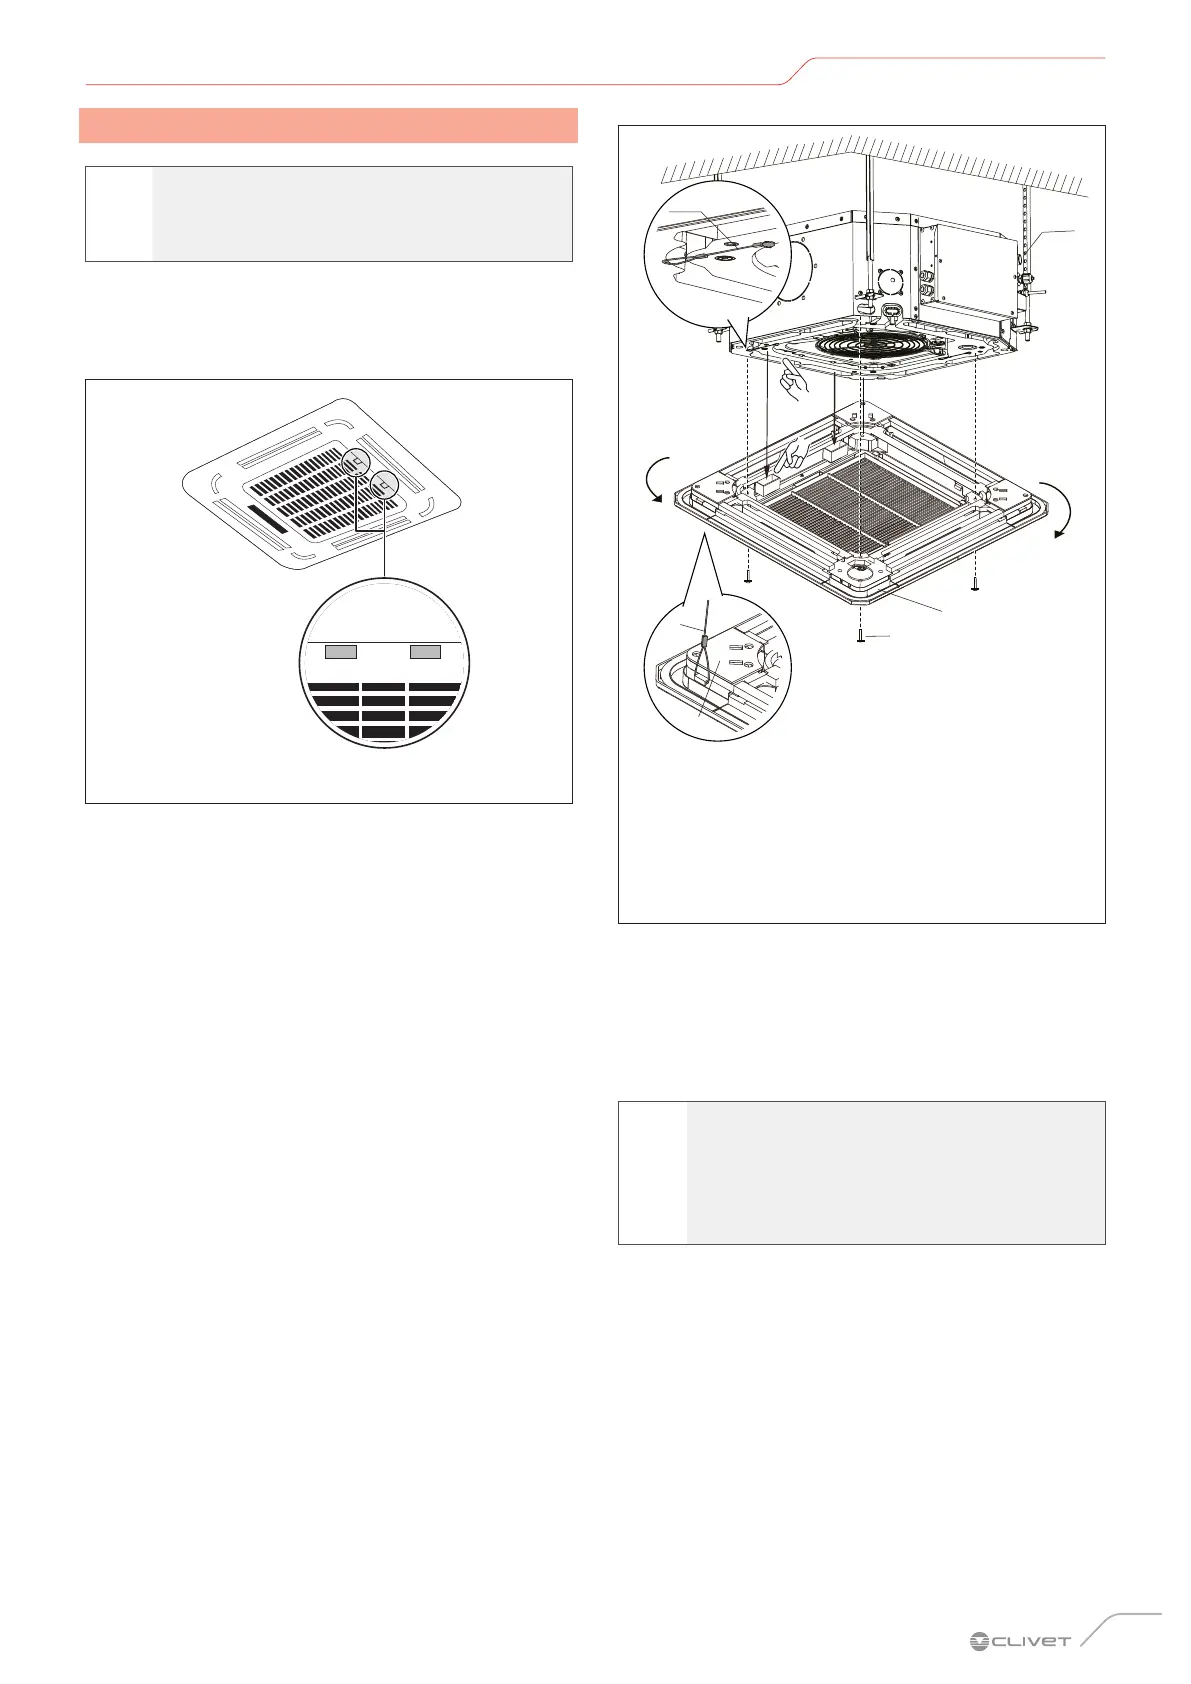
3.4 Assembling the panel
d
IT IS PROHIBITED TO
place the panel face down on the floor, against
a wall or on an uneven surface.
1 Remove the air intake grille.
– Push the two tongues towards the centre at the
same time to unlock the grille catch
Fig. 31
– Holding the grille tilted at 45°, lift it slightly and
detach it from the main body.
2 Install the panel
– Align the panel with the main unit body, taking into
account the position of the pipes and the drain side.
– Secure the steel cables (fixed to the main unit
body) to the catches on the panel.
A
C
D
E
A
B
A Steel cables
B Motor cover
C Bolt and washer
D Oscillating motor side
E Drainage side
Fig. 32
– Electrically connect the motor and display.
– Position and secure the panel on the main unit
body with bolts (M5X20) and washers. Ensure that
the motors are embedded in the housing provided.
– Tighten the panel bolts in the four corners equally.
m
CAUTION
Tighten the screws until the thickness of the
spongy material between the main body and
the panel is down to 4-6 mm. The edge of the
panel must fully touch the ceiling.
– Adjust the panel by turning it to completely cover
the opening in the ceiling.
 Loading...