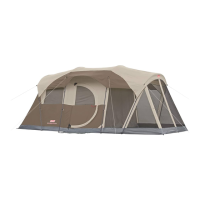
STITCH LINE
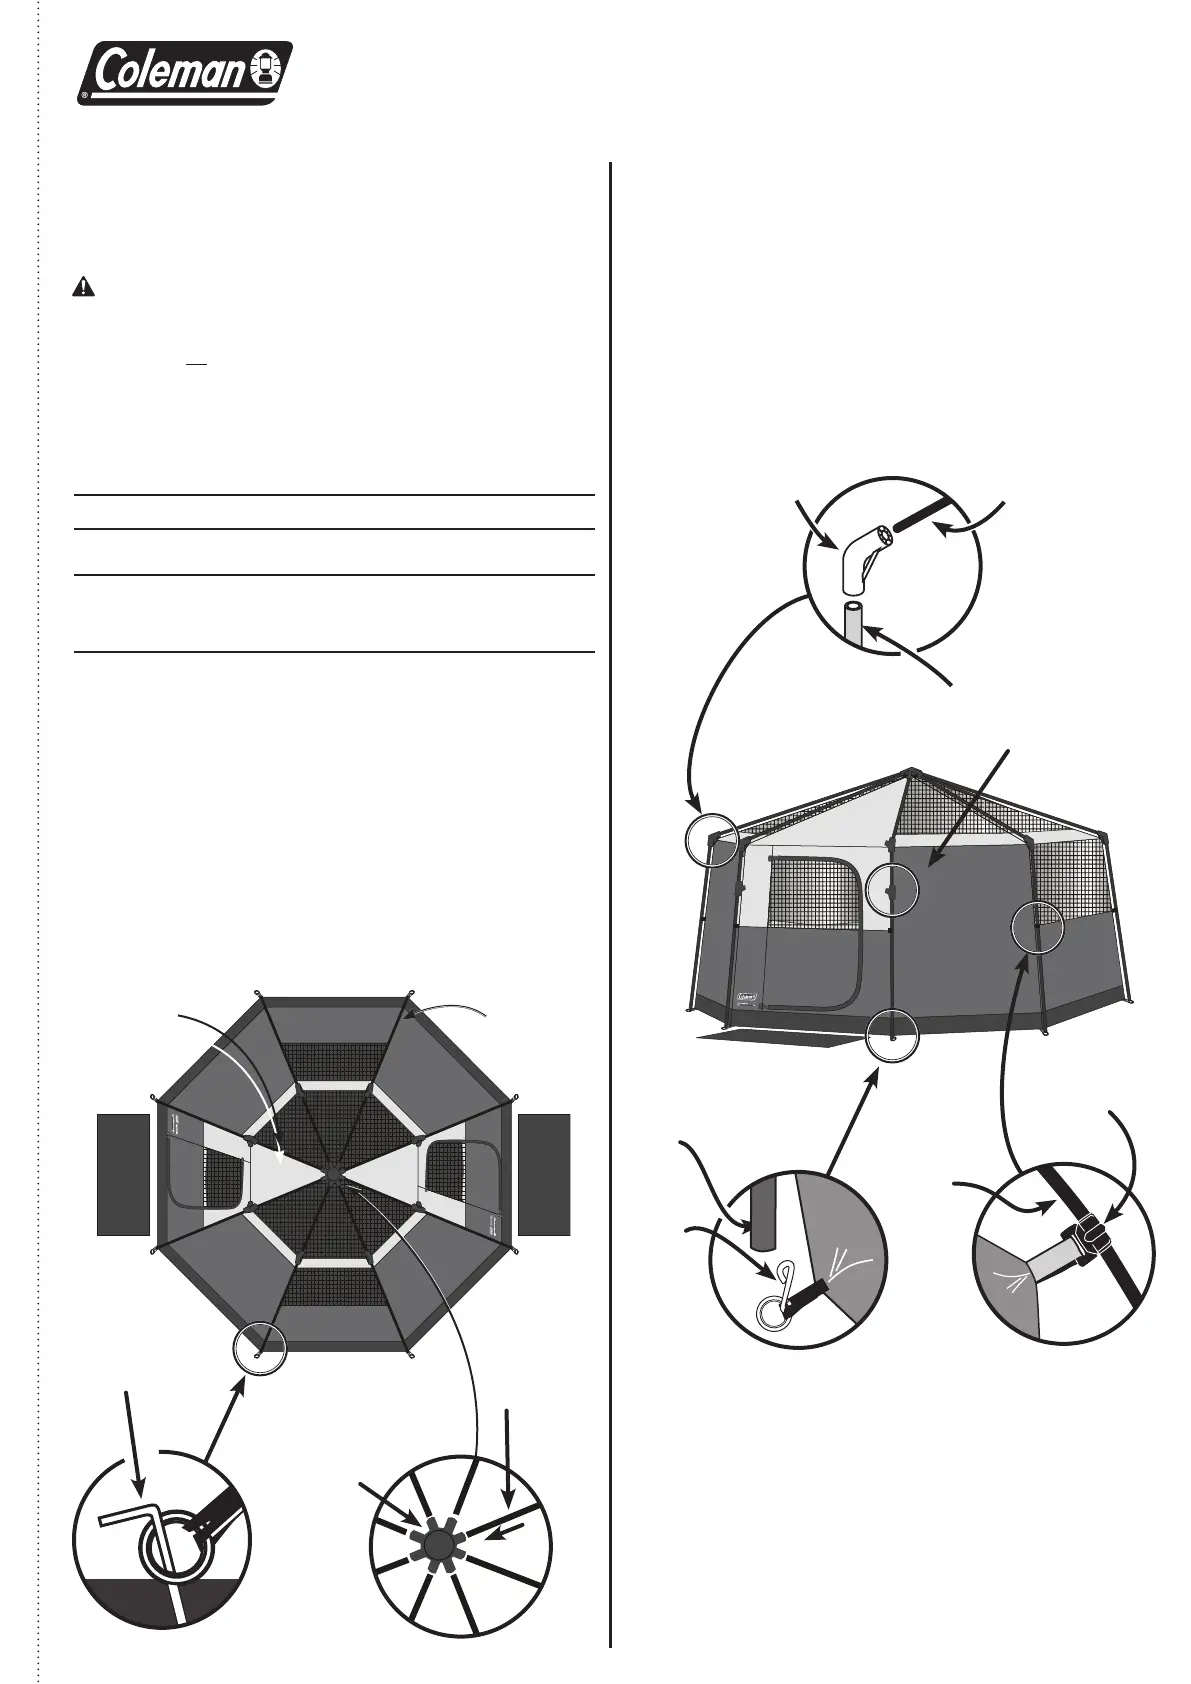
Fig. 1
Roof
Pole
Leg Pole
TENT SETUP INSTRUCTIONS
(continued on other side)
2
Connect Poles to Tent
1
Layout & Positioning
of Tent and Poles
• Layoutandpositionthetentwithbothdoorsfacingdesired
directions.(Fig.1)
• Stakedowntentcornersbydrivingthestakesintotheloops
attachedatthebottomofthetent.(Fig.2)
• Keeptheoortaut.
• Assembleallpolesbyunfoldingandinterlockingtheshock-
cordedpolesections.
• Insertoneendofroofpoletothe8-in-1polehubatthecenter,
andtheotherendwillbeinsertedintotothepoleconnectorat
tentcorneratstep2.(Fig.3)
Tent
Stake
Fig. 2
• Insertroofpolesandlegpolesintopoleconnectors.(the
colormarkingonthelegpolesshouldmatchthemarkon
poleconnectors)
• Insertonepinintotheendofthelegpole.(Fig.5and6)
• Repeatforalllegpoles.
• Thetentwillraiseasthelegpolesareallconnectedwith
thetent.
NOTE: The tent door should between the adjacent leg poles
with awning pole connector.
3
Attach Tent to Leg Poles
Using Clips
• Attachclipsalongtheedgesoftenttolegpoles.(Fig.7)
• Makeanyadjustmentstothetentstakes,ifneeded.
Fig. 7
Awning Pole
Connector
Roof Pole
Leg Pole
Fig. 4
Pole
Connector
Fig. 5
Pole
Clip
Fig. 3
Pole
Hub
Roof
Pole
Fig. 6
Leg
Pole
Pin
AwningPole,fiberglass,black,thick
SteelRoofPole,steel,gray
SteelLegPole,steel,gray
2
8
8
1
2
3
5010000569
N/A
N/A
5010000568
N/A
N/A
Before you begin
• Readallinstructionsbeforesetup.
• Selectalevelsiteclearofrocks,branches,andotherhardor
sharpobjects,toinstallyourtent.
WARNING: Keep clear of overhead power lines.
• Donotsetupyourtentundertreesbecauseofpotentiallightning
strikesorfallingtreelimbsininclementweather.
• Securewithallstakesandguylinesprovidedtopreventproperty
damageorpersonalinjury.
• Forbestresultsinwindyconditions,positionnarrowendoftent
intothewind.
• Enlistthehelpofatleastoneotherpersontoassistyouwhenit
istimetoassemblethetent.
Pole Descriptions
Description
No.
Qty. Pole
Repair Kit
Pole
Replacement Kit
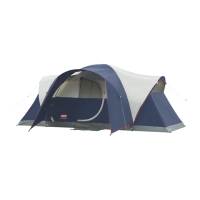
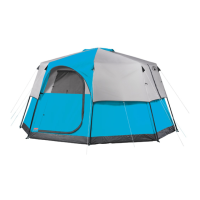
Tent Octagon 98 - Half Rainfly
(The product may look different from yours. It is for illustration purpose only.)
 Loading...