WARNING: Do not permit fingers to touchthe terminals of
plug when installing or removing from outlet.
• Plug must be plugged into matching outlet that is properly
installed and grounded in accordance with all local codes
and ordinances. Do not modify plugprovided. If itwill not fit
in outlet, have proper outlet installed by a qualified
electrician.
• Inspect toolcords periodically, and if damaged, have
repaired by an authorized service facility.
• Green (or green and yellow) conductor in cord is the
groundingwire. If repair or replacement of the electric cord
or plug is necessary, do not connect the green (or green
and yellow) wire to a live terminal.
• Where a 2-prong wall receptacle is encountered, it must be
replaced with a properly grounded 3-prong receptacle
installed in accordance with National Electric Cede and
local codes and ordinances.
WARNING: This work shouldbe performed by a qualified
electrician.
A temporary 3-prong to 2-prong groundingadapter (see
Figure 7) is available for connecting plugs to a two pole outlet
if it is properly grounded.
Grounding Make Sure
This Is
Connected
3-Prong Plug To A Known
Ground
,2-Prong
Receptacle
Figure7 - 2-Preng ReceptaclewithAdapter
• Do not use a 3-prong to 2-prong grounding adapter unless
permitted by local and national codes and ordinances.
(A 3-prong to 2-preng grounding adapter is not permitted in
Canada.) Where permitted, the rigid green tab or terminal on
the side of the adapter must be securely connected to a
permanent electrical groundsuch as a properly grounded
water pipe, a properly grounded outlet box or a properly
grounded wire system.
• Many cover plate screws, water pipes and outlet boxes are
not properly grounded. To ensure proper ground, grounding
means must be tested by a qualifiedelectrician.
EXTENSION CORDS
• The use of anyextension cord will cause some drop in volt-
age and lossof power.
• Wires of the extension cord mustbe of sufficientsize to
carry the current end maintainadequate voltage.
• Use the ta_e to determine the minimumwire size (A,W.G.)
extension cord.
Use only 3-wire extension cords having 3-prong grounding
type plugs and 3-pole receptacles which accept the tool
plug,
If the extensioncord is worn, cut, or damaged in any way,
replace it immediately.
Extension Cord Length
Wire Size ................................... A.W,G.
Up to 25 tt....................................... 12
25-50 ft......................................... 10
NOTE: Using extension cords over 50 ft. long is not
recommended.
ELECTRICAL CONNECTIONS
WARNING: All electrical connectionsmust be performed by
a qualifiedelectrician.
WARNING: Make sure toolis off and disconnected from
power soume while motor is mounted, connected, reconnect-
ed or any time wiring is inspected.
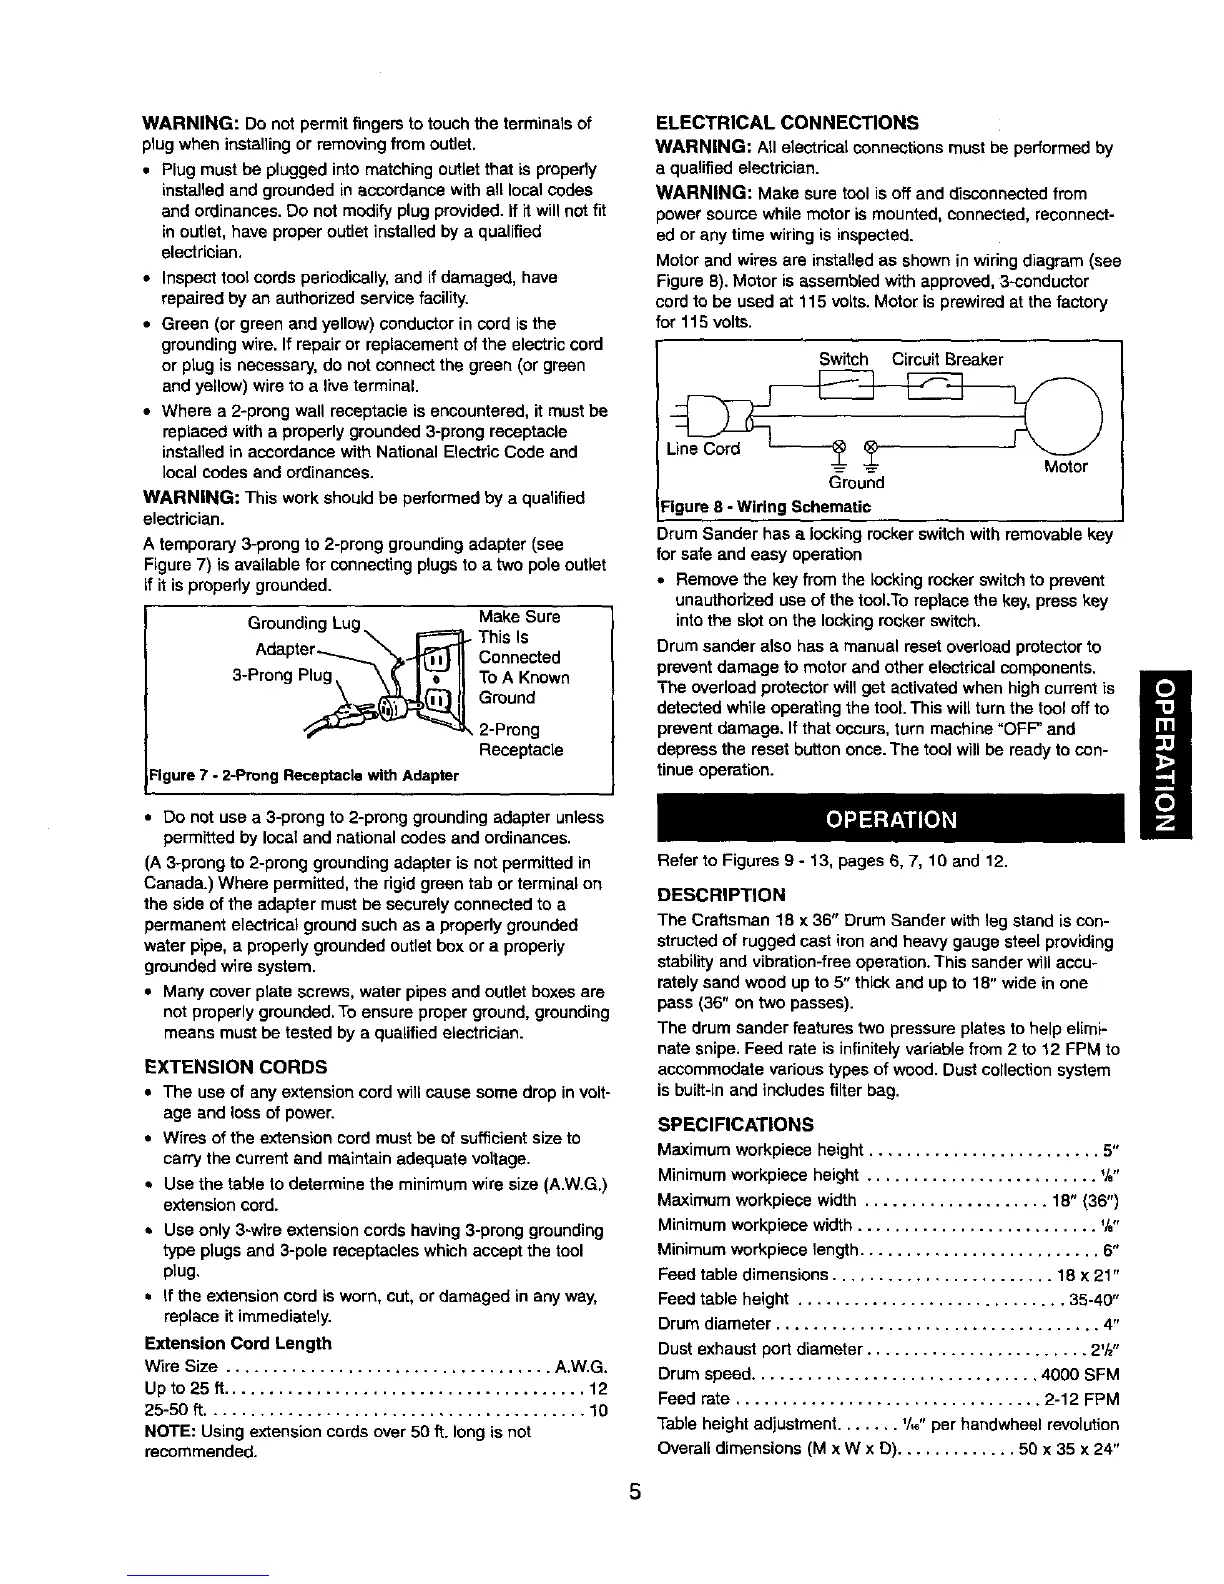
Motor and wires are installed as shown in wiringdiagram (see
Figure 6). Motor is assembled with approved, 3-oonductor
cordto be used at 115 volts. Motor is prewired at the factory
for 115 volts.
Switch Circuit Breaker
Ground
:igure 8 - Wiring Schematic
Drum Sander has a locking rocker switchwith removable ke
for safe and easy operation
• Remove the key from the Iook_]ngrocker switch to prevent
unauthorized use of the tool.To replace the key, press key
into the slot on the locking rocker switch.
Drum sander also has a manual reset overload protectorto
prevent damage to motor and other electrical components.
The overload protector will get activated when high current is
detected while operating the tool. This will turn the tool off to
prevent damage. If that occurs, turn machine "OFF" and
depress the reset button once. The tool will be ready to con-
tinue operation.
Refer to Figures 9 - 13, pages 6, 7, 10 and 12.
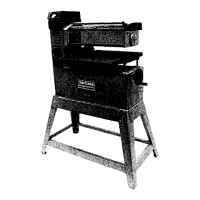
DESCRIPTION
The Craftsman 18 x 36" Drum Sander with leg stand is con-
strocted of rugged cast iron and heavy gauge steel providing
stability and vibration-free operation. This sander will accu-
rately sand wood up to 5" thick and up to 18" wide in one
pass (36" on two passes).
The drum sander features two pressure plates to help elimi-
nate snipe. Feed rate is infinitely variable from 2 to 12 FPM to
accommodate various types of wood. Dust collection system
is built-in and includes filter bag.
SPECIFICATIONS
Maximum workplace height ......................... 5"
Minimumworkplace height ......................... %"
Maximum workplace width .................... 18" (36")
Minimumworkpiece width .......................... %"
Minimumworkpiece length .......................... 6"
Feed table dimensions ........................ 18 x 21"
Feed table height ............................. 35-40"
Drum diameter ................................... 4"
Dust exhaust port diameter ........................ 2'/z"
Drum speed............................... 4000 SFM
Feed rate ................................. 2-12 FPM
Table height adjustment....... _/,6"per handwheel revolution
Overall dimensions (M x W x D) ............. 50 x 35 x 24"
 Loading...