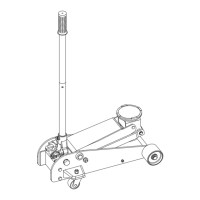
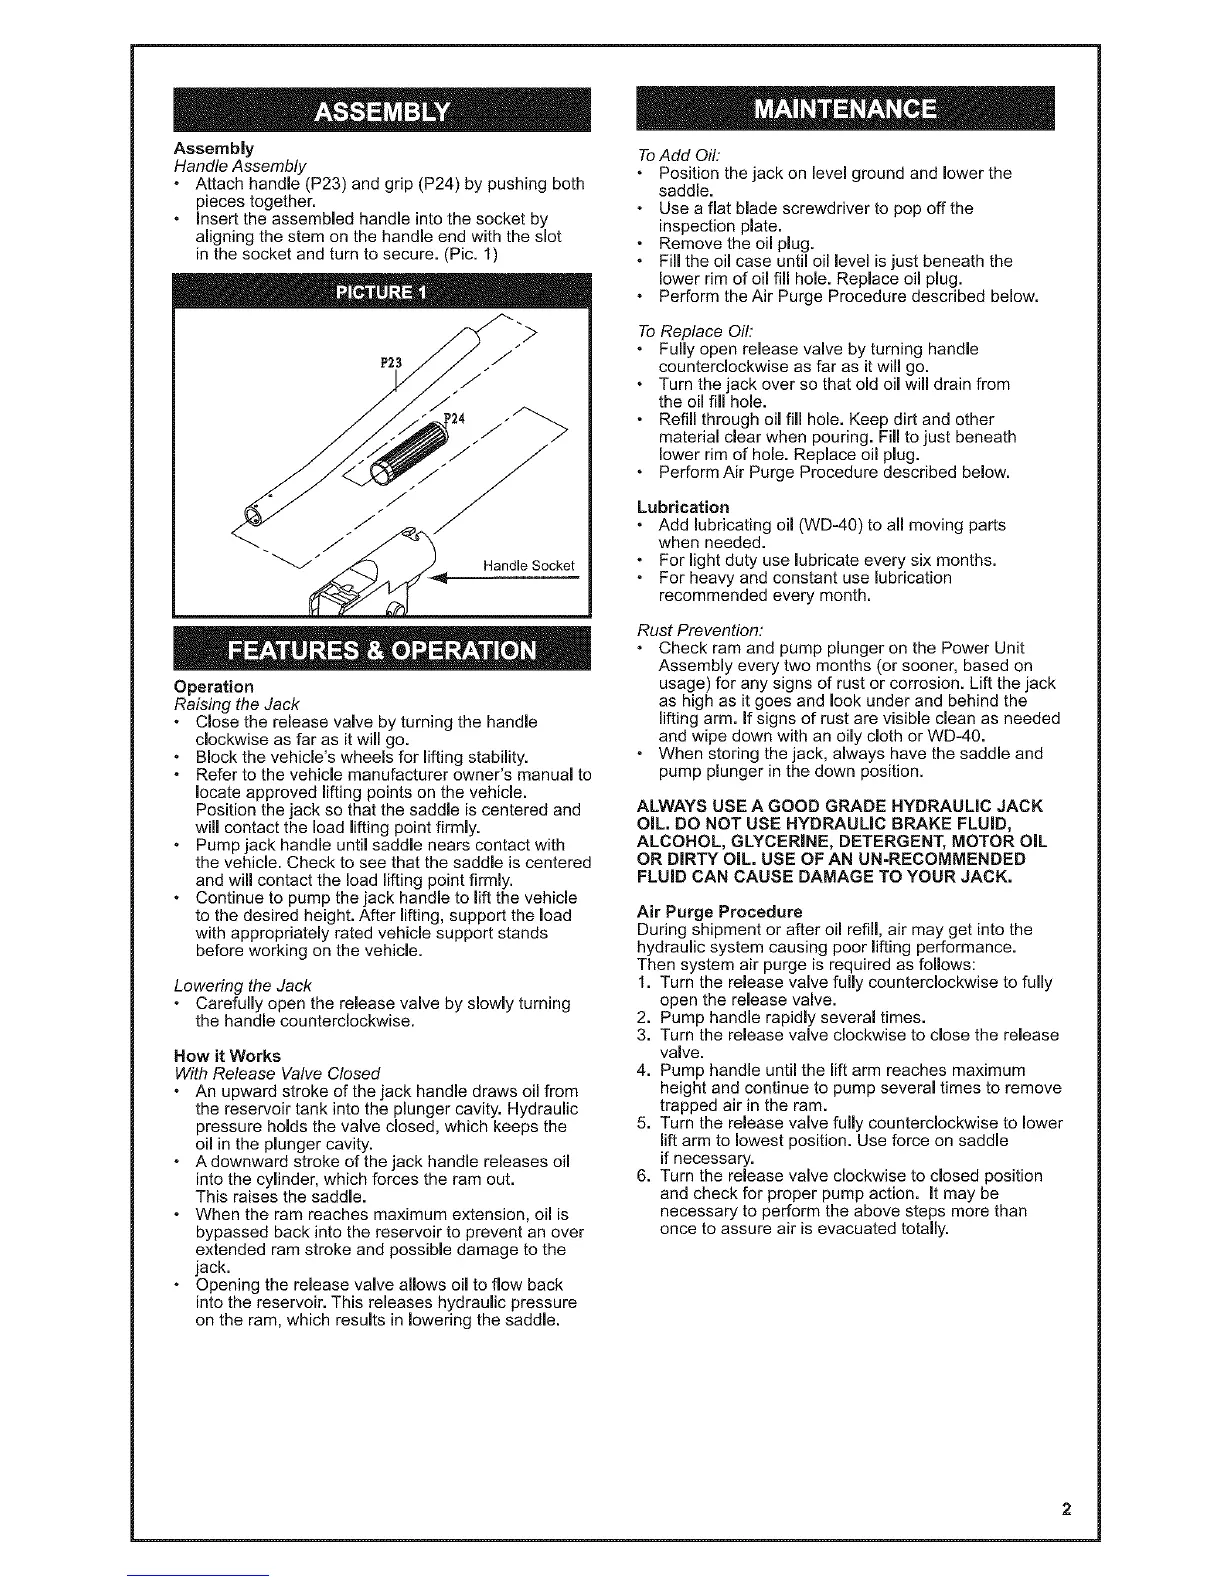
Assembly
Handle Assembly
• Attach handle (P23) and grip (P24) by pushing both
pieces together.
° Insert the assembled handle into the socket by
aligning the stem on the handle end with the slot
in the socket and turn to secure. (Pic. 1)
Handle Socket
Operation
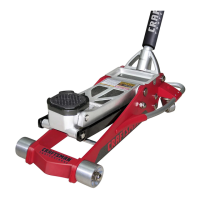
Raising the Jack
• Close the release valve by turning the handle
clockwise as far as it will go.
• Block the vehicle's wheels for lifting stability.
• Refer to the vehicle manufacturer owner's manual to
locate approved lifting points on the vehicle.
Position the jack so that the saddle is centered and
will contact the load lifting point firmly.
• Pump jack handle until saddle nears contact with
the vehicle. Check to see that the saddle is centered
and will contact the load lifting point firmly.
• Continue to pump the jack handle to lift the vehicle
to the desired height. After lifting, support the load
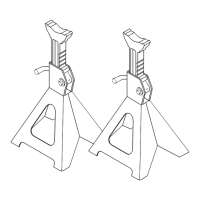
with appropriately rated vehicle support stands
before working on the vehicle.
Lowering the Jack
* Carefully open the release valve by slowly turning
the handle counterclockwise.
How it Works
With Release Valve Closed
• An upward stroke of the jack handle draws oil from
the reservoir tank into the plunger cavity. Hydraulic
pressure holds the valve closed, which keeps the
oil in the plunger cavity.
• A downward stroke of the jack handle releases oil
into the cylinder, which forces the ram out.
This raises the saddle.
• When the ram reaches maximum extension, oil is
bypassed back into the reservoir to prevent an over
extended ram stroke and possible damage to the
jack.
• Opening the release valve allows oil to flow back
into the reservoir. This releases hydraulic pressure
on the ram, which results in lowering the saddle.
ToAdd Oil:
" Position the jack on level ground and lower the
saddle.
• Use a flat blade screwdriver to pop off the
inspection plate.
- Remove the oil plug.
- Fill the oil case until oil level is just beneath the
lower rim of oil fill hole. Replace oil plug.
• Perform the Air Purge Procedure described below.
To Replace Oil:
- Fully open release valve by turning handle
counterclockwise as far as it will go.
- Turn the jack over so that old oil will drain from
the oil fill hole.
- Refill through oil fill hole. Keep dirt and other
material clear when pouring. Fill to just beneath
lower rim of hole. Replace oil plug.
- Perform Air Purge Procedure described below.
Lubrication
- Add lubricating oil (WD-40) to all moving parts
when needed.
° For light duty use lubricate every six months.
° For heavy and constant use lubrication
recommended every month.
Rust Prevention:
• Check ram and pump plunger on the Power Unit
Assembly every two months (or sooner, based on
usage) for any signs of rust or corrosion. Lift the jack
as high as it goes and look under and behind the
lifting arm. If signs of rust are visible clean as needed
and wipe down with an oily cloth or WD-40.
° When storing the jack, always have the saddle and
pump plunger in the down position.
ALWAYS USE A GOOD GRADE HYDRAULIC JACK
OiL. DO NOT USE HYDRAULIC BRAKE FLUID,
ALCOHOL, GLYCERINE, DETERGENT, MOTOR OiL
OR DIRTY OiL. USE OF AN UN-RECOMMENDED
FLUID CAN CAUSE DAMAGE TO YOUR JACK.
Air Purge Procedure
During shipment or after oil refill, air may get into the
hydraulic system causing poor lifting performance.
Then system air purge is required as follows:
1. Turn the release valve fully counterclockwise to fully
open the release valve.
2. Pump handle rapidly several times.
3. Turn the release valve clockwise to close the release
valve.
4. Pump handle until the lift arm reaches maximum
height and continue to pump several times to remove
trapped air in the ram.
5. Turn the release valve fully counterclockwise to lower
lift arm to lowest position. Use force on saddle
if necessary.
6. Turn the release valve clockwise to closed position
and check for proper pump action. It may be
necessary to perform the above steps more than
once to assure air is evacuated totally.
 Loading...