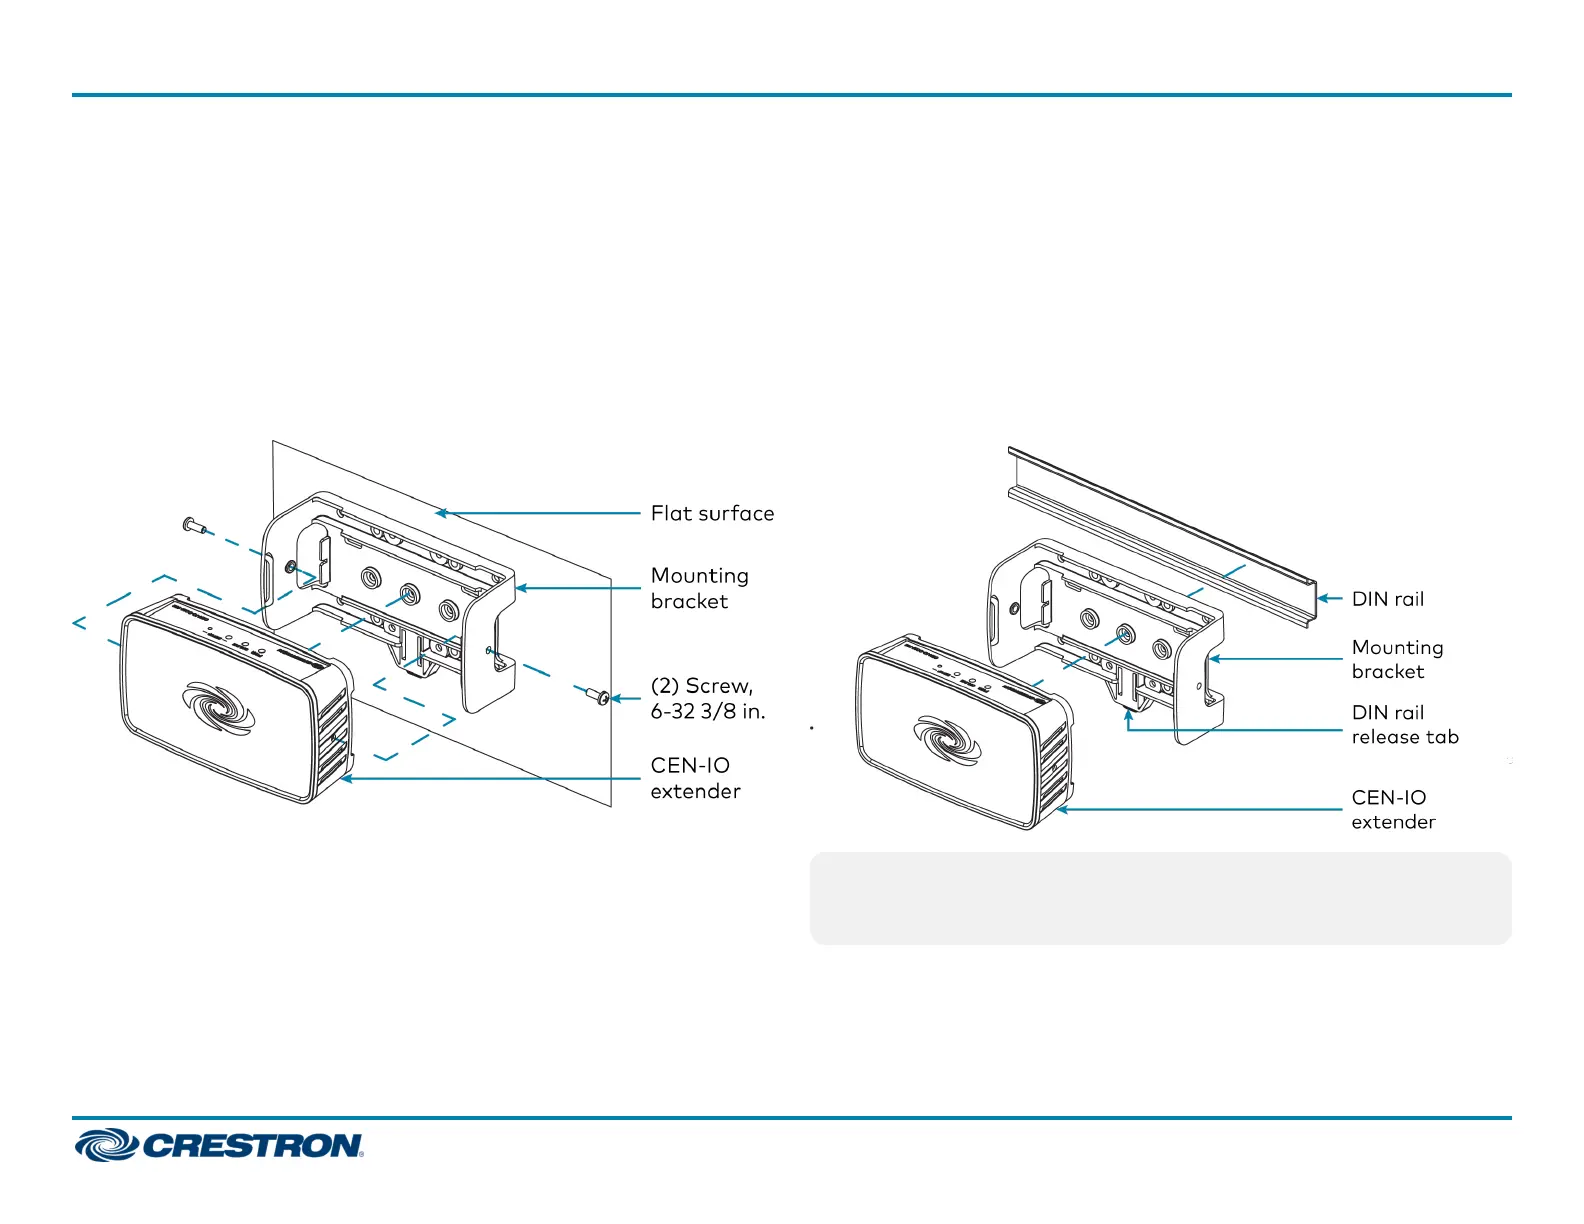
SurfaceMounting
1. Attach the mounting bracket to the surface using four appropriate
mounting screws (not included) through the four mounting holes on
the bottom of the bracket.
2. Align the slots on the bottom of the extender with the tabs on the
mounting bracket.
3. Press the extender into the bracket until it snaps into place.
4. (Optional) Secure the extender to the bracket using the two included
6-32 3/8 in. screws as shown in the following illustration.
DINRail Mounting
1. Pull the DIN rail release tab downward using a flat-head screwdriver.
2. Position the DIN rail mounting tabs (located on the rear of the
bracket) over the top edge of the DIN rail.
3. Push the DIN rail release tab upward to lock the mounting bracket
onto the rail.
4. Align the slots on the bottom of the extender with the tabs on the
mounting bracket.
5. Press the extender into the bracket until it snaps into place.
NOTE:Do not use the included screws to secure the bracket to the
bottom of the extender when mounting into a DINrail, as it will then
not be possible to remove the extender from the DIN rail.
2
CEN-IOSeries
QuickStart
Wi-Fi® Network I/O Extenders
 Loading...