 Loading...
Do you have a question about the Cuisinart Brew Central DCC-1200 Series and is the answer not in the manual?
| Color | black/silver, multi |
|---|---|
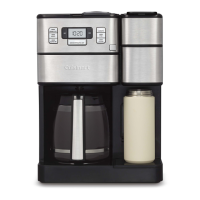
| Coffee Preparation Method | combination |
| Coffee Type | grounds |
| Coffee Strength Control | no |
| Built-In Grinder | no |
| Removable Water Tank | no |
| Serving Size | 4 |
| Single / Multi Serve | multi serve |
| Water Filter | yes |
| Programmable | yes |
| Carafe | yes |
| Carafe Capacity | 12 cups |
| Warming Plate | yes |
| Removable Drip Tray | no |
| Frother | no |
| Filter | permanent |
| Control Type | button, dial, digital |
| Voltage | 120 volts |
Cautionary note about opening the top cover during brewing to prevent injury from hot liquid.
Prepare a stable surface, remove packaging materials and literature from the box.
Carefully remove the coffeemaker, carafe, and protective inserts from the box.
Discusses the importance of water quality for coffee taste and the role of the charcoal filter.
Advises on using fresh, quality beans, proper storage, and freezing techniques.
Explains how grind size affects coffee extraction and taste, recommending a medium-fine grind.
Guides on coffee-to-water ratios, recommending 1 tbsp per cup, with a maximum limit.
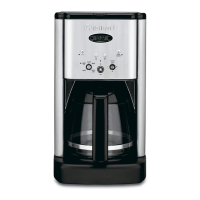
Details components like Reservoir Cover, Water Reservoir, Showerhead, Filter Basket, and Holder.
Highlights LCD clock, Hour/Minute buttons, Function Knob, and Brew Pause functionality.
Describes Heater Plate Control, 1-4 Cup Setting, Self-Clean notification, and Ready Tone.
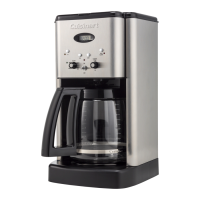
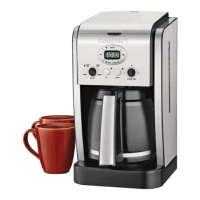
Includes Carafe design, Heating Plate, and BPA Free materials.
Shows the time of day and programmed auto on/off times with indicator lights.
Details Auto On, Auto Off, Program Set, Brew, Clock Set, and Audible Tone functions.
Explains the Flip Switch for power and the Heater Plate Control Knob for temperature.
Covers Self Clean setting and the 1-4 Cup Setting for smaller brews.
Steps for starting a manual brew cycle and turning the coffeemaker off.
Step-by-step guide for setting the current time on the clock display.
Instructions to set the desired brew start time for automatic brewing.
Instructions for setting the automatic shut-off timer from 0 to 4 hours.
Explains calcium buildup and provides detailed steps for the self-cleaning process.
Recommends operating once with water only to remove residues.
Step-by-step guide for preparing and installing the charcoal water filter.
Instructions on how to properly fill the water reservoir.
Steps for adding ground coffee to the filter basket.
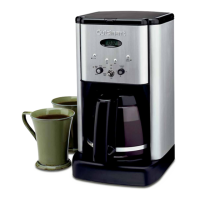
How to start brewing, use Brew Pause, and tips for serving coffee.
How to clean the filter basket, its holder, and the area beneath it.
Instructions for washing the carafe and its lid.
How to clean the base unit, warming plate, and housing.
Outlines the terms and duration of the product's limited warranty.
Instructions on how to contact customer service for warranty repairs.
Specific warranty options and rights for California residents.