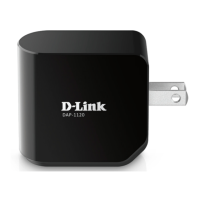
16D-Link DAP-1120 User Manual
Section 3 - Web-based Conguration
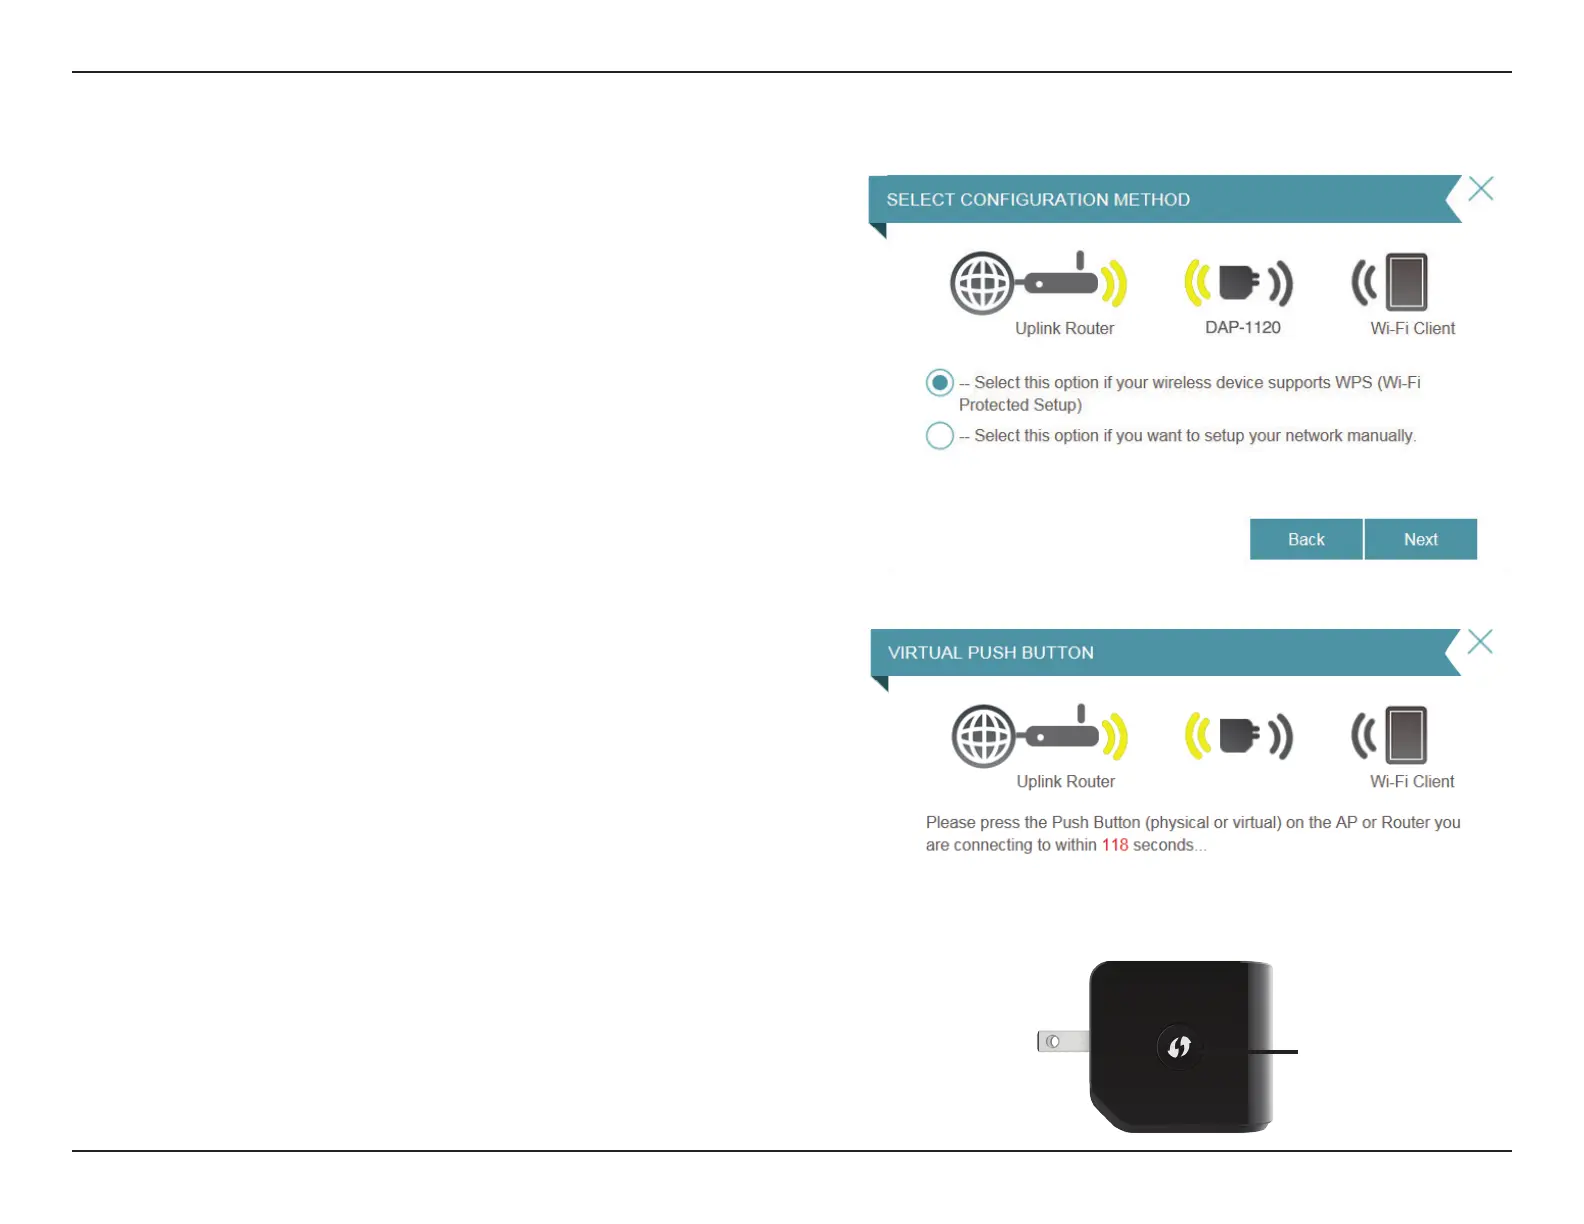
To set up using the WPS method, select the rst option from the
setup wizard menu. Click Next to continue.
The DAP-1120 uses the push-button method for WPS. After
selecting WPS, the DAP-1120 will ask you to press the WPS push
button on the access point or router you want to connect the
DAP-1120 to. You have 120 seconds to press the button on your
access point or router. Click Next to continue.
If a connection has been successfully made, you will see a notice
on the screen and the LED on the device will turn solid green.
If the LED is lit solid amber after the connection process has
nished, the DAP-1120 has established a poor quality connection.
To improve the connection quality, the DAP-1120 should be
relocated to a wall outlet closer to the source wireless router or AP.
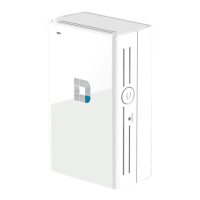
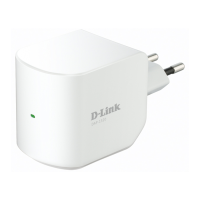
You can also use the WPS button on the side of the DAP-1120 to
initiate a WPS connection with the uplink router. After pressing
the WPS button on the DAP-1120, you will have 120 seconds to
press the WPS button on your access point or router. The LED on
the DAP-1120 will turn solid green when a connection has been
successfully established with the uplink router.
Using the WPS Method
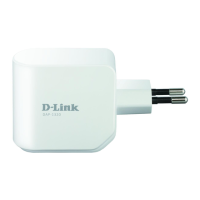
WPS Button
DAP-1120
 Loading...