7 | Piping installation
Installer reference guide
38
4MWXM-A
R32 Split series
4P678385-1A – 2022.02
a Cut exactly at right angles.
b Remove burrs.
3 Remove the flare nut from the stop valve and put the flare nut on the pipe.
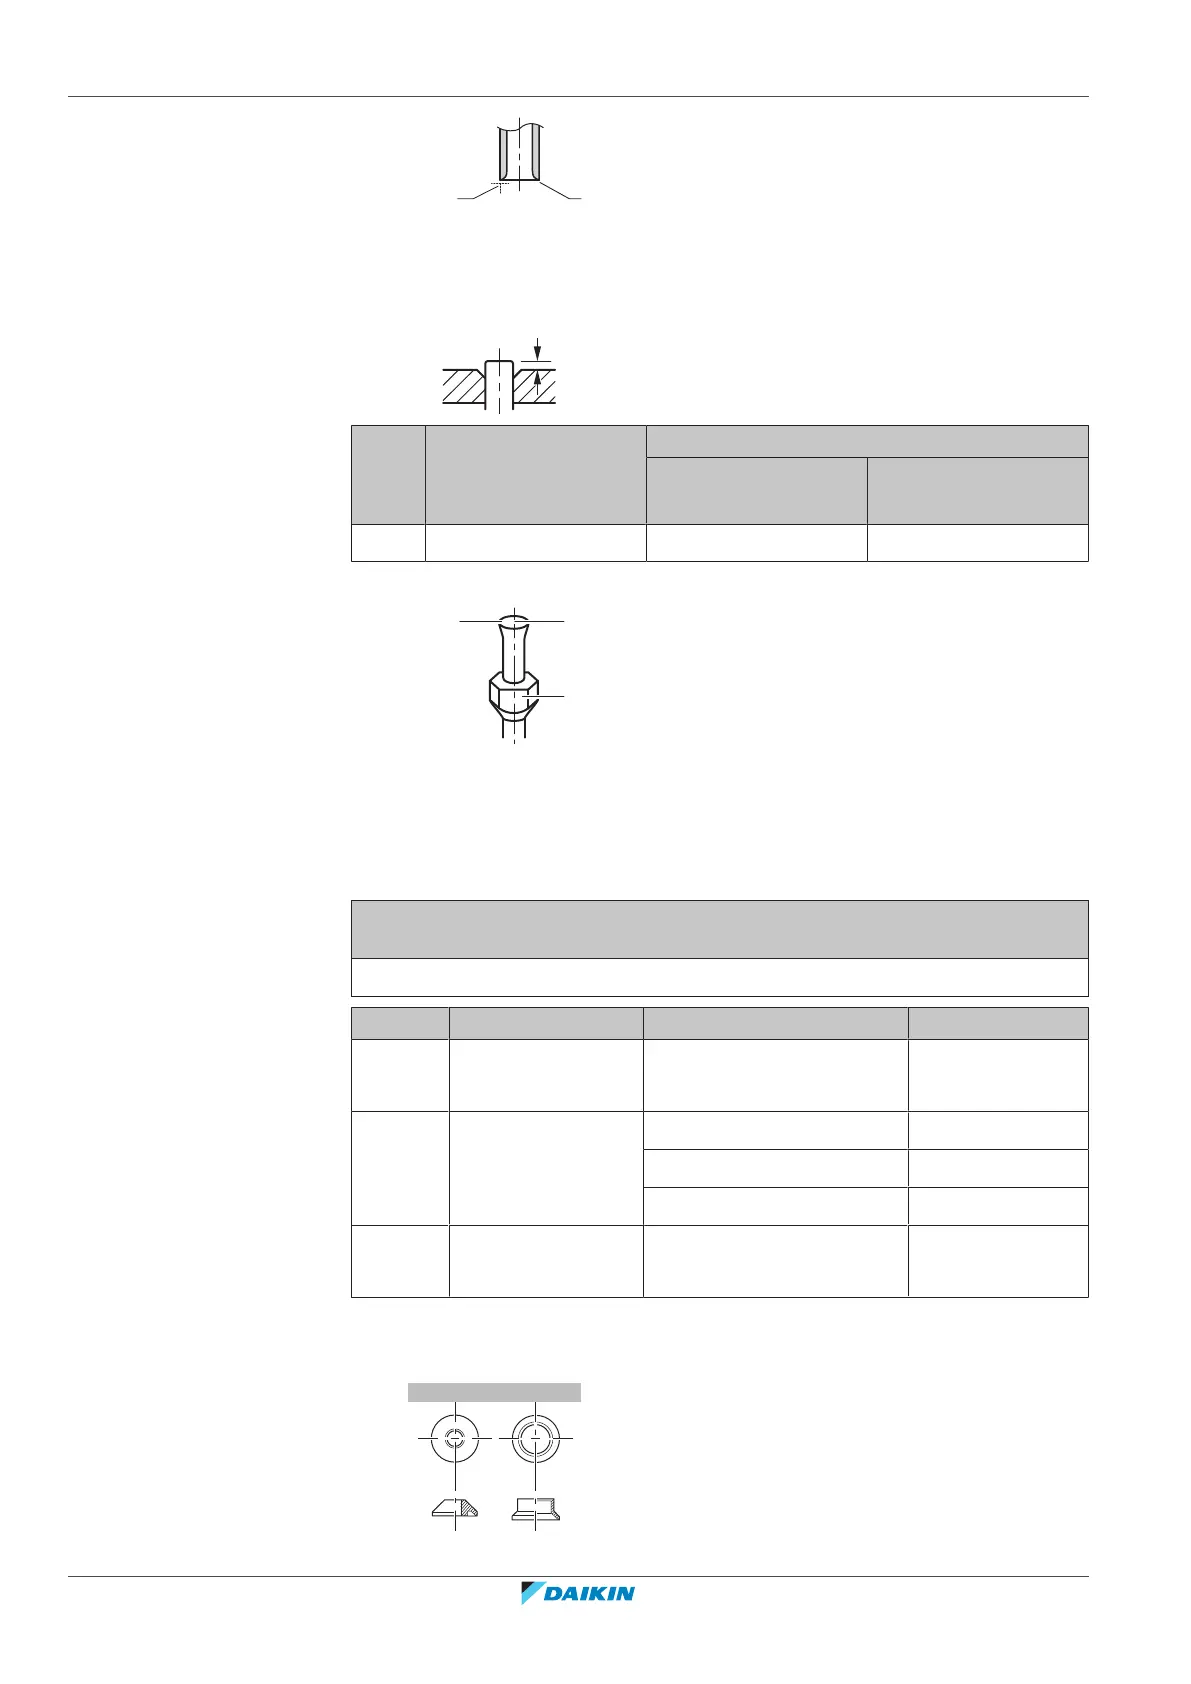
4 Flare the pipe. Set exactly at the position as shown in the following figure.
Flare tool for R32
(clutch type)
Conventional flare tool
Clutch type
(Ridgid-type)
Wing nut type
(Imperial-type)
A 0~0.5mm 1.0~1.5mm 1.5~2.0mm
5 Check that the flaring is properly made.
a Flare’s inner surface MUST be flawless.
b The pipe end MUST be evenly flared in a perfect circle.
c Make sure the flare nut is fitted.
7.2.6 Connections between outdoor and indoor unit using reducers
Total indoor air conditioning units capacity class that can be connected to this
outdoor unit
≤9.0kW
Port Dimensions Class Reducer
A Liquid Ø6.4mm
Gas Ø9.5mm
15, 20, 25, 35, (42)
(a)
—
B+C Liquid Ø6.4mm
Gas Ø12.7mm
15, 20, 25, 35, (42)
(a)
1+2 (accessory)
42, 50, 60 —
71
(b)
ASYCPIR
To tank Liquid Ø6.4mm
Gas Ø9.5mm
90, 120 —
(a)
Only in case of connection with FTXM42R.
(b)
Only for connection with FBA71A9. Use option ASYCPIR for liquid (Ø9.5mm→Ø6.4mm)
and gas (Ø15.9mm→Ø12.7mm) piping.
 Loading...