6 | Unit installation
Installer reference guide
33
ARXM50-71+RXM42~71R2V1B + RXP50~71M2V1B + RXA42+50B2V1B +
RXF50+60B2V1B + RXF71A2V1B + RXJ50N2V1B + ARXF50~71A2V1B
R32 split series
4P513661-9J – 2020.05
NOTICE
If the unit is installed in a cold climate, take adequate measures so that the
evacuated condensate CANNOT freeze.
NOTICE
If the drain holes of the outdoor unit are blocked up by a mounting base or floor
surface, place additional foot bases ≤30mm under the outdoor unit's feet.
INFORMATION
For information on the available options, contact your dealer.
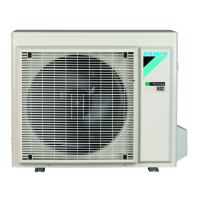
1 Use a drain plug for drainage.
2 Use a Ø16mm hose (field supply).
a Drain port
b Bottom frame
c Drain plug
d Hose (field supply)
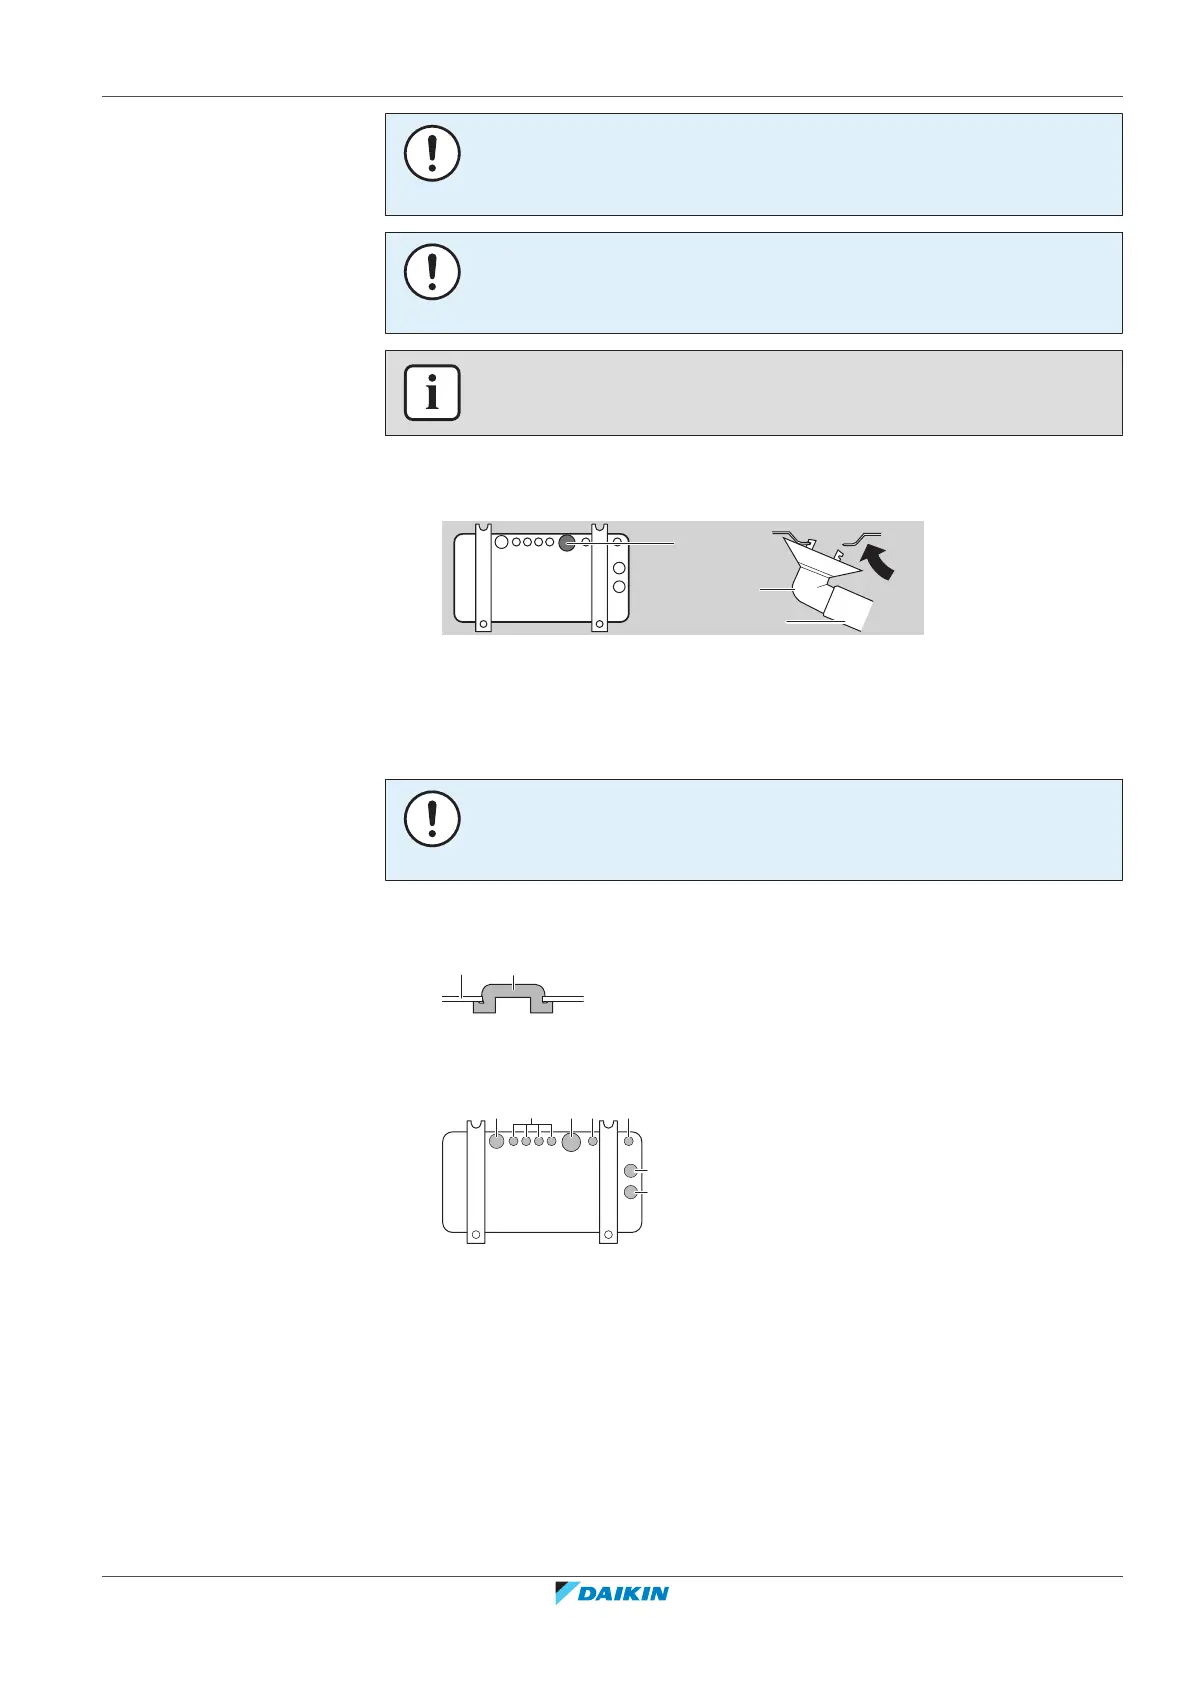
To close the drain holes and attach the drain socket
NOTICE
In cold areas, do NOT use a drain socket, hose and caps (1, 2) with the outdoor unit.
Take adequate measures so that the evacuated condensate CANNOT freeze.
1 Install drain caps 1 and 2 (accessory). Make sure the edges of the drain caps
close off the holes completely.
a Bottom frame
b Drain cap
2 Install the drain socket.
a Drain hole. Install a drain cap (2).
b Drain hole. Install a drain cap (1).
c Drain hole for drain socket
6.3.6 To prevent the outdoor unit from falling over
In case the unit is installed in places where strong wind can tilt the unit, take
following measure:
1 Prepare 2 cables as indicated in the following illustration (field supply).
2 Place the 2 cables over the outdoor unit.
 Loading...