GB
103E7
6
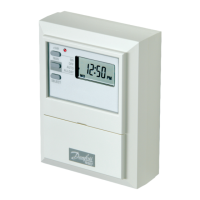
7. Find out from the user whether the unit is required to operate
in 7-day mode (factory preset) or weekday/weekend mode
(5/2 day). To convert to 5/2 day mode remove the small two-
way connector from the pins towards the left of the recess on
the rear of the module, then press the button marked R/S under
the ap to RESET the unit.
8. Ensure all dust and debris are cleared from the area. Plug the
module into the wallplate by locating it onto the wallplate and,
when ush with it, sliding it down, ensure the hook at the top of
the wallplate engages with the slot at the back of the module.
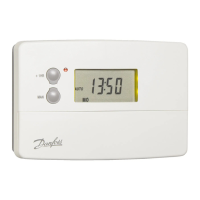
9. Before setting the programme, check the unit and circuit. Press
the SELECT button until the bar in the display lines up with the
word ON. Adjust the remote thermostats to check the system
operates correctly.
10. Then press the SELECT button until the bar lines up with the
word OFF and check the system does not operate.
11. When the circuit check has been completed, replace the wiring
cover and tighten the xing screw. Cut any cable aperture in the
wiring cover which may be necessary to accommodate surface
mounted cables.
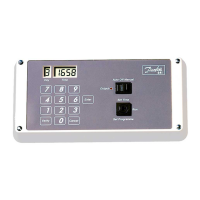
12. Finally set time of day and programmes required, noting that
the unit is supplied with a pre-set programme, see User Guide.
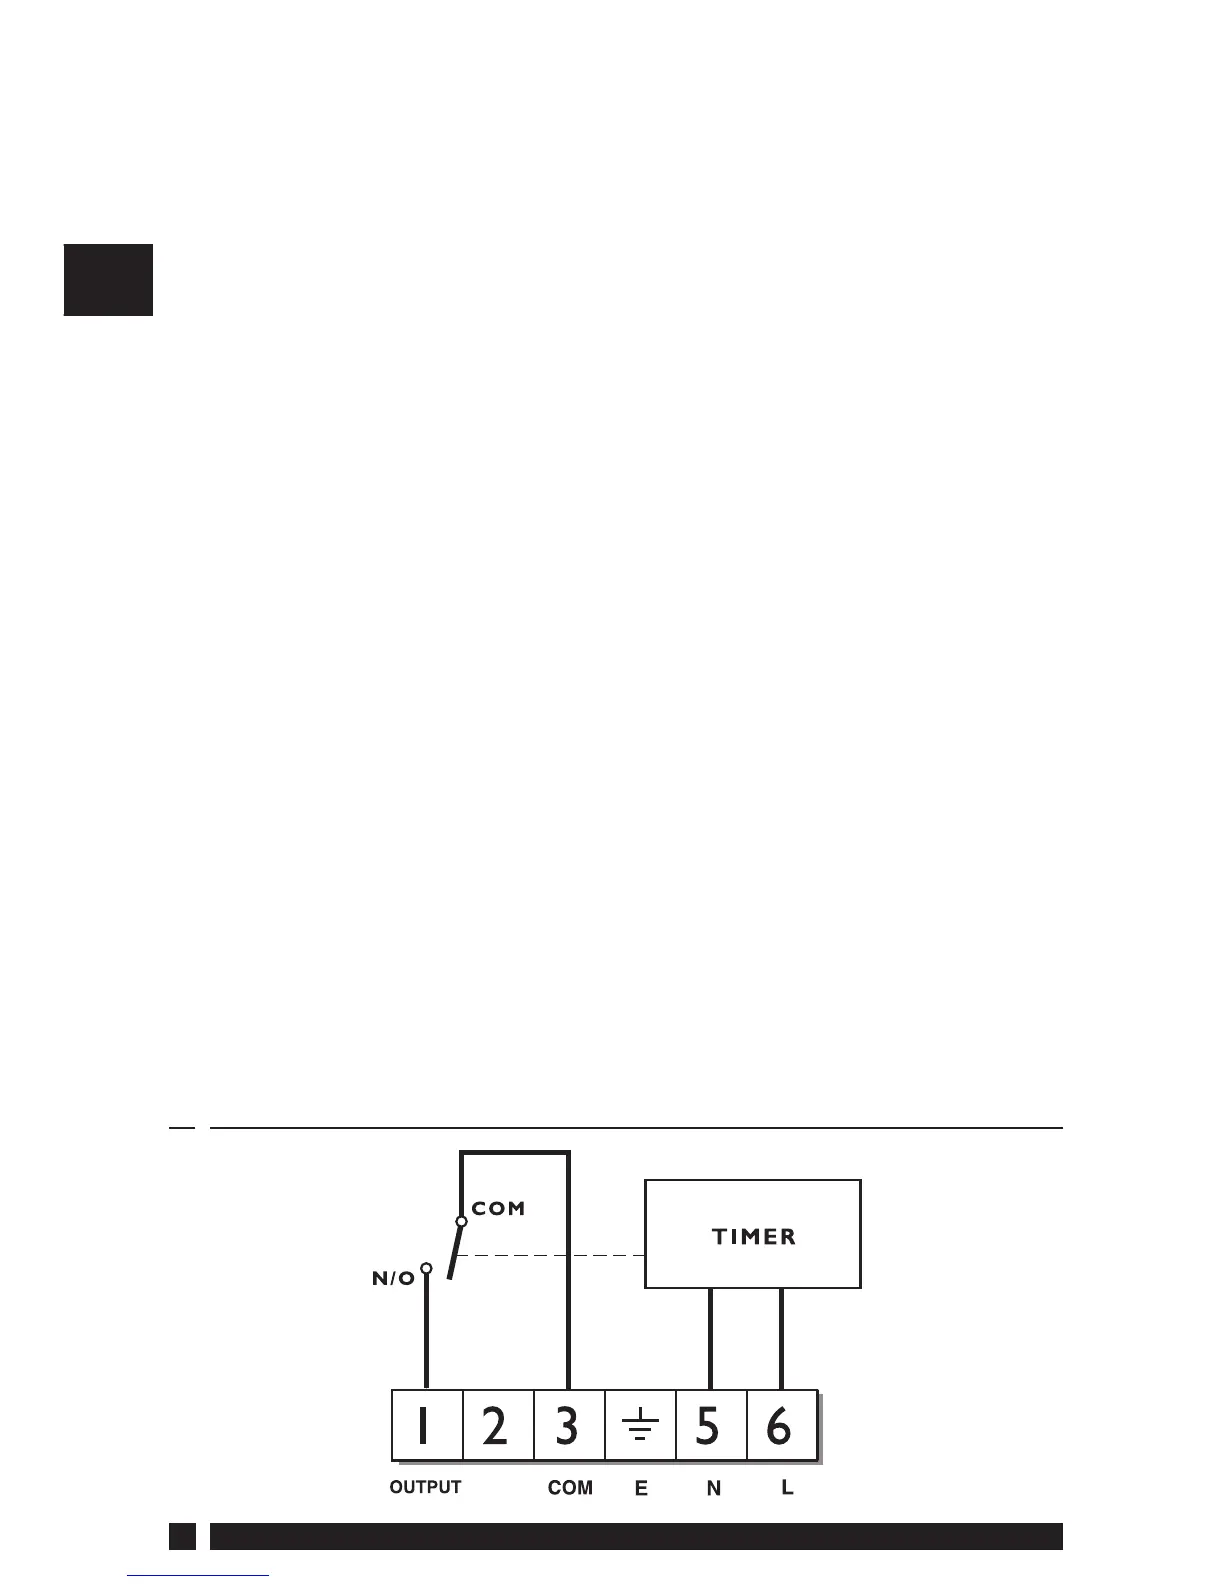
3.1 Wiring
 Loading...